
As I stood in my kitchen, the tantalizing scent of baked cheesecake wafted through the air, bringing back memories of cozy family gatherings. Today, I’m excited to share my recipe for Mini Protein Cheesecakes, where indulgence meets health in the most delightful way. These little treats not only boast a luscious, creamy filling but also pack a powerful punch with each bite—7 grams of protein, thanks to Greek yogurt and light cream cheese. What’s more, they’re incredibly easy to whip up and make the perfect guilt-free dessert or protein-packed snack, ideal for those of us craving something sweet without the heavy calories. And the best part? You can mix and match flavors every week to keep it fresh and fun! What delicious twist will you try first?
Why are Mini Protein Cheesecakes a Must-Try?
Guilt-Free Indulgence: These mini protein cheesecakes are not just delicious; they also offer a healthier twist with only 7 grams of protein each!
Endless Variations: Switch up the flavors weekly by experimenting with different extracts or toppings, ensuring you never get bored.
Easy to Make: The straightforward process means you’ll be enjoying these treats in no time, perfect for busy schedules.
Versatile Snack: Enjoy them as a post-workout snack or a delightful dessert—whatever suits your cravings!
Crowd-Pleasing Treat: Their light, creamy texture will impress anyone at your next gathering, ensuring you’ll be the star of the show! Consider pairing these with Mini Lemon Cheesecakes for a delightful dessert spread.
Mini Protein Cheesecake Ingredients
For the Crust
- Biscuits – Provide the crust’s structure and crunch; substitute with gluten-free biscuits if needed.
- Butter – Binds the biscuit crumbs together and adds richness; use a lighter butter or a vegan alternative for a lower fat version.
For the Filling
- Light Cream Cheese – Creates a creamy cheesecake texture with reduced fat; substitute with full-fat cream cheese for a classic taste.
- Greek Yogurt – Increases protein content while keeping calories low; opt for non-fat or full-fat depending on personal preference.
- Egg – Acts as a binder for the cheesecake filling; can be replaced with a flax egg for a vegan version.
- Vanilla Extract – Adds flavor depth; homemade vanilla extract can also provide a richer taste.
- Lemon Juice & Zest – Offers fresh, tangy flavor that complements the sweetness; always use fresh lemons for the best taste.
- Arrowroot Powder – Helps to stabilize the filling; can be substituted with cornstarch if not available.
Optional Toppings
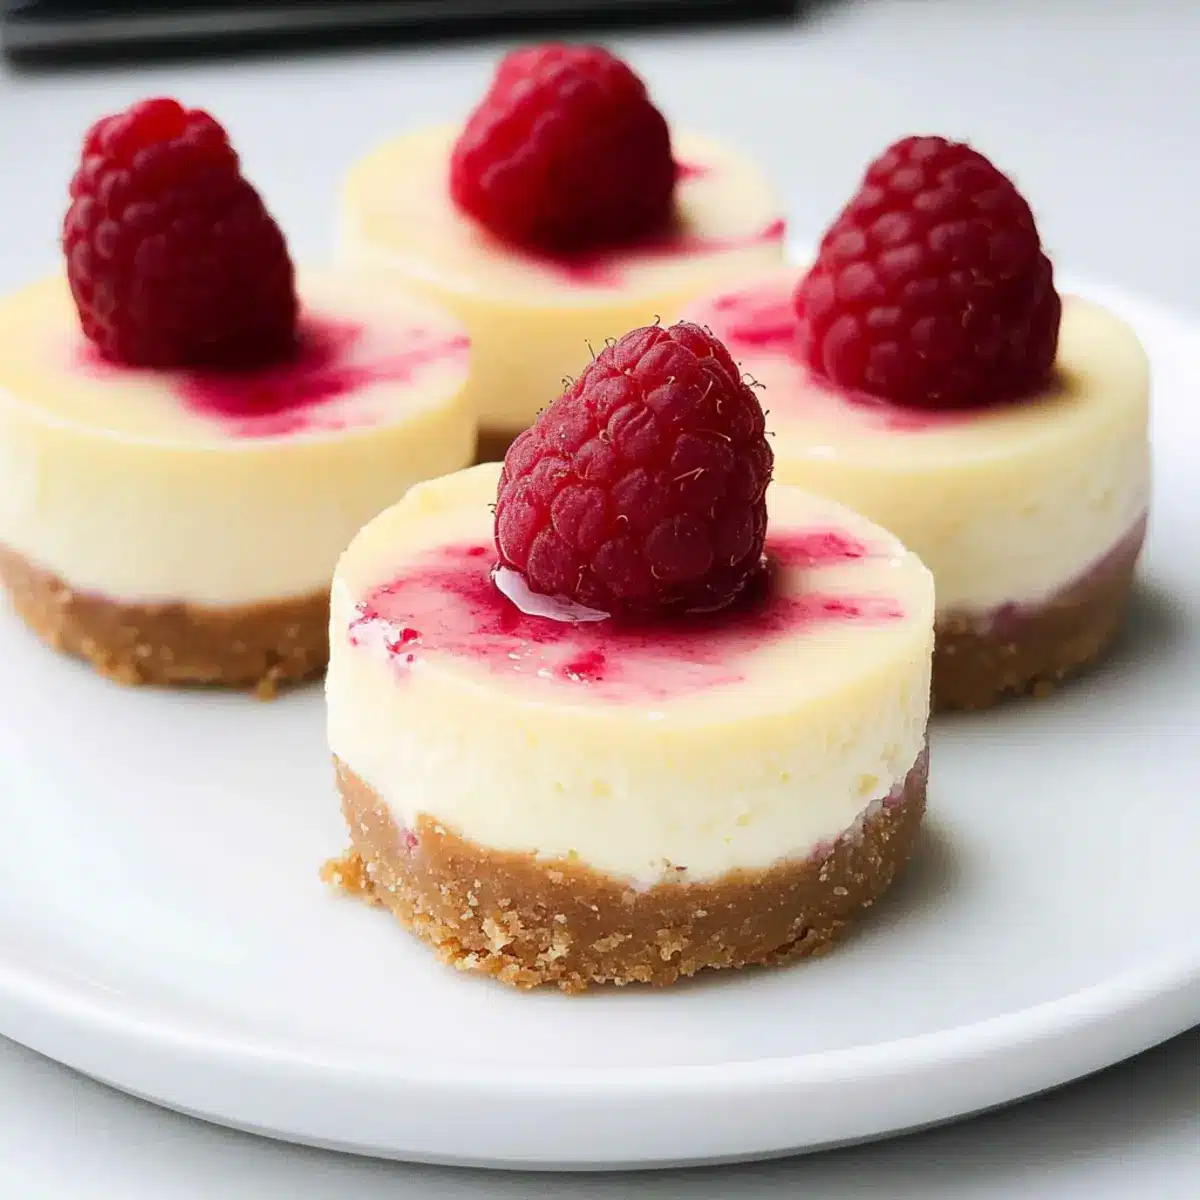
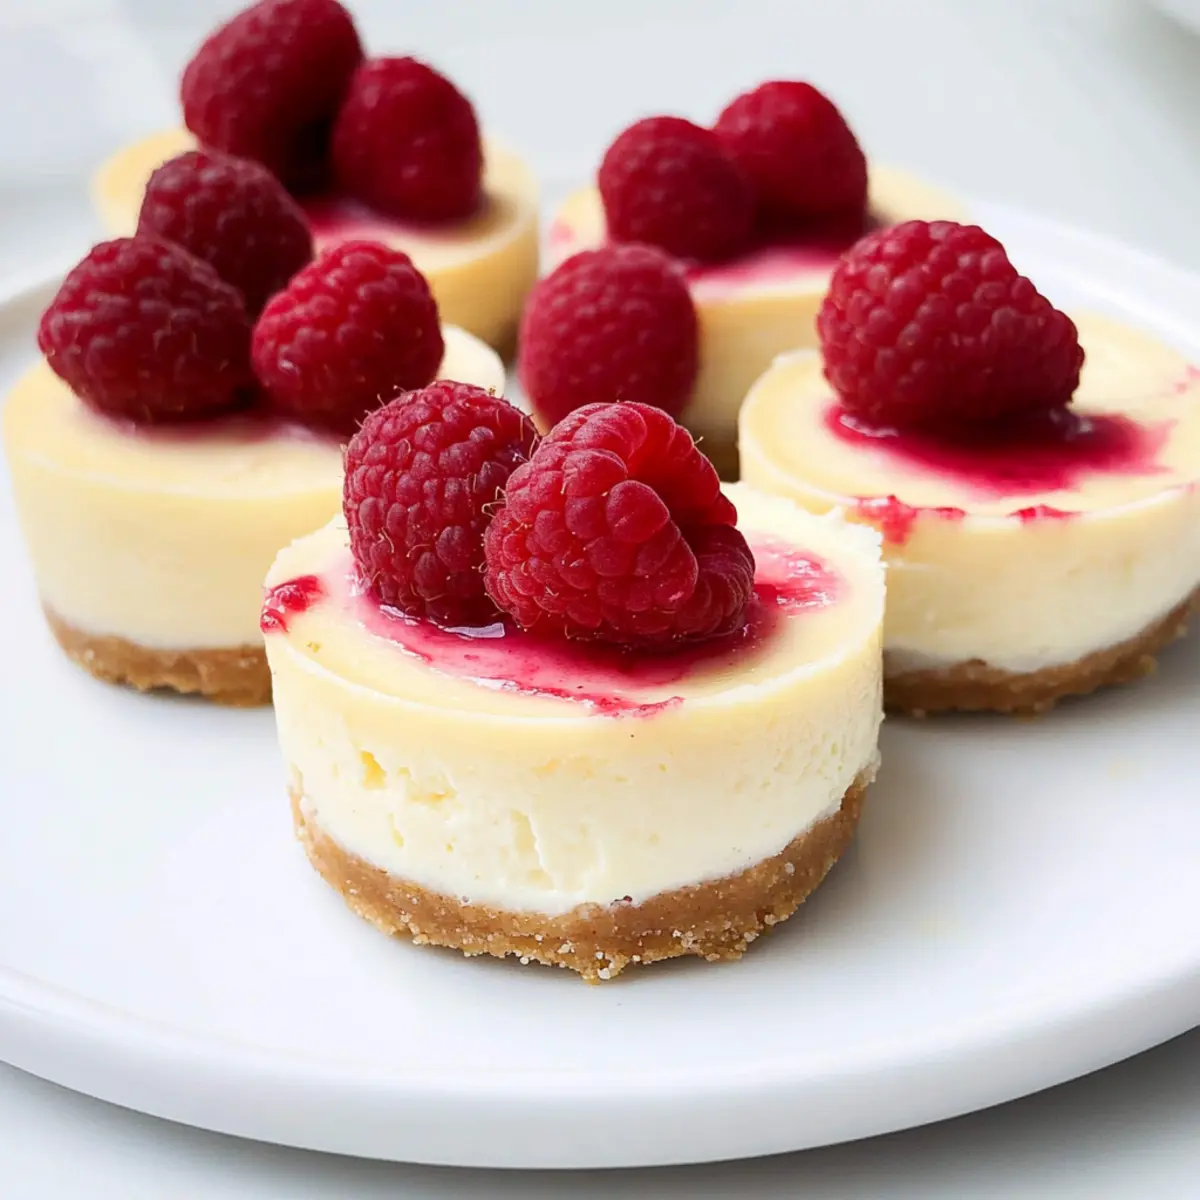
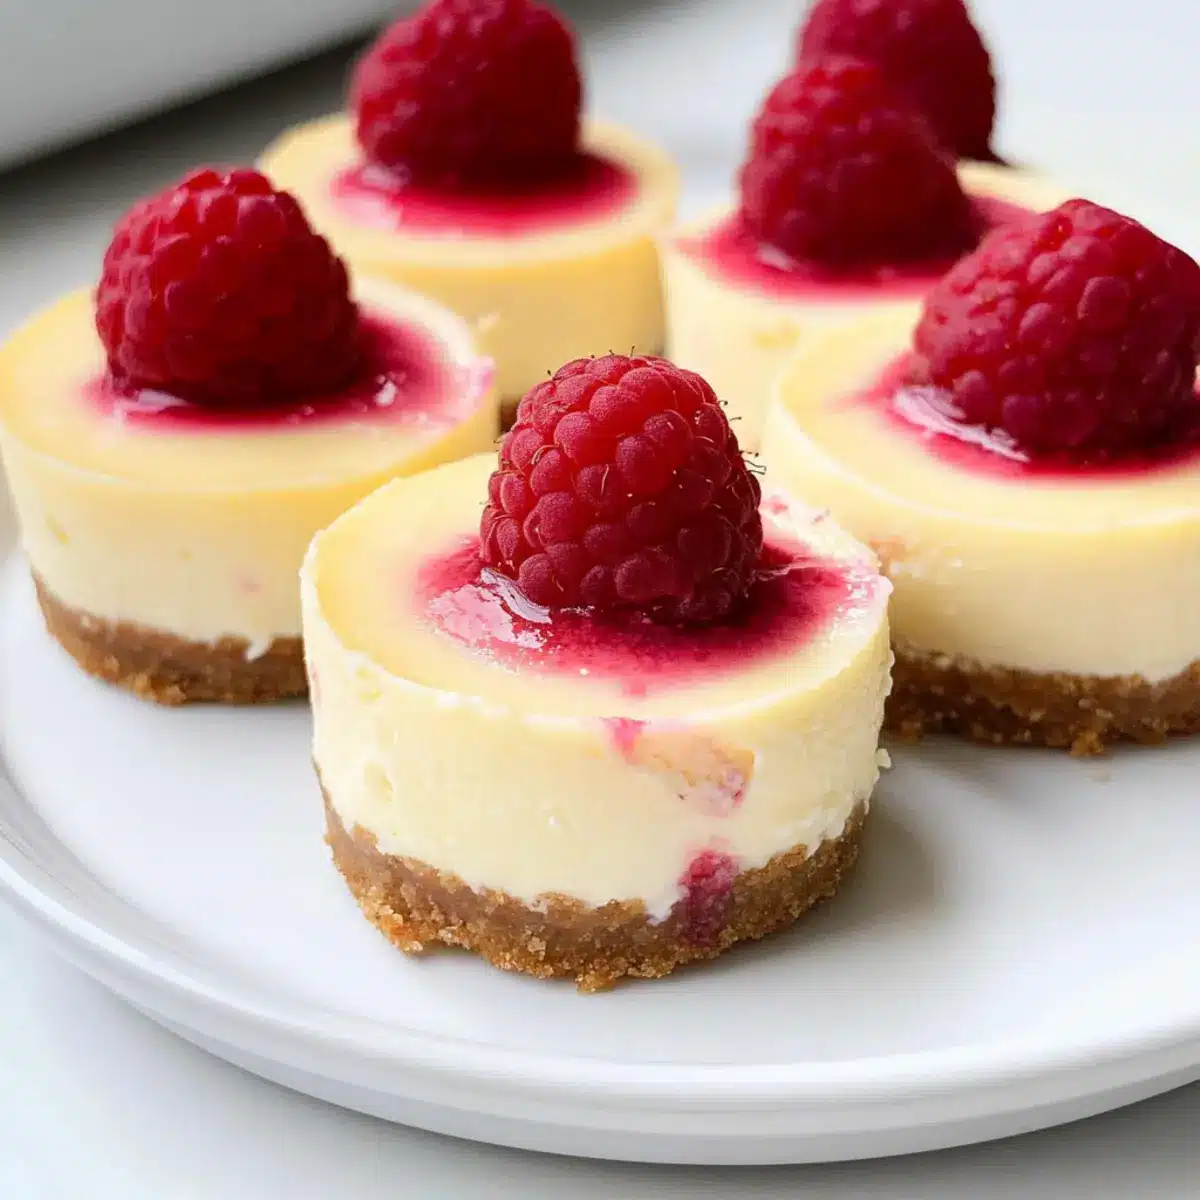
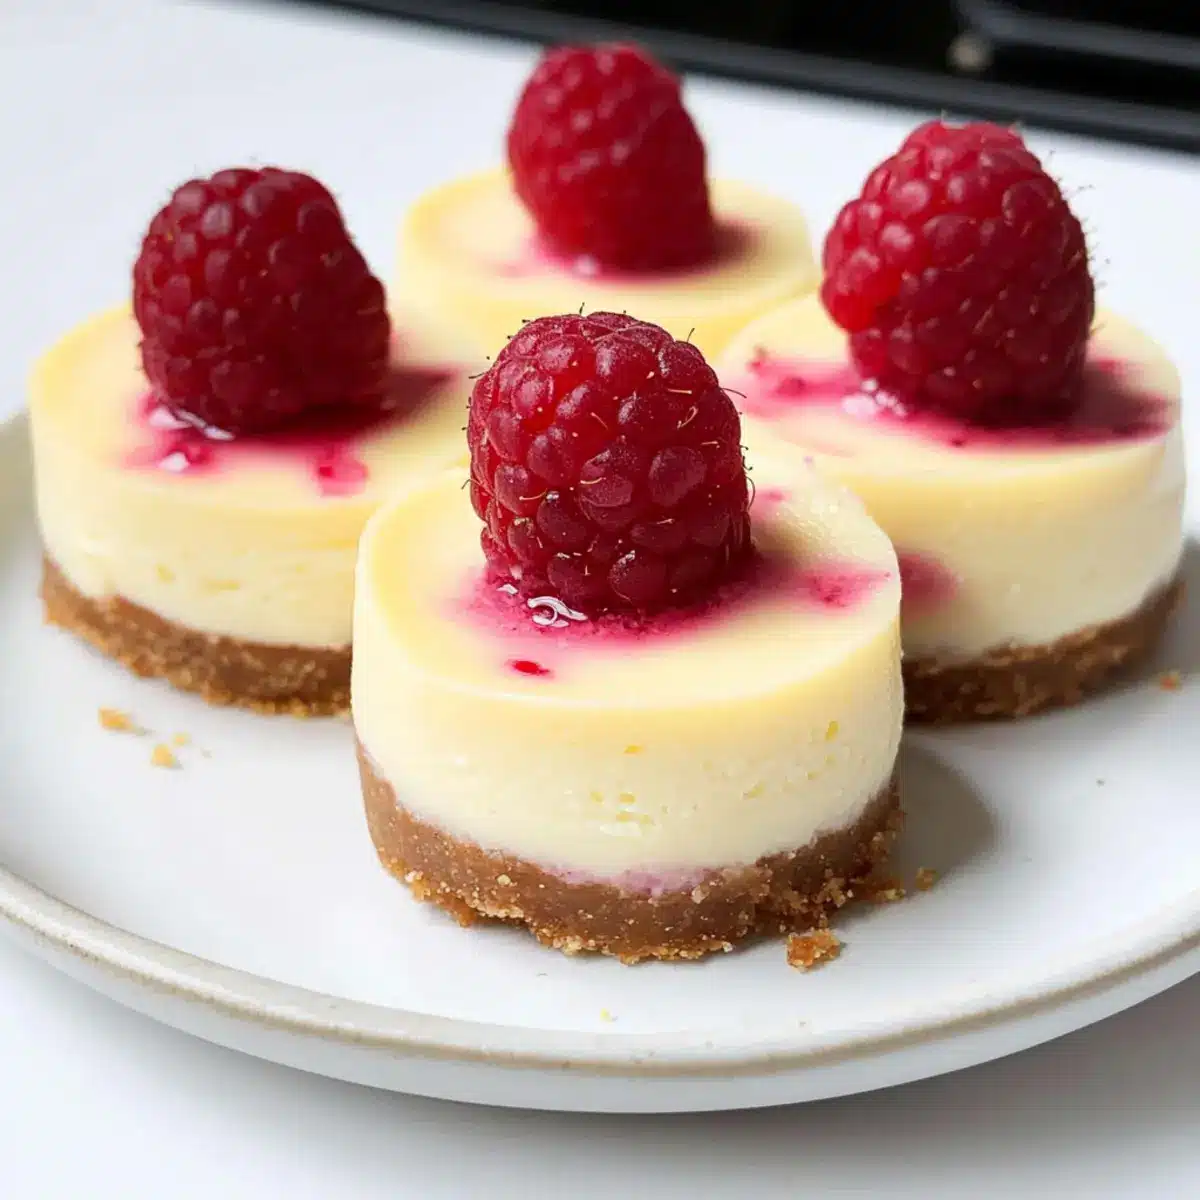
- Fresh Raspberries – Adds a fruity topping and vibrant color; any berries can be used, or omit for a plain cheesecake.
These Mini Protein Cheesecakes are not only a treat for your taste buds but also a healthy dessert option that delivers on both flavor and nutrition!
Step‑by‑Step Instructions for Mini Protein Cheesecakes
Step 1: Preheat the Oven
Start by preheating your oven to 180°C (350°F). While your oven is warming up, line a standard muffin tin with cupcake liners to ensure easy removal of your mini protein cheesecakes once they’re baked. This little preparation step will make serving a breeze and keep your cheesecakes intact.
Step 2: Prepare the Crust
In a mixing bowl, crush your choice of biscuits until they resemble fine crumbs. Melt the butter and mix it with the crushed biscuits until well combined. Press this mixture firmly into the bottom of each muffin cup to create a solid crust. Aim for an even layer, ensuring the crust holds together nicely for the mini cheesecakes.
Step 3: Mix the Filling
In a large bowl, add the light cream cheese, Greek yogurt, egg, vanilla extract, lemon juice, zest, and arrowroot powder. Using a hand mixer, blend the ingredients on medium speed until the mixture is smooth and creamy, ensuring there are no lumps. This step is crucial for achieving that delightful, airy texture in your mini protein cheesecakes.
Step 4: Assemble the Cheesecakes
Once your filling is ready, gently pour it over the prepared crusts in each muffin cup. To add a burst of flavor, take fresh raspberries and press three into the filling of each cheesecake, just enough that they are nestled in but still visible. This adds a beautiful touch and a hint of tanginess to each bite.
Step 5: Bake the Cheesecakes
Carefully place the muffin tin in the preheated oven and bake for 20-22 minutes. Keep an eye on your mini protein cheesecakes; they should be set but still slightly jiggly in the center when done. This will ensure a creamy, luscious consistency reminiscent of traditional cheesecake without the heaviness.
Step 6: Cool the Cheesecakes
After removing the muffin tin from the oven, let the mini cheesecakes cool at room temperature for about 30 minutes. This cool down is essential to help them firm up a bit before chilling. Once they have cooled down, transfer them to the refrigerator and let them chill for at least 3 hours, or overnight for best results.
Step 7: Serve & Enjoy
When ready to serve your delicious mini protein cheesecakes, remove them from the muffin tin gently. For an extra delicious twist, top each cheesecake with additional fresh berries or a drizzle of honey if desired. These delightful treats are now ready to be enjoyed as a guilt-free dessert or a nutritious snack!
What to Serve with Mini Protein Cheesecakes
Elevate your sweet indulgence with delightful accompaniments that will make every bite even more enjoyable.
-
Fresh Berries: A mix of strawberries, blueberries, and raspberries adds a burst of natural sweetness and vibrant color, enhancing your cheesecake experience. Each juicy bite complements the creamy filling beautifully.
-
Greek Yogurt Parfait: Layer Greek yogurt with granola and honey for a crunchy, creamy side. The tangy flavor matches the rich mini cheesecakes perfectly, making it a wholesome dessert duo.
-
Dark Chocolate Drizzle: A thin drizzle of melted dark chocolate offers a rich, bittersweet contrast. The smoothness of the chocolate complements the lightness of the cheesecakes, elevating the flavor profile.
-
Mint Tea: This refreshing herbal beverage balances sweetness and adds a new layer of flavor. The calming notes of mint will cleanse the palate, making your dessert moments even more refreshing.
-
Citrus Salad: A mix of orange, grapefruit, and mint creates a bright side that refreshes the taste buds. The zesty freshness enhances the cheesecake’s flavors and adds a colorful touch.
-
Almond Biscotti: The crunchy texture contrasts pleasantly with the creamy mini cheesecakes. Dipping a biscotti in your cheesecake creates a delightful textural experience that thrills the palate.
-
Vanilla Ice Cream: Pairing a scoop of silky vanilla ice cream with your cheesecakes creates a classic dessert experience. The creaminess of the ice cream complements the cheesecake’s flavors, delivering pure bliss.
Make Ahead Options
These Mini Protein Cheesecakes are perfect for meal prep enthusiasts who want to save time without sacrificing flavor! You can prepare the crust and filling up to 24 hours in advance. Simply make the crust and filling as directed and refrigerate them separately. To maintain quality, store the crust in an airtight container and pour the filling over it just before baking. When you’re ready to indulge, assemble your cheesecakes with the crust, add the optional raspberries, and bake them according to the original instructions. This makes for an easy, delectable dessert ready in no time—ideal for busy weeknights or when entertaining guests!
Tips for the Best Mini Protein Cheesecakes
-
Don’t Overmix: Aim for a smooth batter without lumps, but avoid overmixing the filling; this keeps your mini protein cheesecakes light and fluffy.
-
Chill Time Matters: Make sure to let the cheesecakes chill completely in the fridge to achieve the right texture; they will firm up beautifully during this time.
-
Silicone Tins: Consider using silicone muffin tins for easy removal, as they prevent sticking and help keep your cheesecakes intact.
-
Flavor Variations: Feel free to experiment with different flavored extracts or toppings each week; it keeps things exciting and allows creativity to shine.
-
Check the Bake: Keep an eye on the baking time; aim for a slight jiggle in the center for perfectly creamy mini protein cheesecakes without drying them out.
How to Store and Freeze Mini Protein Cheesecakes
Fridge: Store your mini protein cheesecakes in an airtight container for up to 5 days to maintain their creamy texture and flavor.
Freezer: For longer storage, freeze the cheesecakes in a single layer for up to 3 months. Wrap each cheesecake tightly in plastic wrap and then in aluminum foil to avoid freezer burn.
Thawing: To enjoy, simply transfer the desired number of cheesecakes from the freezer to the fridge for several hours or overnight before serving.
Reheating: These cheesecakes are best served chilled, so avoid reheating to maintain their delightful texture. Enjoy as a delicious snack or dessert straight from the fridge!
Mini Protein Cheesecakes Variations & Substitutions
Get ready to adventure in flavor! Customize your mini protein cheesecakes to entice your taste buds and keep dessert fresh and exciting.
- Gluten-Free: Replace regular biscuits with gluten-free options to keep this dessert accessible for those with dietary restrictions.
- Dairy-Free: Use coconut cream instead of light cream cheese and almond yogurt for a decadent vegan treat.
- Sweetener Swap: Try adding maple syrup or honey instead of refined sugar for a natural sweetness that enhances every bite.
- Flavor Boost: Incorporate a tablespoon of cocoa powder into the filling for a rich chocolate experience that delivers on taste and nostalgia.
- Fruit Toppings: Swap out raspberries for fresh blueberries or diced peaches to bring seasonal fruits into the spotlight and delight in new flavors.
- Nutty Crunch: Mix in crushed walnuts or pecans into the crust for an added crunch and a delightful nuttiness that contrasts with the creamy filling.
- Spicy Kick: Add a pinch of cinnamon or a dash of cayenne pepper to the filling for an unexpected warmth that will surprise your senses.
- Chocolate Chip Variation: Fold in mini chocolate chips to your filling for a sweet chocolatey twist—who can resist a mini cheesecake bursting with chocolatey goodness?
As you explore these variations, check out our delightful Berry Mini Christmas Cakes for another festive treat or try the light and refreshing taste of Crisp Mini Cheesecakes. Enjoy the process of finding your favorite flavor combinations!
Mini Protein Cheesecakes Recipe FAQs
How do I select the right biscuits for the crust?
Absolutely! When choosing biscuits for your crust, look for ones that are crunchy and not overly sweet, as they pair well with the creamy filling of the mini protein cheesecakes. If you prefer a gluten-free option, many brands offer delicious gluten-free biscuits that work just as well. Check the package for any dark spots; this can be a sign of older or stale biscuits.
How should I store the mini protein cheesecakes?
Very! To keep your mini protein cheesecakes fresh, store them in an airtight container in the refrigerator for up to 5 days. If you plan to keep them longer, you can freeze them. Just make sure they are fully chilled before placing them in a freezer-safe container.
Can I freeze the mini protein cheesecakes?
Definitely! For freezing, wrap each mini cheesecake tightly in plastic wrap and then place them in a freezer-safe bag or container. They will stay fresh for up to 3 months. When you’re ready to enjoy, simply transfer them to the fridge for several hours or overnight to thaw.
What should I do if my cheesecakes are too jiggly after baking?
No worries! If your mini protein cheesecakes are still jiggly after the recommended baking time, I recommend returning them to the oven for an additional 2-5 minutes. Keep a close eye on them; the edges should be set while the centers remain slightly wobbly. Remember, they will firm up while cooling in the fridge, so don’t worry if they seem a little underbaked.
Are these mini protein cheesecakes safe for those with dairy allergies?
Great question! Traditional versions of mini protein cheesecakes contain dairy, but you can easily make them dairy-free by substituting with non-dairy cream cheese and a flax egg instead of a regular egg. Always double-check ingredient labels for any allergens to be on the safe side!
Delicious Mini Protein Cheesecakes for Guilt-Free Indulgence
Ingredients
Equipment
Method
- Preheat your oven to 180°C (350°F) and line a muffin tin with cupcake liners.
- Crush the biscuits until they resemble fine crumbs, then mix with melted butter and press into muffin cups.
- In a bowl, mix the light cream cheese, Greek yogurt, egg, vanilla extract, lemon juice, zest, and arrowroot powder until smooth.
- Pour the filling over the crusts and press fresh raspberries into each cheesecake.
- Bake for 20-22 minutes until set but slightly jiggly in the center.
- Cool at room temperature for 30 minutes, then refrigerate for at least 3 hours.
- Serve chilled, topping with additional berries or honey if desired.
Leave a Reply