
As I was preparing for a busy week, I stumbled upon the idea of Tuna Salad Nori Wraps, and let me tell you, it was a game-changer! This easy, 5-minute recipe transforms the classic tuna salad into a refreshing, hand-held delight wrapped in savory nori. Perfectly satisfying without weighing you down, these wraps are not only paleo and gluten-free but also kid-friendly, making them an ideal choice for lunchboxes or quick meals at home. The combination of creamy tuna and crunchy celery, all enveloped in a flavorful seaweed sheet, offers a burst of umami that will keep you coming back for more. Curious about how to make these delicious wraps that will impress both you and your family? Let’s dive in!
Why is This Recipe a Must-Try?
Quick preparation: These Tuna Salad Nori Wraps come together in just 5 minutes, making them perfect for those hectic days when time is tight.
Flavor explosion: The unique blend of creamy tuna with the umami-rich nori offers a flavor profile that will leave your taste buds dancing.
Health benefits: Packed with protein and low in carbs, these wraps fit seamlessly into a paleo or gluten-free diet while being equally kid-friendly.
Versatile ingredient options: Feel free to swap in fresh ingredients like cucumbers or bell peppers, or experiment with additional flavors—try adding a dash of sriracha for a spicy kick.
Crowd-pleasing appeal: Whether for a lunch at home or a picnic, these wraps are sure to impress everyone with their vibrant presentation and satisfying crunch. Don’t miss out—check out the quick extra ideas with these Chili Chicken Wraps or add some fresh greens with a Feta Avocado Salad on the side!
Tuna Salad Nori Wraps Ingredients
For the Tuna Mixture
- Canned Tuna – Essential protein source; you can substitute with freshly cooked tuna for a gourmet touch.
- Mayonnaise – Adds creaminess; Greek yogurt is a great substitute for a lighter, tangy flavor.
- Celery – Provides delightful crunch; diced cucumbers work well for an extra refreshing bite.
- Sesame Oil – Enhances the flavor profile; olive oil can be a lighter alternative if preferred.
- Salt and Pepper – Essential for seasoning; adjust to your taste for the perfect blend.
For the Wrap
- Nori Sheets – Wraps the filling while adding unique umami flavor; you can swap with lettuce leaves for a low-carb option.
These Tuna Salad Nori Wraps are a quick, easy solution for a nutritious snack or meal, and they’re sure to become a family favorite!
Step‑by‑Step Instructions for Tuna Salad Nori Wraps
Step 1: Prepare the Tuna Mixture
Drain a can of tuna thoroughly and place it into a mixing bowl. Use a fork to break the tuna into small, flaky pieces, ensuring it’s well separated. Then, add creamy mayonnaise, diced celery for crunch, and a splash of sesame oil to give it a rich flavor. Season the mixture generously with salt and pepper, mixing everything together until fully combined and creamy.
Step 2: Set Up Your Nori Sheets
Lay out your nori sheets flat on a clean, dry surface, such as a cutting board or countertop. Ensure they are smooth and not wrinkled; if desired, lightly toast them in a pan on low heat for 10-15 seconds until they become fragrant and crisp. This step enhances their flavor and texture, making your Tuna Salad Nori Wraps even more delightful.
Step 3: Assemble the Wraps
Spoon a generous line of the tuna mixture onto one edge of the nori sheet, making sure it’s evenly spread but not overflowing. Leave about an inch at the sides for easier rolling. Visualize your finished wrap; the nori should envelop the creamy filling, creating a delicious bite that’s visually pleasing without spilling.
Step 4: Roll the Nori
Starting from the edge with the tuna mixture, carefully roll the nori sheet away from you, applying gentle pressure to keep the wrap tight and secure. Use your fingers to fold in the sides as you go, similar to rolling a burrito, until you reach the end of the nori. The roll should feel firm yet still flexible, showcasing those yummy fillings.
Step 5: Slice and Serve
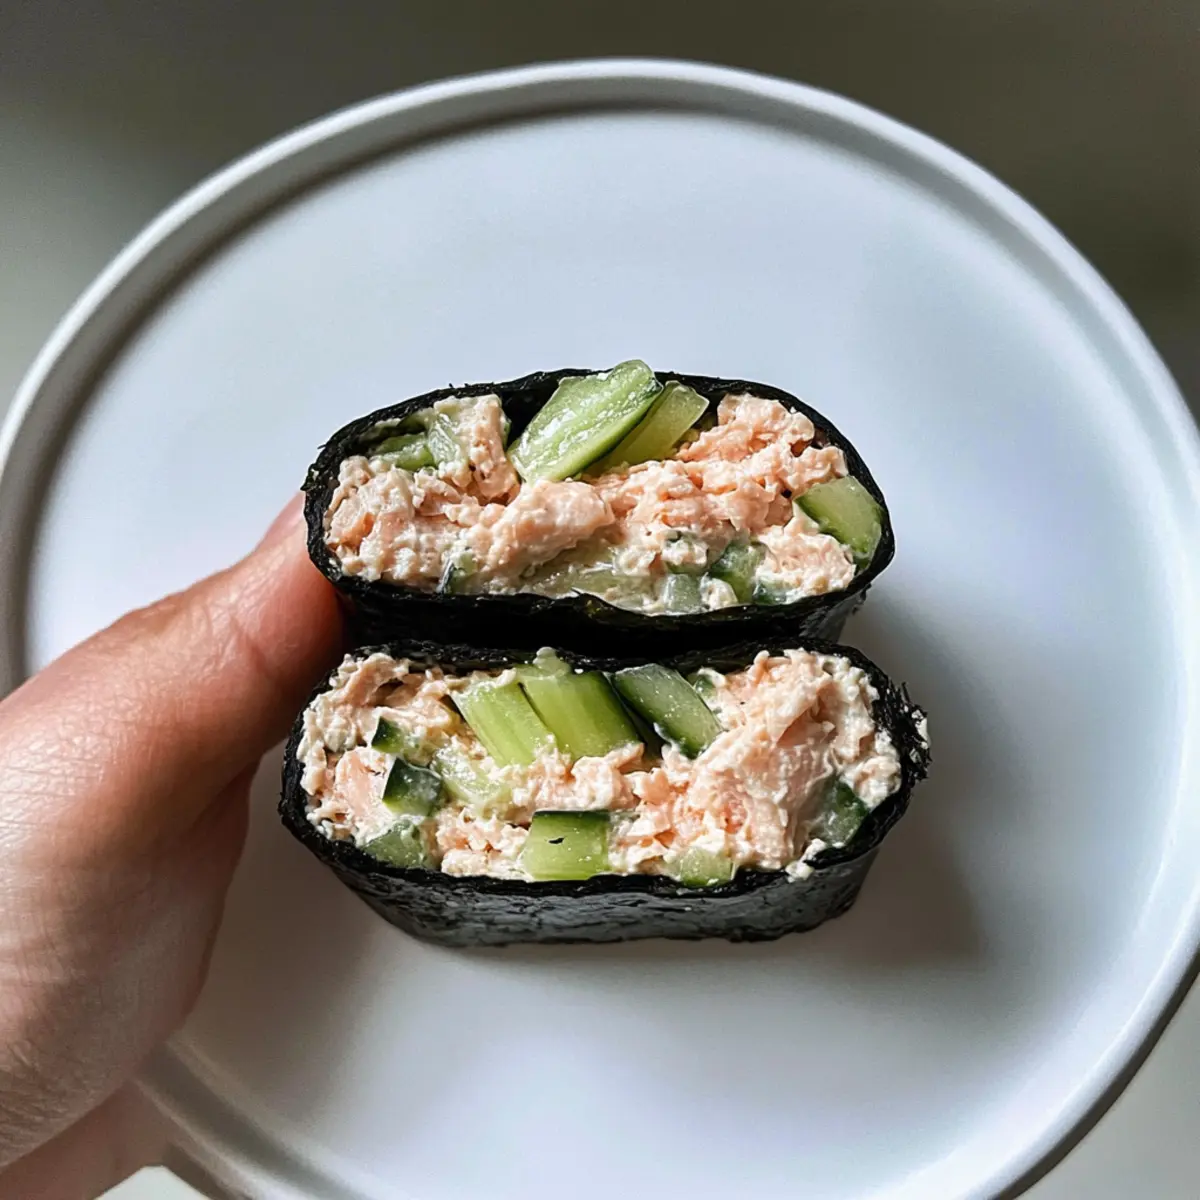
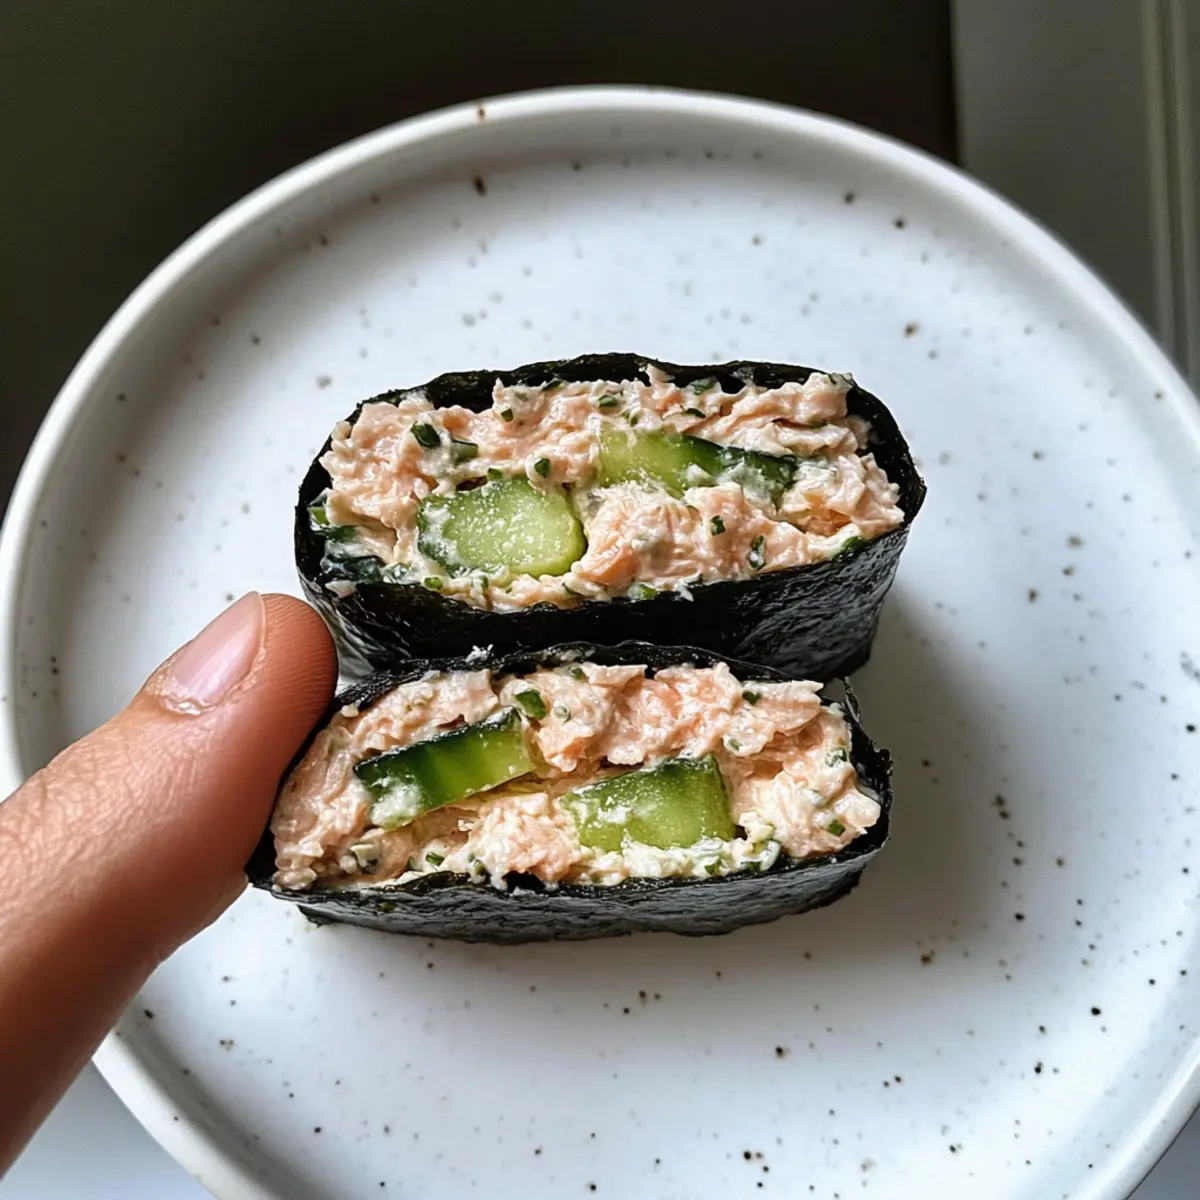
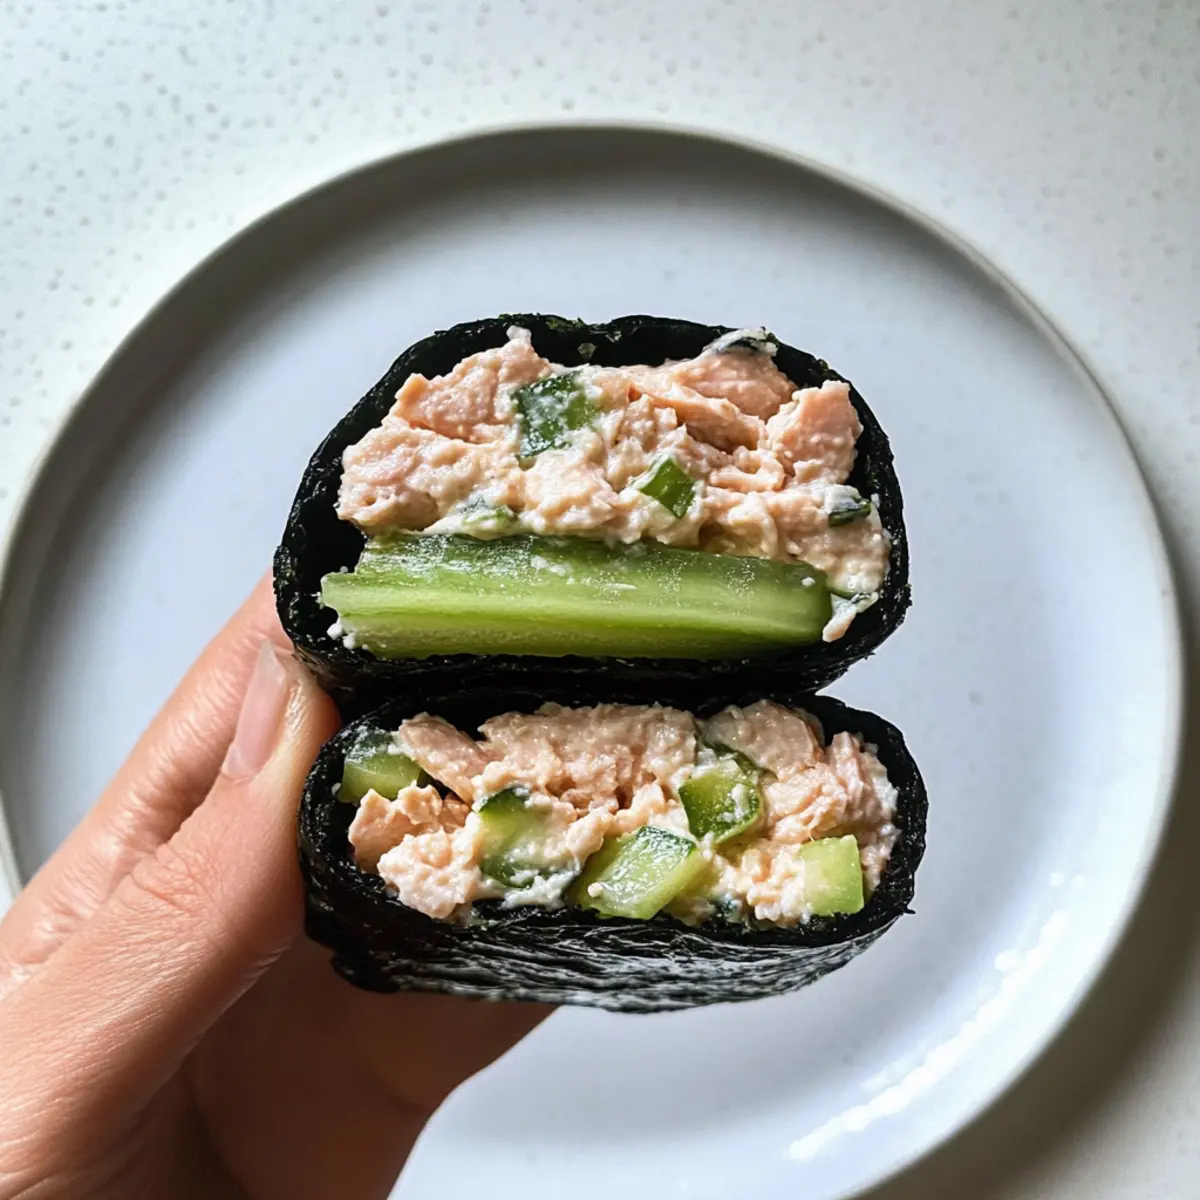
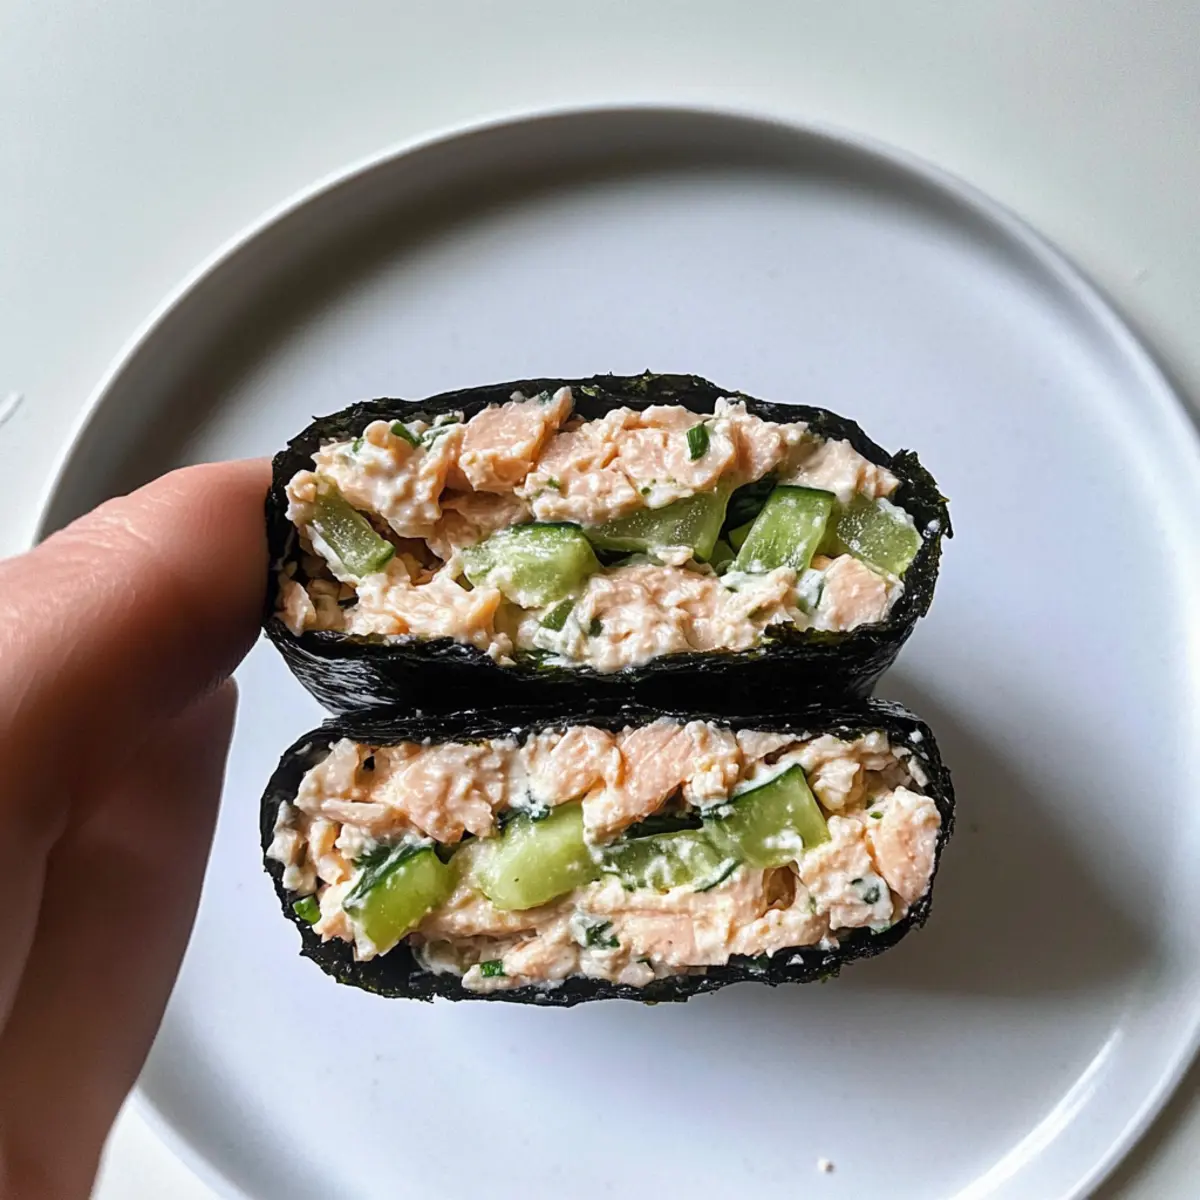
Once your Tuna Salad Nori Wrap is securely rolled, use a sharp knife to slice it into bite-sized pieces, about 2-inch wide. The vibrant colors of the tuna and nori should create an appetizing presentation. Arrange the slices on a plate and serve immediately, ideally with some pickled ginger or a light salad for a refreshing meal.
Tuna Salad Nori Wraps Variations
Customize your wraps with these playful twists that add a delightful touch to your Tuna Salad Nori Wraps.
-
Canned Salmon: Substitute canned tuna with canned salmon for a different yet equally delicious source of protein. You’ll still enjoy the same savory blend with a unique flavor twist.
-
Greek Yogurt: Swap mayonnaise for Greek yogurt to lighten things up a bit. This swap adds a tangy note and boosts the creaminess without all the calories.
-
Vegetable Medley: Add diced cucumbers and bell peppers to the tuna mixture for an extra crunch. You can also try mixing in shredded carrots for a colorful touch!
-
Spicy Sriracha: A dash of sriracha brings some heat. It adds a wonderful kick that perfectly balances the creamy tuna, making each bite an exciting explosion of flavor.
-
Fresh Herbs: Toss in some chopped cilantro or green onions to brighten up the filling. These herbs deliver a vibrant freshness that complements the savory nori beautifully.
-
Lettuce Wraps: For a low-carb option, swap nori sheets with large leaves of lettuce. This variant makes for a refreshing wrap that still delivers on flavor.
-
Nutty Sesame: Include toasted sesame seeds in the mixture for an added crunch and nutty flavor that complements the richness of the tuna salad.
For more appealing recipes, you can enjoy these Chili Chicken Wraps or pair with a refreshing Feta Avocado Salad!
What to Serve with Tuna Salad Nori Wraps
The refreshing and umami-packed flavor of these wraps pairs beautifully with a variety of side dishes and beverages!
- Pickled Ginger: Adds a zesty bite that complements the savory tuna salad, transforming each bite into a flavorful experience.
- Crispy Edamame: Crunchy, nutty, and packed with protein, these make for a satisfying contrast to the soft texture of the wraps.
- Cucumber Salad: The refreshing coolness of a cucumber salad brings a crisp element that lightens the meal.
- Miso Soup: Warm and comforting, miso soup adds a savory depth and warmth that perfectly balances the lightness of the wraps.
- Green Tea: A delicate cup of green tea provides a soothing, healthful drink that enhances the overall experience with its earthy flavor.
- Fruit Skewers: A bright assortment of fresh fruit adds sweetness and vibrant colors to your meal, making it feel like a balanced feast.
- Potato Chips: For a crunchy side, opt for lightly salted, kettle-cooked potato chips; their salty crunch balances the creamy filling beautifully.
- Sesame Seed Crackers: These lend a nutty flavor and texture, making a delightful crunchy accompaniment to go with the wraps.
- Matcha Latte: This creamy, sweetened version of traditional matcha complements the umami richness of the tuna, creating a harmonious meal.
Make Ahead Options
These Tuna Salad Nori Wraps are perfect for meal prep enthusiasts! You can prepare the tuna salad up to 3 days in advance, storing it in an airtight container in the refrigerator. Simply drain the canned tuna and mix it with mayonnaise, diced celery, and sesame oil as per the recipe instructions, then season to taste. While the tuna salad can be made ahead, it’s best to assemble the wraps on the day of serving to maintain the nori’s crispness. When you’re ready to enjoy, simply roll the prepped tuna mixture in fresh nori sheets, and you’ll have delicious, satisfying wraps with minimal effort and maximum flavor!
Storage Tips for Tuna Salad Nori Wraps
- Fridge: Store any leftover tuna salad in an airtight container in the fridge for up to 3 days. This keeps your Tuna Salad Nori Wraps fresh and ready for quick assembly.
- Wrap Nori Separately: If you have leftover wraps, it’s best to store the nori sheets separately from the tuna mixture to prevent sogginess. Assemble them just before eating for that perfect crunchy texture.
- Freezer: The tuna salad mixture can be frozen in an airtight container for up to 2 months. When ready to use, thaw it in the fridge overnight before assembling your wraps.
- Reheating: If you opted to toast the nori sheets, you can briefly reheat them in a dry skillet for a few seconds. This helps regain some crispness before serving your wraps, ensuring you enjoy their delicious texture.
Expert Tips for Tuna Salad Nori Wraps
-
Drain Carefully: Ensure to drain the canned tuna well to prevent a soggy wrap that can fall apart when rolled.
-
Toast Nori for Crispiness: Lightly toasting the nori sheets enhances their flavor and adds a delightful crispness, making your Tuna Salad Nori Wraps even more enjoyable.
-
Assemble Fresh: For the best texture, assemble the wraps on the day you plan to eat them. Store leftover tuna salad in the fridge for up to 3 days.
-
Experiment with Fillings: Don’t hesitate to add extra ingredients like diced avocado or shredded carrots for nutritional boost and variations in flavor; it truly elevates the dish!
-
Use Sharp Knife: When slicing the rolls, use a sharp knife to achieve clean cuts that showcase the vibrant filling. A dull knife can squish the wraps and ruin their appearance.
Tuna Salad Nori Wraps Recipe FAQs
How do I choose ripe ingredients for my Tuna Salad Nori Wraps?
Absolutely! For the best texture and flavor, ensure your celery is firm and crunchy with no dark spots. It should feel crisp when you bite into it. If you’re using fresh vegetables as substitutes, look for cucumbers that are smooth and shiny, with no blemishes.
How should I store leftovers from the Tuna Salad Nori Wraps?
It’s best to store any leftover tuna salad in an airtight container in the fridge for up to 3 days. This keeps it fresh and prevents any smells from permeating your fridge. However, store any assembled wraps and the nori sheets separately to avoid them becoming soggy. Assemble the wraps fresh for the best crunch!
Can I freeze the filling for these Tuna Salad Nori Wraps?
Yes, you can! The tuna salad mixture can be frozen in an airtight container for up to 2 months. Here’s how:
- Prepare the tuna salad as per the recipe and let it cool completely.
- Spoon the mixture into a freezer-safe container, leaving some space at the top for expansion.
- Seal tightly and label with the date.
When you’re ready to use it, simply thaw it in the fridge overnight and then assemble your wraps fresh!
What if my wraps become soggy?
If you find your wraps are soggy, this usually happens due to excess moisture in the tuna or not toasting the nori. Make sure to drain the tuna properly before mixing. For a crispier nori, consider toasting the sheets lightly before assembly, which can help maintain their texture. If you end up with soggy wraps, try adding some crispy veggies or even starting with fresh lettuce leaves instead!
Are there any dietary considerations for Tuna Salad Nori Wraps?
Very! These wraps are naturally gluten-free, paleo, and can be made dairy-free, making them a fantastic option for various diets. Always check your mayo or any substitutes you plan to use to ensure they fit your dietary needs. I often recommend Greek yogurt as a healthier alternative to mayonnaise, just be mindful if you’re allergic to dairy. If you have pets, be careful with leftovers, particularly concerning any ingredients that may not be suitable for them.
What are the best alternatives if I don’t have nori sheets?
No worries! If nori sheets aren’t available, you can switch things up by using large lettuce leaves as a low-carb alternative. Just ensure you choose sturdy lettuce like romaine or butter lettuce, which can stand up to the filling without tearing. Or you could even use whole grain tortillas for a more traditional wrap style!
Tuna Salad Nori Wraps for a Quick, Healthy Snack
Ingredients
Equipment
Method
- Drain a can of tuna thoroughly and place it into a mixing bowl. Use a fork to break the tuna into small, flaky pieces. Add creamy mayonnaise, diced celery, and a splash of sesame oil. Season with salt and pepper, mixing until fully combined.
- Lay out your nori sheets flat on a clean surface. Optionally toast them lightly in a pan for 10-15 seconds until fragrant.
- Spoon a generous line of the tuna mixture onto one edge of the nori sheet, leaving an inch at the sides for easier rolling.
- Starting from the edge with the tuna mixture, roll the nori sheet away from you, applying gentle pressure and folding in the sides until you reach the end.
- Slice the rolled nori into bite-sized pieces, arrange on a plate, and serve immediately.
Leave a Reply