
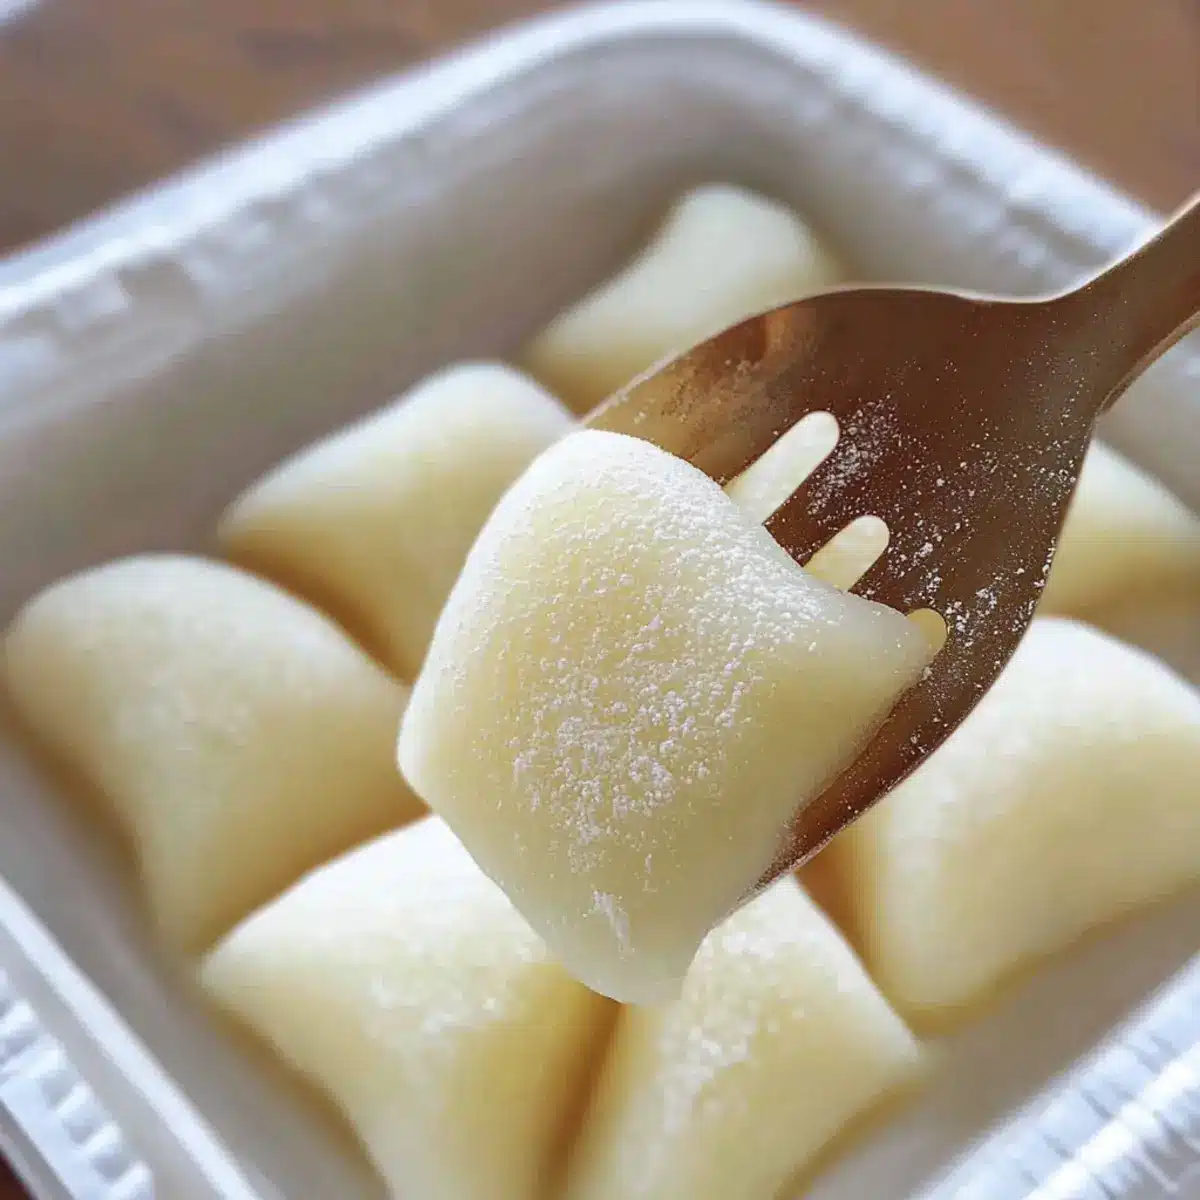
As I stirred the pot, the warm scent of creamy goodness wafted through the kitchen, instantly transforming my space into a welcoming haven. Today, I’m excited to share my Milk Mochi Recipe, a delightful treat that’s as simple as it is satisfying. This quick dessert captures the essence of traditional Japanese rice cakes, combining the soft chewiness of glutinous rice flour with the comforting richness of milk—without any complicated techniques. Not only is it gluten-free, but it also allows you to whip up a crowd-pleaser in no time. Imagine presenting your loved ones with these pillowy morsels, perfect for enjoying alongside a cup of tea or as a light dessert. Are you ready to embark on this delicious journey with me? Let’s jump into crafting this special treat!
What makes milk mochi special?
Simplicity at its finest: This milk mochi recipe is incredibly easy, requiring minimal ingredients and no advanced techniques—perfect for both novice and experienced cooks.
Creamy, rich texture: The use of whole milk not only enhances the creaminess but also creates a delightful chew that elevates the mochi’s flavor.
Gluten-free goodness: Made with glutinous rice flour, this treat is a gluten-free option that everyone can enjoy, making it an ideal dessert for gatherings.
Quick and satisfying: In less than 30 minutes, you can have a delectable dessert ready to impress your family and friends. Pair it with a cup of tea, or enjoy it as a light after-dinner treat!
Versatility at play: Feel free to customize your mochi with various flavors or fillings—imagine adding matcha or sweet red bean paste for a delightful twist!
Milk Mochi Ingredients
• For the Mochi Base
- Glutinous Rice Flour – This is the star ingredient that gives milk mochi its signature chewiness. If you can’t find it, sweet rice flour works as a substitute!
- Cornstarch – Helps achieve a smoother texture and reduces stickiness, making your mochi easier to handle.
- Sugar – Adds the perfect amount of sweetness; feel free to adjust based on your taste preferences.
- Corn Oil – Keeps the mochi moist and prevents sticking; any neutral oil can work in its place.
- Whole Milk – Enhances the creamy flavor; if you prefer a dairy-free option, almond or oat milk can be great alternatives.
• For Coating
- Roasted Soybean Flour – This nutty coating pairs beautifully with the sweetness of the milk mochi; you can try roasted glutinous rice flour for a different flavor twist!
Prepare your ingredients, and you’ll be on your way to making this delightful Milk Mochi recipe in no time!
Step‑by‑Step Instructions for Milk Mochi Recipe
Step 1: Mix the Ingredients
In a large mixing bowl, combine 150g of glutinous rice flour, 30g of cornstarch, 25g of sugar, 20g of corn oil, and 290g of whole milk. Whisk together until the mixture is smooth and free of lumps, ensuring that the ingredients are fully incorporated. This creamy batter will lay the foundation for your delicious Milk Mochi.
Step 2: Strain the Mixture
(Optional but recommended) To achieve a flawless texture, pour the combined mixture through a fine mesh strainer into another bowl. This step will eliminate any remaining lumps, ensuring a velvety smooth base for your Milk Mochi. Once strained, the mixture will be more consistent, leading to a delightful final product.
Step 3: Cook the Mochi Base
Transfer the strained mixture into a non-stick pan over low heat. Stir continuously with a spatula for about 10–15 minutes. As you cook, observe how the mixture thickens and begins to pull away from the sides of the pan, forming a cohesive mass. The dough should become glossy and elastic when it’s fully cooked; this is the perfect moment to remove it from the heat.
Step 4: Knead the Dough
Allow the cooked mochi mixture to cool for a few minutes until it’s manageable to touch. Then, dust your hands lightly with cornstarch and knead the dough for about 5 minutes until it feels elastic and smooth. This kneading process will enhance the chewiness of your Milk Mochi, making it irresistibly tender.
Step 5: Shape the Mochi
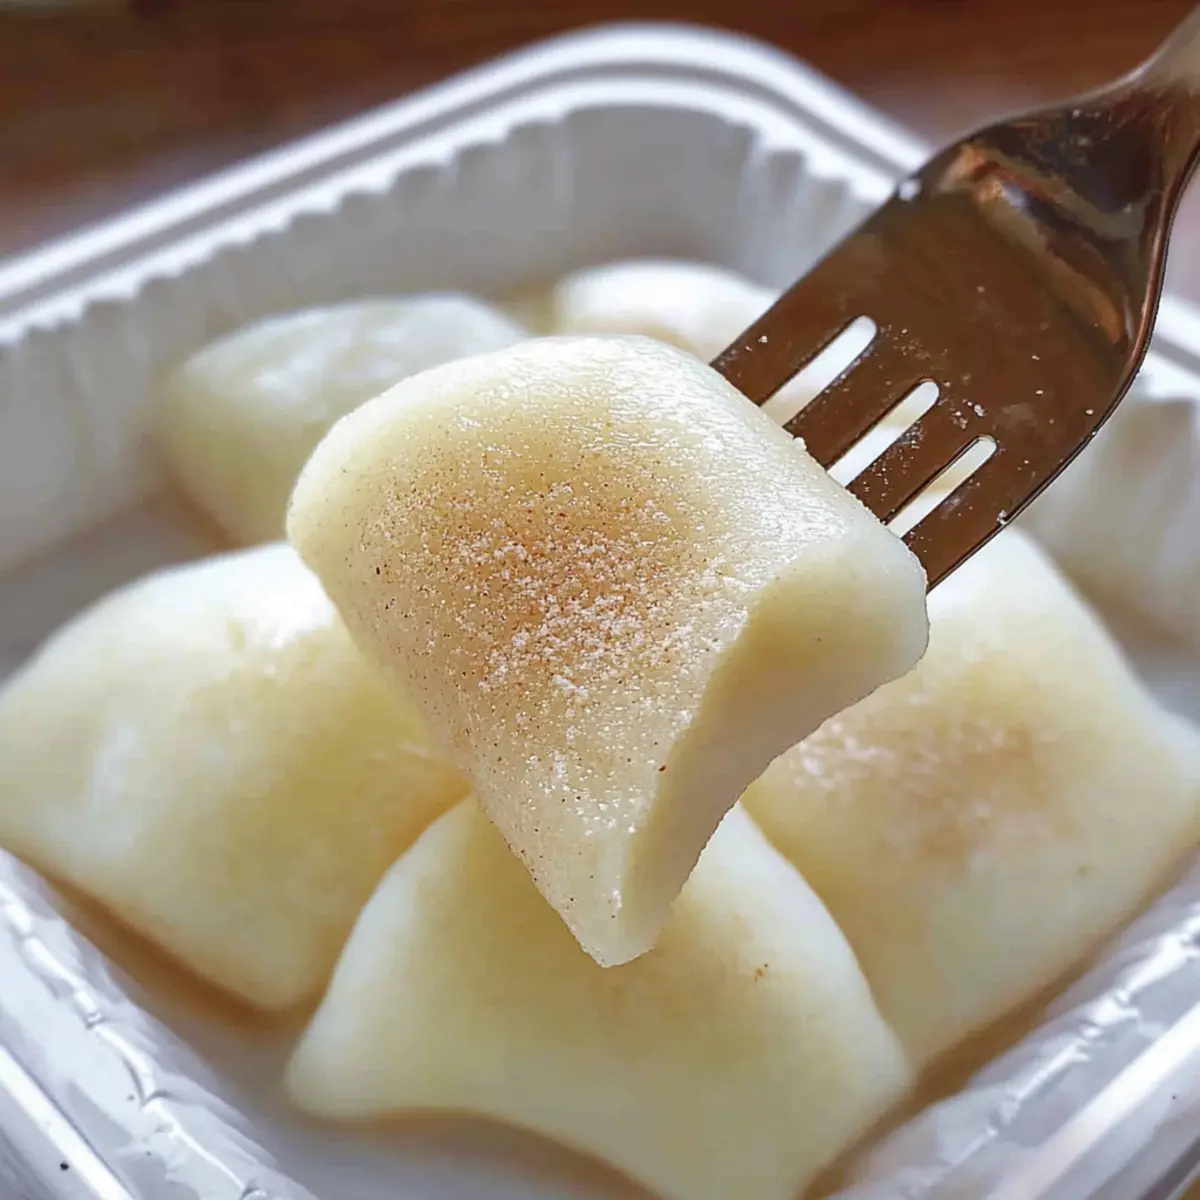
Once the dough is well-kneaded, form it into a long strip, about 1 inch thick. Using a sharp knife, cut the dough into triangular or preferred shapes, ensuring they are uniform for even texture. Each piece should showcase the beautiful glistening surface, highlighting the delightful Milk Mochi you’re about to enjoy.
Step 6: Coat with Soybean Flour
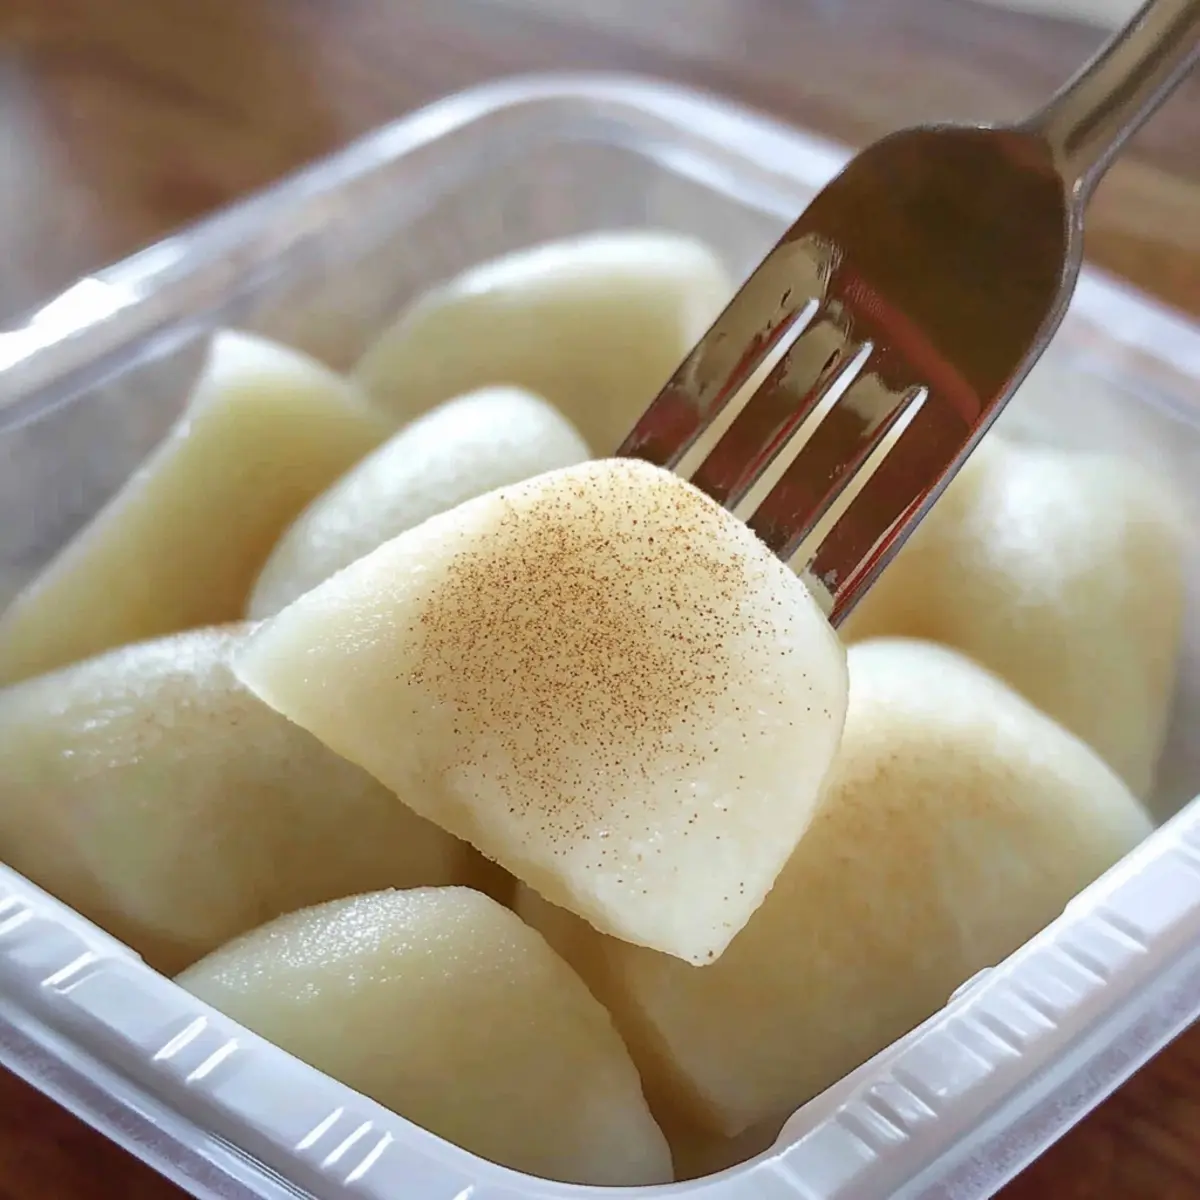
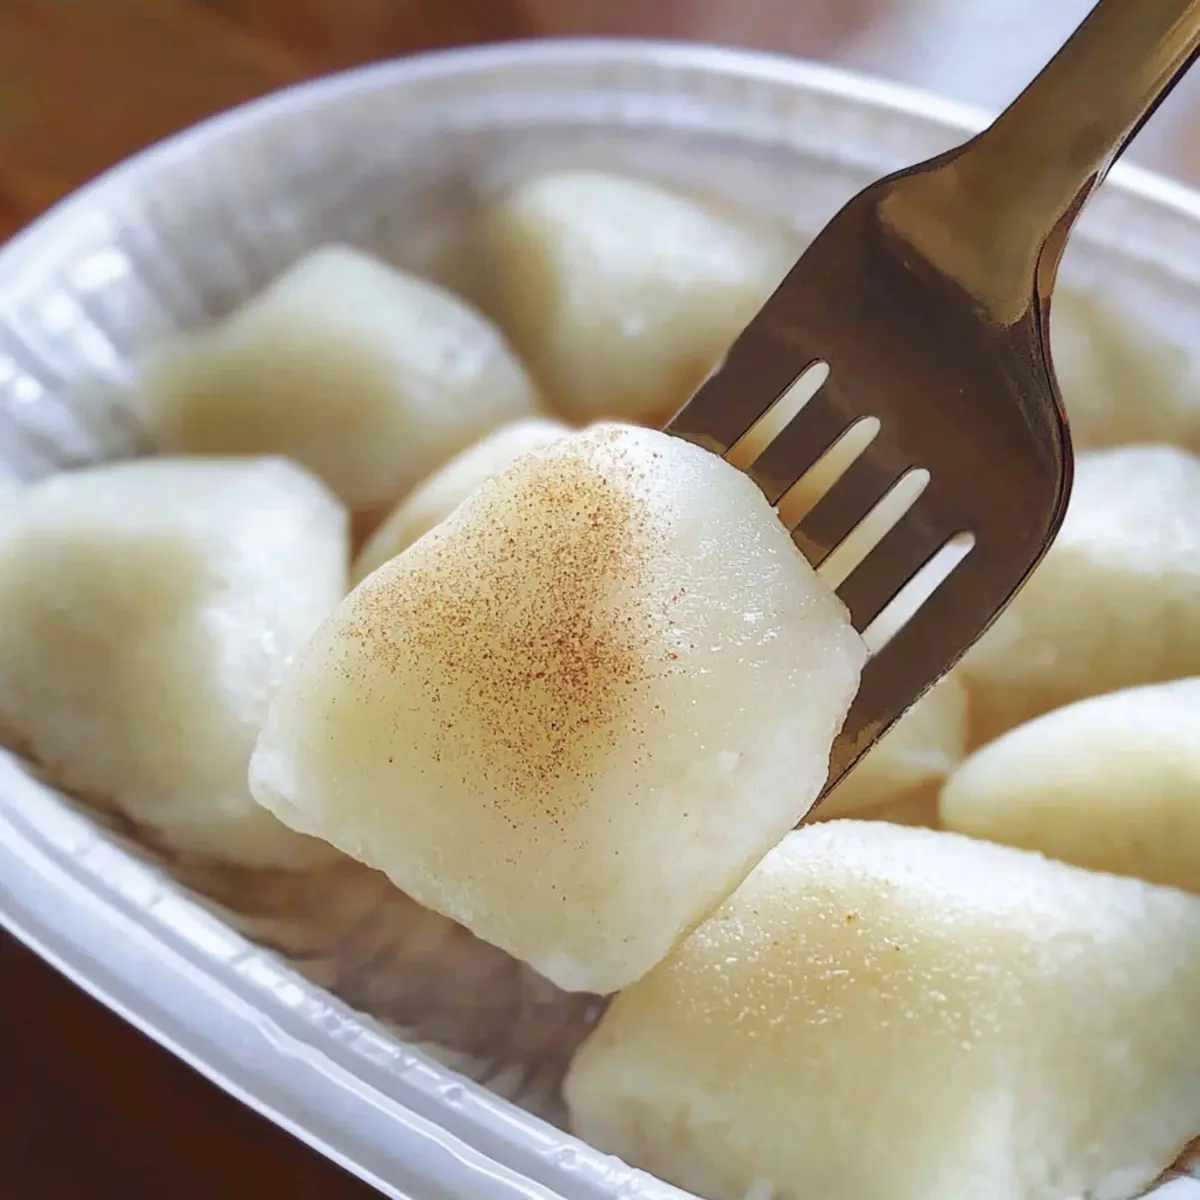
To finish off your Milk Mochi, prepare a plate with roasted soybean flour. Gently roll each piece of mochi in the flour, coating all sides evenly. This not only adds a nutty flavor but also prevents the mochi from sticking together. Your Milk Mochi is now beautifully dressed and ready to be enjoyed!
How to Store and Freeze Milk Mochi
Room Temperature: Store your milk mochi in an airtight container at room temperature for up to 2 days to maintain its delightful texture and flavor.
Fridge: If you have leftovers, refrigerate them in an airtight container for up to a week. Allow the mochi to come to room temperature before serving for the best experience.
Freezer: For longer storage, freeze the individual pieces of milk mochi separated by parchment paper in an airtight container for up to 3 months. Thaw in the fridge before enjoying.
Reheating: To serve your frozen milk mochi, simply allow it to thaw, or for a warm treat, microwave each piece for about 10-15 seconds, ensuring they stay soft and chewy.
Milk Mochi Recipe Variations
Feel free to explore and customize your milk mochi to suit your taste buds and dietary needs!
-
Dairy-Free: Substitute whole milk with almond or oat milk for a creamy, lactose-free delight. You’ll still enjoy the soft chewiness minus the dairy!
-
Sweetness Adjustments: Try using honey or maple syrup instead of sugar for a natural sweetness. This adds a unique flavor profile that beautifully complements the mochi.
-
Flavored Mochi: Add 1-2 teaspoons of matcha powder for a delightful green tea twist. Not only does it introduce color, but it also elevates the flavor!
-
Filled Mochi: Incorporate a surprise filling of sweet red bean paste or chocolate in the centers before shaping. It makes each bite a delightful adventure!
-
Nutty Coating: Swap roasted soybean flour with finely chopped nuts or coconut flakes for an extra crunchy texture. This twist enhances both flavor and appearance.
-
Fruity Infusion: Mix in a few drops of fruit extract like strawberry or vanilla to the dough for a fresh fruity burst. It transforms your mochi into a delightful seasonal treat!
-
Texture Variation: For a chewier experience, use less cornstarch and add in some finely shredded coconut to the dough. The coconut adds unique flavor and chewiness.
-
Spice it Up: Sprinkle in a dash of cinnamon or powdered ginger for a warm embrace of spice. It elevates the flavors and adds an aromatic twist to your mochi!
Enjoy your culinary exploration with this milk mochi base and consider pairing it with these delectable treats like Moist Banana Bread or serve alongside Baked Feta Eggs for an unforgettable meal!
What to Serve with Simple Milk Mochi
The delicate flavors of milk mochi create endless possibilities for pairing, turning a simple dessert into a delightful experience.
- Green Tea: The earthy notes of green tea perfectly complement the sweet and creamy mochi, bringing balance to each bite.
- Fresh Berries: A mix of bright strawberries and blueberries adds a refreshing contrast to the rich mochi, unlocking a burst of juicy flavor.
- Coconut Ice Cream: This tropical twist not only enhances the creamy texture but also adds a cool, sweet element that pairs beautifully.
- Miso Caramel Sauce: This unexpected pairing offers a savory depth that beautifully offsets the mochi’s sweetness, creating a delightful fusion of flavors.
- Roasted Nuts: Their crunchy texture provides a satisfying contrast to the soft, chewy mochi, elevating the overall eating experience.
- Yuzu Sorbet: This zesty sorbet adds a refreshing citrus brightness that cuts through the richness of the mochi, making each bite a delight!
- Matcha Latte: A warm, frothy matcha latte enhances the mochi’s flavors with its gentle bitterness, creating a harmonious combination that soothes the soul.
- Fruit Salad: A light and refreshing fruit salad with mint brings colors and bright flavors that perfectly balance the soft mochi.
- Almond Milk: For a comforting drink that links its creamy texture with the mochi’s richness, almond milk is a fantastic non-dairy companion.
Make Ahead Options
These Milk Mochi are perfect for meal prep enthusiasts! You can prepare the mochi dough up to 24 hours in advance. Simply follow the steps until the cooking is complete, and then allow the dough to cool. Once cooled, wrap it tightly in plastic wrap and refrigerate. This will help preserve the mochi’s texture and prevent it from drying out. When you’re ready to serve, simply knead the dough for a few moments to bring it back to life, cut it into shapes, and coat with roasted soybean flour before serving. You’ll have delicious, homemade Milk Mochi ready to impress with minimal effort!
Expert Tips for Perfect Milk Mochi
• Use a Non-Stick Pan: This is crucial to avoid sticking and burning. A non-stick pan ensures your mixture cooks evenly while maintaining its smooth texture.
• Knead Well: Proper kneading is key to achieving the ideal chewy texture. It should be elastic and stretch without breaking.
• Adjust Sweetness: Remember that sugar is important for the flavor. Taste the mixture before cooking and adjust as necessary to make your milk mochi just right.
• Experiment with Coating: While roasted soybean flour is traditional, feel free to try different coatings. Roasted glutinous rice flour or even coconut flakes can add a unique twist to your milk mochi.
• Mind the Heat: Cooking over low heat is essential. If the heat is too high, the mochi may cook too quickly and become lumpy instead of creamy.
Enjoy making your milk mochi recipe, and remember, practice makes perfect!
Milk Mochi Recipe FAQs
What should I look for when selecting glutinous rice flour?
When selecting glutinous rice flour, look for a finely milled, fluffy texture, typically found in Asian grocery stores or online. Ensure there are no clumps and check for a packaging date to ensure freshness. Fresh flour will lend the best flavor and texture to your milk mochi.
How should I store leftover milk mochi?
After making your milk mochi, store it in an airtight container at room temperature for up to 2 days. If you need to keep it longer, simply refrigerate it for up to a week. For the best taste and texture, make sure to bring the refrigerated mochi back to room temperature before serving.
Can I freeze milk mochi? If so, how?
Absolutely! To freeze milk mochi, first, cut it into pieces and place them in a single layer on a baking sheet lined with parchment paper, ensuring they don’t touch. Freeze for about 1-2 hours until firm, then transfer the pieces to an airtight container with parchment paper between layers. They can be frozen for up to 3 months. When you’re ready to enjoy them, thaw the mochi in the fridge or microwave for 10-15 seconds for a warm treat.
How can I troubleshoot if my milk mochi turns out too sticky?
If your milk mochi is too sticky, it could be due to undercooking. Cook the mixture a little longer, stirring continuously until it pulls away from the sides of the pan and becomes glossy. Additionally, make sure to coat the mochi thoroughly with roasted soybean flour or cornstarch to minimize stickiness when handling.
Is this milk mochi safe for people with gluten allergies?
Yes, the milk mochi recipe is gluten-free as it is made with glutinous rice flour, which is suitable for those who cannot consume gluten. However, always check the packaging of the flour and other ingredients to ensure there are no cross-contaminants, especially if you have severe allergies.
What alternative ingredients can I use for a dairy-free version?
If you’re looking to make a dairy-free version of the milk mochi, simply substitute whole milk with almond milk, oat milk, or coconut milk. While this may slightly alter the texture, it will still yield a deliciously chewy treat. You can also use a non-dairy butter alternative if you prefer a richer flavor!
Creamy Milk Mochi Recipe: Your New Favorite Quick Treat
Ingredients
Equipment
Method
- In a large mixing bowl, combine glutinous rice flour, cornstarch, sugar, corn oil, and whole milk. Whisk until smooth.
- Pour the mixture through a fine mesh strainer into another bowl to eliminate lumps.
- Transfer the strained mixture into a non-stick pan over low heat. Stir continuously for 10–15 minutes until thickened.
- Allow the mixture to cool slightly, then dust hands with cornstarch and knead for about 5 minutes until elastic.
- Shape the dough into a long strip about 1 inch thick and cut into triangular or preferred shapes.
- Coat each piece of mochi with roasted soybean flour, ensuring even coverage.
Leave a Reply