
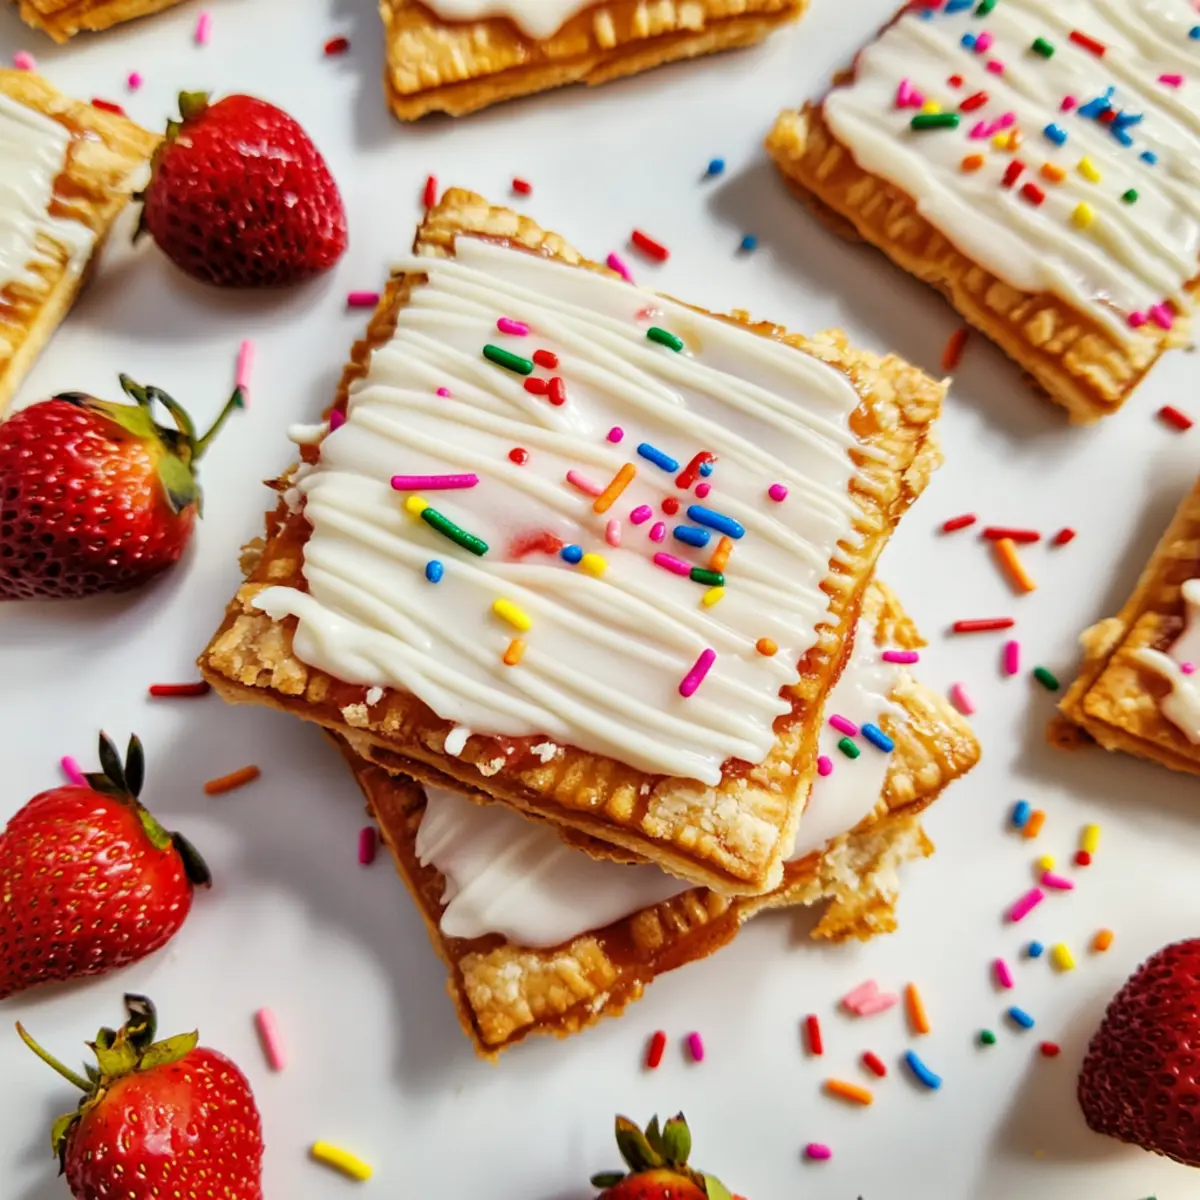
As I stood in my kitchen, the sweet aroma of strawberries wafted through the air, instantly transporting me back to summer days filled with childhood treats. Today, I’m excited to share my recipe for Homemade Strawberry Pop Tarts, a nostalgic delight that brings the joy of baking straight to your home. With a flaky, buttery crust hugging rich strawberry preserves and a sweet vanilla glaze on top, these pop tarts are not only a mouthwatering experience but also a healthier alternative to their store-bought counterparts. Plus, they’re completely customizable, allowing you to experiment with various fruit fillings that suit your taste! Whether you’re seeking a fun breakfast option or an afternoon snack, this recipe for Homemade Strawberry Pop Tarts will leave you—and anyone you share them with—smiling. Are you ready to rediscover this classic treat?
Why Make Homemade Strawberry Pop Tarts?
Nostalgic Flavors: Bring back memories of childhood with these delightful pastries that remind you of summer days spent in the sun.
Customizable Goodness: Whether you stick with classic strawberry preserves or venture into raspberry or blueberry, the choice is yours!
Simple Preparation: With a straightforward process, these pop tarts require minimal baking skills—perfect for both seasoned chefs and novice bakers.
Crowd-Pleasing Snack: These treats are sure to win over family and friends, making them a hit at brunches or snack time!
Better Ingredients: Unlike store-bought options, you control the sweetness and choice of fillings, allowing you to create a healthier snack without compromising on flavor.
Imagine pairing these delicious homemade strawberry pop tarts with a refreshing glass of milk or a side of fresh fruit for an unforgettable treat. To explore more delightful variations, check out my Strawberry Swirl Cheesecake for a creamy indulgence or the fun Strawberry Crunch Cheesecake Tacos as a dessert twist!
Homemade Strawberry Pop Tarts Ingredients
For the Pastry
• All-Purpose Flour – Key structure for the pastry; can be substituted with gluten-free flour if needed.
• Granulated Sugar – Adds sweetness and balances flavor; it can be reduced or swapped for coconut sugar.
• Cinnamon – Enhances the flavor profile; consider omitting for a more neutral taste.
• Fine Sea Salt – Balances sweetness; kosher salt works as a great substitute.
• Unsalted Butter – Provides flakiness; make sure it’s cold and cubed for best results; margarine can also work as a non-dairy alternative.
• Cold Water – Essential for binding the dough together; cold temperature keeps the pastry flaky, so adjust the quantity if needed.
For the Filling
• Strawberry Preserves – The delightful filling for the pop tarts; feel free to substitute with any fruit preserves or jam of your choice.
For the Glaze
• Powdered Sugar – Forms a sweet icing for the tarts; sugar alternatives can replace it for low-sugar diets.
• Vanilla Extract – Adds flavor to the glaze; it can be omitted if unavailable, but it does enhance the overall taste.
• Milk – Necessary for the glaze; non-dairy milk can be used if desired.
• Corn Syrup – Helps the icing set; you can omit it for a simpler glaze, but results may vary.
For Topping
• Sprinkles (optional) – Perfect for adding a decorative touch; feel free to use any toppings you prefer for customization.
Step‑by‑Step Instructions for Homemade Strawberry Pop Tarts
Step 1: Preheat the Oven
Begin by preheating your oven to 375°F (190°C). While the oven warms, line a couple of baking sheets with parchment paper to prepare for your homemade strawberry pop tarts. This will ensure that your tarts bake evenly and won’t stick to the pans.
Step 2: Prepare the Pastry Dough
In a food processor, combine all-purpose flour, granulated sugar, cinnamon, and fine sea salt, pulsing to mix thoroughly. Next, add cold, cubed unsalted butter, pulsing until the mixture resembles sandy crumbs. This creates the flaky texture ideal for your pop tarts, so take your time with this step.
Step 3: Form the Dough
Gradually pour cold water mixed with honey into the processor while pulsing just until a dough forms. Be sure not to overmix; you want it to come together without being sticky. Once mixed, turn the dough out onto a floured surface and form it into a disc for easier rolling.
Step 4: Chill the Dough
Wrap the disc of dough tightly in plastic wrap and refrigerate it for at least 30 minutes, or up to an hour. Chilling the dough is crucial as it allows the butter to solidify, leading to a flaky texture in your homemade strawberry pop tarts.
Step 5: Roll and Cut the Dough
After chilling, roll the dough out on a lightly floured surface to about 1/8-inch thickness. Cut the rolled dough into rectangles measuring approximately 3″x4″. You should have an even number of rectangles to ensure each pop tart has a top and bottom.
Step 6: Fill the Pastries
Take half of the rectangles and spoon a generous amount of strawberry preserves onto the center of each. Brush the edges with water using your fingertip; this helps seal the pastries when you place the tops on. Cover with the remaining rectangles and crimp the edges with a fork to secure.
Step 7: Bake the Pop Tarts
Place the filled pastries on your prepared baking sheets and bake in the preheated oven for about 25 minutes. Keep an eye on them; you want the pop tarts to turn a beautiful golden brown. The enticing aroma will fill your kitchen, signaling their readiness!
Step 8: Make the Glaze
While the homemade strawberry pop tarts cool slightly, prepare the glaze by whisking together powdered sugar, vanilla extract, milk, and corn syrup in a bowl until smooth and glossy. Adjust the consistency as needed; it should be thick enough to drizzle but still pourable for a beautiful finish.
Step 9: Glaze the Pastries
Once the pop tarts have cooled for about 10 minutes on a wire rack, drizzle the glaze generously over the tops. Make sure to let the glaze drip slightly down the sides for that classic look. Add sprinkles if desired while the glaze is still wet for a colorful touch.
Step 10: Allow to Set and Serve
Let the glaze dry for at least 30 minutes before serving your homemade strawberry pop tarts. This waiting period allows the glaze to set properly, ensuring a delightful crunch when you take a bite. Serve and enjoy this nostalgic treat that brings back sweet childhood memories!
Expert Tips for Homemade Strawberry Pop Tarts
Keep It Cold: Ensure all ingredients, especially the butter, are cold. This keeps the pastry flaky—key to achieving the perfect texture in your homemade strawberry pop tarts.
Don’t Overfill: Be mindful not to overfill the pastries with strawberry preserves to avoid messy overflow during baking. A tablespoon per tart is just about right.
Chill the Dough: Refrigerating the dough before rolling not only enhances flakiness but also makes it easier to work with. Give it at least 30 minutes!
Crimp Securely: Crimp the edges of the pastries with a fork to seal them properly. This prevents any leaks and ensures a beautiful, polished look.
Adjust Consistency: When making the glaze, feel free to adjust the consistency with milk or powdered sugar until you achieve the perfect drizzle for your pop tarts.
How to Store and Freeze Homemade Strawberry Pop Tarts
Room Temperature: Store in an airtight container at room temperature for up to 3 days to maintain freshness; enjoy soft yet flaky delights.
Fridge: For longer storage, place them in the fridge for up to 5 days; keep covered to prevent them from drying out.
Freezer: Freeze individually wrapped pop tarts for up to 3 months; flash freeze them on a baking sheet before transferring to a freezer bag.
Reheating: To enjoy, reheat frozen pop tarts in a toaster oven or microwave until warm; the glaze may lose some shine but the flavor remains delightful!
Make Ahead Options
These Homemade Strawberry Pop Tarts are perfect for busy home cooks looking to simplify meal prep! You can prepare the pastry dough up to 24 hours in advance by wrapping it tightly in plastic wrap and storing it in the refrigerator. Additionally, you can fill the cut rectangles with strawberry preserves up to 3 days ahead of time; simply refrigerate the filled pastries on a baking sheet covered with plastic wrap. When you’re ready to bake, just preheat your oven, bake the pastries directly from the fridge (adding a couple of minutes to the baking time), and finish with your homemade glaze for that delightful, freshly-crafted taste! This method saves time while keeping your pop tarts just as delicious as if made on the day of serving.
Homemade Strawberry Pop Tarts Variations
Embrace your inner chef and personalize these delightful pop tarts with easy twists and substitutions!
-
Alternative Fillings: Switch out strawberry preserves for raspberry, blueberry, or even peach for a whole new flavor experience!
-
Vegan Option: Replace the egg wash with a plant-based milk wash for a delightful dairy-free treat that everyone can enjoy.
-
Gluten-Free Crust: Use a gluten-free flour blend instead of all-purpose flour, ensuring everyone can indulge in these treats.
-
More Spice: Add a pinch of nutmeg or a dash of cardamom to the pastry for an aromatic twist that deepens the flavor.
-
Sweet Twists: Substitute granulated sugar with honey or maple syrup in the dough for added moisture and a different sweetness profile.
-
Texture Variety: Add finely chopped nuts or coconut flakes to the filling for a crunchy contrast to the soft pastries.
-
Choco-Delight: Drizzle melted chocolate over the glaze instead of the traditional sprinkles for a rich, indulgent treat.
-
Mini Pop Tarts: Create bite-sized versions using smaller rectangles for a fun, snackable treat that’s perfect for gatherings or lunchboxes!
For more delicious ideas, don’t miss out on my scrumptious Strawberry Crunch Cheesecake Tacos or the decadent flavor of the Red Velvet Strawberry cheesecake!
What to Serve with Homemade Strawberry Pop Tarts?
Nothing elevates your homemade strawberry pop tarts like delightful side dishes that complement their sweet, fruity perfection.
-
Creamy Yogurt: A dollop of yogurt balances the sweetness of the pop tarts, adding a tangy twist and a creamy texture that makes every bite delightful.
-
Fresh Berries: Serve with a mix of fresh strawberries, blueberries, and raspberries to enhance the fruitiness, providing a burst of flavor and color on your plate.
-
Chilled Milk: A classic pairing, a tall glass of cold milk not only quenches your thirst but also complements the sweetness of the pop tarts, making them even more enjoyable.
-
Whipped Cream: Light and creamy, whipped cream can be spread over the pop tarts for added richness, taking your nostalgic treat to a new level of indulgence.
-
Homemade Fruit Sauce: Drizzle a sweet or tangy fruit sauce over the top for an added burst of flavor, echoing the pop tart filling and enhancing the overall sweetness.
-
Coffee or Tea: A warm cup of coffee or herbal tea acts as a lovely counterpart to your sweet pastries, providing a comforting contrast that can elevate your snacking experience.
-
Ice Cream: For a decadent dessert twist, serve warm pop tarts with a scoop of vanilla ice cream. The melt-in-your-mouth combination is simply irresistible!
Homemade Strawberry Pop Tarts Recipe FAQs
How do I know my strawberries are ripe for making preserves?
Absolutely! Look for strawberries that are bright red, plump, and have a sweet aroma. Avoid any berries with dark spots or signs of overripeness, as those will not provide the best flavor for your preserves. Ideally, you’ll want your strawberries to be firm and juicy, which ensures a delightful filling in your pop tarts.
How should I store leftover homemade strawberry pop tarts?
You can store your homemade strawberry pop tarts in an airtight container at room temperature for up to 3 days. If you wish to keep them longer, they can be placed in the fridge for up to 5 days. Just make sure to keep them covered to prevent them from drying out and losing that flaky texture we all love.
Can I freeze homemade strawberry pop tarts?
Yes, freezing is a great option! To freeze your pop tarts, individually wrap them in plastic wrap after they’ve cooled completely. Then, flash freeze them on a baking sheet for about an hour before transferring to a freezer bag. This way, they’ll last up to 3 months in the freezer. When you’re ready to enjoy, just reheat them in a toaster oven or microwave until warm.
What if my pop tarts leak filling while baking?
It happens! If you find that your pop tarts leak during baking, it usually means they were overfilled. To prevent this, stick to about a tablespoon of filling per tart. Additionally, make sure to crimp the edges securely with a fork to keep the filling inside. If leakage does occur, simply enjoy the tasty overflow—it’s still delicious!
Are there any dietary considerations I should keep in mind?
Definitely! If you have dietary restrictions or allergies, there are plenty of substitutions you can make. Use gluten-free flour instead of all-purpose for a gluten-free option, and swap the butter for dairy-free margarine if necessary. For a vegan version, replace the egg wash with a plant-based milk wash, and ensure your sugar and preserves don’t contain any animal products. Enjoy experimenting and make these homemade strawberry pop tarts your own!
Homemade Strawberry Pop Tarts - Your New Favorite Snack Treat
Ingredients
Equipment
Method
- Preheat your oven to 375°F (190°C) and line baking sheets with parchment paper.
- In a food processor, combine flour, sugar, cinnamon, and salt. Add butter and pulse until the mixture resembles sandy crumbs.
- Pour cold water while pulsing until a dough forms. Don't overmix. Form into a disc.
- Wrap the dough in plastic and refrigerate for at least 30 minutes.
- Roll out the dough to 1/8-inch thickness and cut into rectangles (3"x4").
- Spoon strawberry preserves onto half of the rectangles. Brush edges with water.
- Cover with remaining rectangles, crimp edges with a fork to seal.
- Bake for about 25 minutes until golden brown.
- Prepare the glaze by whisking together powdered sugar, vanilla, milk, and corn syrup.
- Drizzle glaze over cooled pop tarts, adding sprinkles if desired.
- Let glaze set for at least 30 minutes before serving.
Leave a Reply