
There’s something magical about the aroma of freshly baked cookies wafting through your home, isn’t there? As I stood in my kitchen, mixing together the simplest ingredients, I felt a wave of nostalgia wash over me—a reminder of late afternoons spent baking with family. Today, I’m excited to share my recipe for Perfect Classic Chocolate Chip Cookies, a delightful balance of chewy and crispy that will take your taste buds on a journey. This recipe is not only quick and easy, making it perfect for home bakers of all levels, but it’s also completely customizable—try adding nuts, or even some white chocolate chips for a fun twist! So, are you ready to fill your kitchen with the sweet smell of homemade treats? Let’s dive in!
Why Are These Cookies So Irresistible?
Warm, Buttery Bliss: There’s nothing like the cozy scent of freshly baked cookies filling your home. These classic chocolate chip cookies are a delightful combination of chewy interiors and crispy edges that will make your taste buds dance.
Quick and Easy: You don’t need to be a baking expert to whip these up! The straightforward process means you can enjoy dessert in no time, perfect for busy weeknights.
Endless Customization: Whether you prefer traditional chocolate chips or want to experiment with nuts or white chocolate, this recipe offers endless possibilities. You can even try a sprinkle of sea salt for an extra flavor pop!
Crowd-Pleaser: These cookies are an instant hit with family and friends—great for gatherings or cozy nights in! Pair them with a glass of milk or as part of a cozy dessert spread, perhaps alongside some Breakfast Egg Muffins for a perfect balance of treats.
Storable Goodness: Make a big batch and store them in an airtight container, and you’ll have a delicious snack ready whenever you crave a little sweetness!
Chocolate Chip Cookie Ingredients
• To create these delightful Chocolate Chip Cookies, gather these essentials!
For the Cookie Base
- All-Purpose Flour – Provides the best structure for these cookies; you can swap it with whole wheat flour for added nutrition.
- Baking Soda – A crucial leavening agent that helps the cookies rise; ensure it’s fresh for the best results.
- Salt – Enhances the flavor; don’t skip it! Kosher salt is preferred for its texture.
For Sweetness and Flavor
- Unsalted Butter – Adds richness and moisture; let it soften to room temperature for easier mixing.
- Brown Sugar – Brings chewiness and depth of flavor; light brown can be substituted for dark if you prefer a milder taste.
- Granulated Sugar – Sweetens the cookies and contributes to their structure; coconut sugar is a great lower glycemic substitute.
- Vanilla Extract – Infuses a wonderful aroma; use pure vanilla for an authentic taste.
For Binding and Texture
- Eggs – Binds the ingredients together while providing moisture; for a vegan option, substitute with flax eggs (mix 1 tbsp flaxseed meal with 2.5 tbsp water).
- Chocolate Chips – The star ingredient providing sweetness and texture; use dark, milk, or white chocolate based on your preference.
Feel free to customize your cookies—after all, the only limit is your imagination! Whether you want to throw in nuts or replace chocolate chips with something fun, the possibilities are endless in creating your perfect chocolate chip cookie.
Step‑by‑Step Instructions for Perfect Classic Chocolate Chip Cookies
Step 1: Preheat the Oven
Begin by preheating your oven to 350°F (175°C). This step is essential for achieving those perfectly baked cookies with a golden exterior and chewy center. While the oven warms up, gather your baking sheets and line them with parchment paper to ensure easy removal of your delicious cookies later.
Step 2: Mix Dry Ingredients
In a medium-sized bowl, whisk together the all-purpose flour, baking soda, and salt until well combined. This process helps to evenly distribute the leavening agent and seasoning throughout the flour, which ensures a consistent texture. Set this mixture aside while you prepare the wet ingredients for your perfect classic chocolate chip cookies.
Step 3: Cream Butter and Sugars
In a large mixing bowl, add the softened unsalted butter, granulated sugar, and brown sugar. Using an electric mixer, cream these ingredients together on medium speed until the mixture turns light and fluffy—about 2-3 minutes. You’ll know it’s ready when you see a pale, airy texture. This step is key to creating rich and delightful cookies!
Step 4: Incorporate Eggs and Vanilla
Slowly add in the eggs, one at a time, blending well after each addition. Then, mix in the pure vanilla extract until everything is fully incorporated. The eggs will help bind the ingredients together, contributing to the overall moisture and richness of your chocolate chip cookies. You should have a smooth, creamy batter at this point.
Step 5: Combine Wet and Dry Ingredients
Gradually add the flour mixture to the wet ingredients, mixing on low speed until just combined. This is a crucial step; overmixing can lead to tough cookies, so stop mixing once you no longer see dry flour. You’ll notice a thick and sticky dough starting to form, which is precisely what you want for your perfect classic chocolate chip cookies.
Step 6: Fold in Chocolate Chips
Carefully fold in your choice of chocolate chips using a spatula. Make sure the chocolate is evenly distributed throughout the dough. This final touch transforms your cookie batter into a chocolatey fantasy. You can use dark, milk, or even white chocolate chips based on your preference for that sweet treat you’re craving!
Step 7: Portion the Cookie Dough
Using a cookie scoop or a tablespoon, portion out the cookie dough onto your prepared baking sheets. Leave about 2 inches of space between each dough ball to allow for spreading during baking. This way, your classic chocolate chip cookies will have room to grow into golden delights without merging into one another.
Step 8: Bake the Cookies
Place the baking sheets in the preheated oven and bake the cookies for 10-12 minutes. Keep an eye on them; you’ll know they’re ready when the edges are golden brown, while the centers look slightly underbaked. This contrast will give you that irresistible chewy texture paired with a hint of crispiness.
Step 9: Cool and Enjoy
Once baked, remove the cookies from the oven and let them cool on the baking sheets for about 5 minutes. This resting time allows them to set properly. Afterward, transfer the cookies to a wire rack to cool completely. Enjoy them warm, or store them in an airtight container for later indulgence—your perfect classic chocolate chip cookies are now ready to share!
How to Store and Freeze Chocolate Chip Cookies
Room Temperature: Store your chocolate chip cookies in an airtight container at room temperature for up to 1 week to maintain their soft, chewy texture.
Freezer: For longer storage, freeze the cookies in a single layer on a baking sheet, then transfer them to a labeled freezer bag. They will keep well for up to 3 months.
Reheating: To enjoy your cookies warm, bake them from frozen at 350°F (175°C) for about 8-10 minutes, or until heated through for that freshly baked taste.
Tip: If you’re making a big batch, consider saving some dough in the freezer by shaping it into balls and wrapping them individually for quick baking whenever the craving strikes!
Variations & Substitutions for Chocolate Chip Cookies
Feel free to explore delightful twists and flavors, transforming these cookies into your very own sweet creation!
-
Nuts: Add 1 cup of chopped walnuts or pecans for a crunchy texture. The nutty flavor will elevate your cookies, making them even more satisfying.
-
White Chocolate: Swap half of the chocolate chips for white chocolate chips for a sweet contrast. The creamy white chocolate adds a delightful touch of richness that’s perfect for any sweet tooth.
-
Dried Fruit: Substitute chocolate chips with dried cranberries or cherries for a fruity explosion. This will not only diversify the flavor but also add a chewy, tart surprise in every bite.
-
Peanut Butter: Mix in ½ cup of creamy or chunky peanut butter for a nutty twist. The peanut butter will add a rich layer of flavor that pairs beautifully with chocolate.
-
Sea Salt Topping: Sprinkle a bit of flaky sea salt on top before baking for a gourmet touch. The sweet and salty combo is a match made in cookie heaven!
-
Oats: For a chewy bite, mix in 1 cup of old-fashioned oats. They add a hearty texture and a wholesome twist that makes these cookies perfect for snacking.
-
Coconut Flakes: Add 1 cup of sweetened shredded coconut for a tropical flair. The coconut will impart a lovely aroma and an interesting texture that complements the chocolate beautifully.
-
Extra Vanilla: Boost the flavor by doubling the vanilla extract for a more aromatic cookie. The more vanilla, the more warmth and nostalgia you’ll bring to your baking experience!
Feel inspired to create your unique version? These variations can take your cookies from classic to extraordinary, offering something for everyone. You might even consider having them as a delightful side treat to your Healthy Sautéed Vegetables or alongside some Spinach Tomato Pasta during family gatherings!
Make Ahead Options
These Perfect Classic Chocolate Chip Cookies are ideal for meal prep, making your busy weeknights a breeze! You can prepare the cookie dough up to 24 hours in advance by mixing everything together, then cover it tightly and refrigerate. This allows the flavors to meld beautifully while also preventing the dough from spreading too much during baking. When you’re ready to bake, simply portion the chilled dough onto a baking sheet and let it sit at room temperature for about 10-15 minutes before popping them in the oven. You can also freeze pre-portioned cookie dough balls for up to 3 months—just add a couple of extra minutes to the baking time when you bake from frozen. No matter how you prepare these cookies ahead of time, they’ll be just as delicious as when freshly made!
What to Serve with Perfect Classic Chocolate Chip Cookies?
There’s nothing quite like enjoying the essence of homemade treats alongside delightful pairings that enhance your cookie experience.
-
Cold Glass of Milk: The classic pairing that never goes out of style; milk contrasts the sweetness and perfectly softens the cookie.
-
Vanilla Ice Cream: A scoop of smooth vanilla ice cream on top creates a dreamy dessert sandwich, merging warm and cold sensations beautifully.
-
Fresh Berries: The tartness of strawberries or raspberries adds a refreshing contrast, balancing the sweetness of the cookies and lightening the meal.
-
Nutty Granola: Crunchy granola offers a delightful texture contrast and a healthy element to your dessert spread, perfect for balancing the richness.
-
Coffee or Espresso: The bold flavors of coffee complement the sweet chocolate chips and enhance the overall taste experience with a delightful bitterness.
-
Salted Caramel Sauce: Drizzling warm salted caramel on top brings a decadent, sweet-salty experience that elevates the humble chocolate chip cookie to new heights.
Expert Tips for Perfect Chocolate Chip Cookies
-
Avoid Overmixing: Mixing the dough too much can lead to tough cookies. Stir just until combined, keeping it tender and chewy.
-
Chill the Dough: For deeper flavor and better texture, chill your cookie dough for at least 30 minutes before baking. This helps manage spread!
-
Use a Cookie Scoop: A cookie scoop ensures uniform size, allowing for even baking and perfectly round cookies every time.
-
Experiment with Add-Ins: Get creative by adding chopped nuts, dried fruits, or a sprinkle of sea salt on top for a unique twist on classic chocolate chip cookies.
-
Watch the Baking Time: Keep an eye on your cookies; they should be golden around the edges and slightly soft in the middle when you take them out for the perfect result!
Chocolate Chip Cookies Recipe FAQs
What’s the best way to select ripe ingredients for my cookies?
Absolutely! When choosing your chocolate chips, opt for brands that use high-quality chocolate for the best flavor. Look for chips that have a smooth, glossy finish and minimal white powder on the surface, which indicates freshness. For the butter, make sure it’s at room temperature; it should be soft to the touch but not melted, ensuring a creamy consistency when mixed.
How should I store leftover cookies, and how long do they last?
Very! Store your chocolate chip cookies in an airtight container at room temperature for up to 1 week to keep them soft and chewy. If you notice them starting to dry out, placing a slice of bread in the container can help retain moisture. Just be sure to replace the bread slice every couple of days for best results!
Can I freeze chocolate chip cookies, and what’s the best method?
Absolutely! For freezing, place your cookies in a single layer on a baking sheet and freeze them for about 2 hours, or until firm. Once frozen, transfer them to a labeled freezer bag, ensuring to remove as much air as possible. They can be stored like this for up to 3 months! When you’re ready to enjoy them, bake directly from frozen at 350°F (175°C) for 8-10 minutes until warmed through.
What should I do if my cookies spread too much while baking?
No worries! If your cookies spread excessively, it usually means the dough was too warm or there was too much butter. To troubleshoot, try chilling your dough for at least 30 minutes before baking. This helps the fats solidify again, giving the cookies a chance to maintain their shape. Also, ensure your baking soda is fresh for proper leavening!
Are there any dietary considerations for these chocolate chip cookies?
Yes! If you have allergies, make sure to check your chocolate chips, as some brands may contain nuts or gluten. For a vegan option, simply use flax eggs by mixing 1 tablespoon of flaxseed meal with 2.5 tablespoons of water for each egg. Additionally, you can substitute the butter with a plant-based alternative, and use dairy-free chocolate chips to keep everything dairy-free!
Can I make these cookies healthier?
Absolutely! For a healthier twist, consider substituting half the all-purpose flour with whole wheat flour. You can also replace granulated sugar with coconut sugar, which has a lower glycemic index. Adding in nuts like walnuts or oats can also boost the nutritional value. The more the merrier when it comes to healthy add-ins!
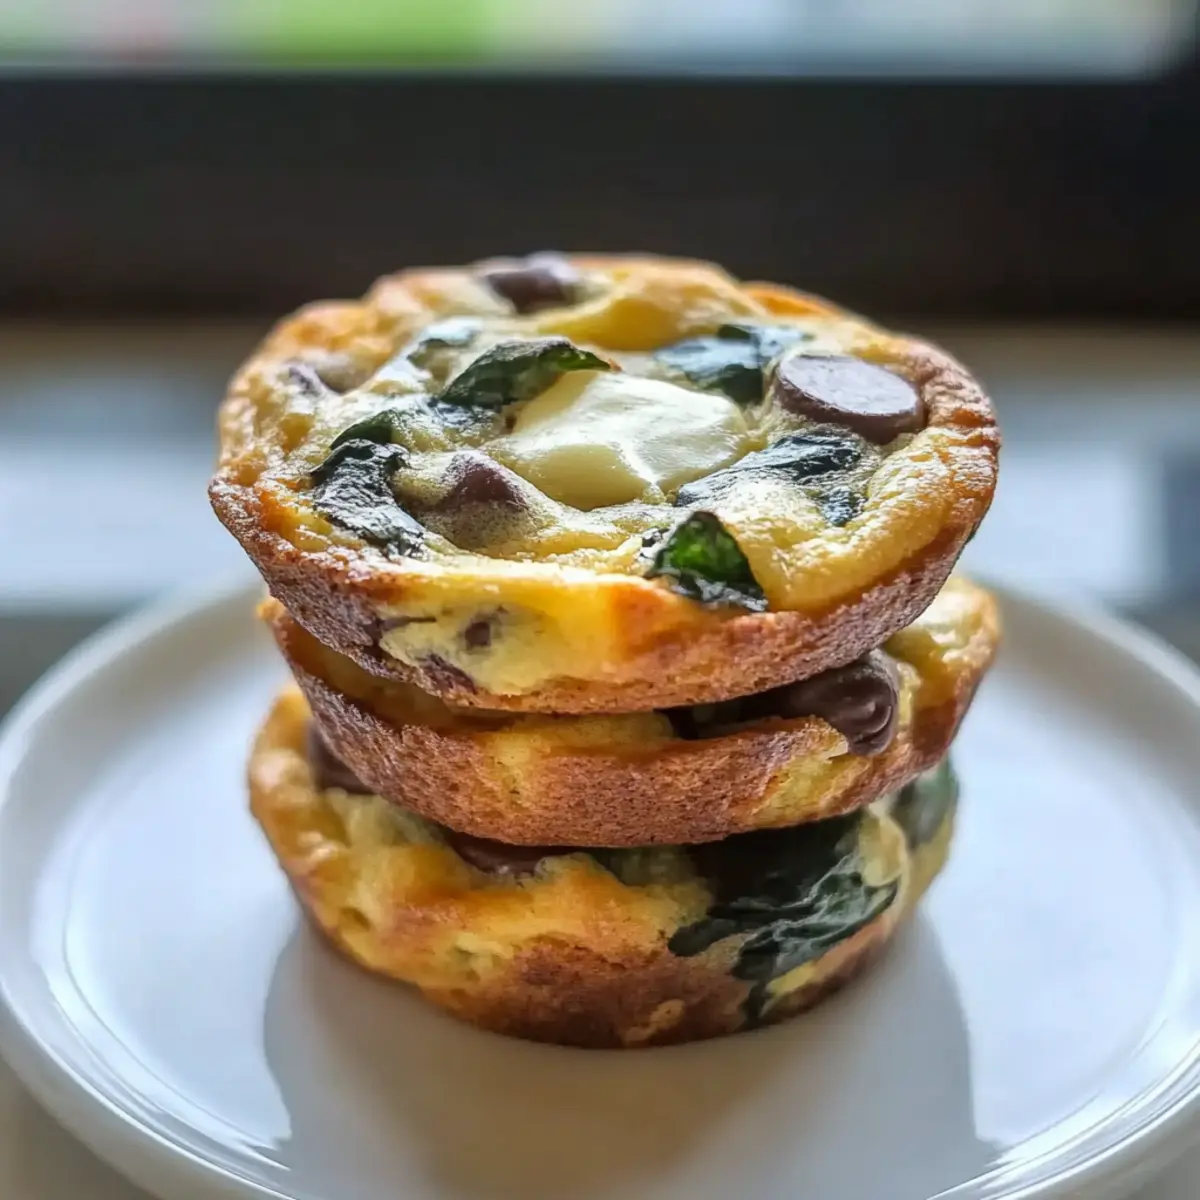
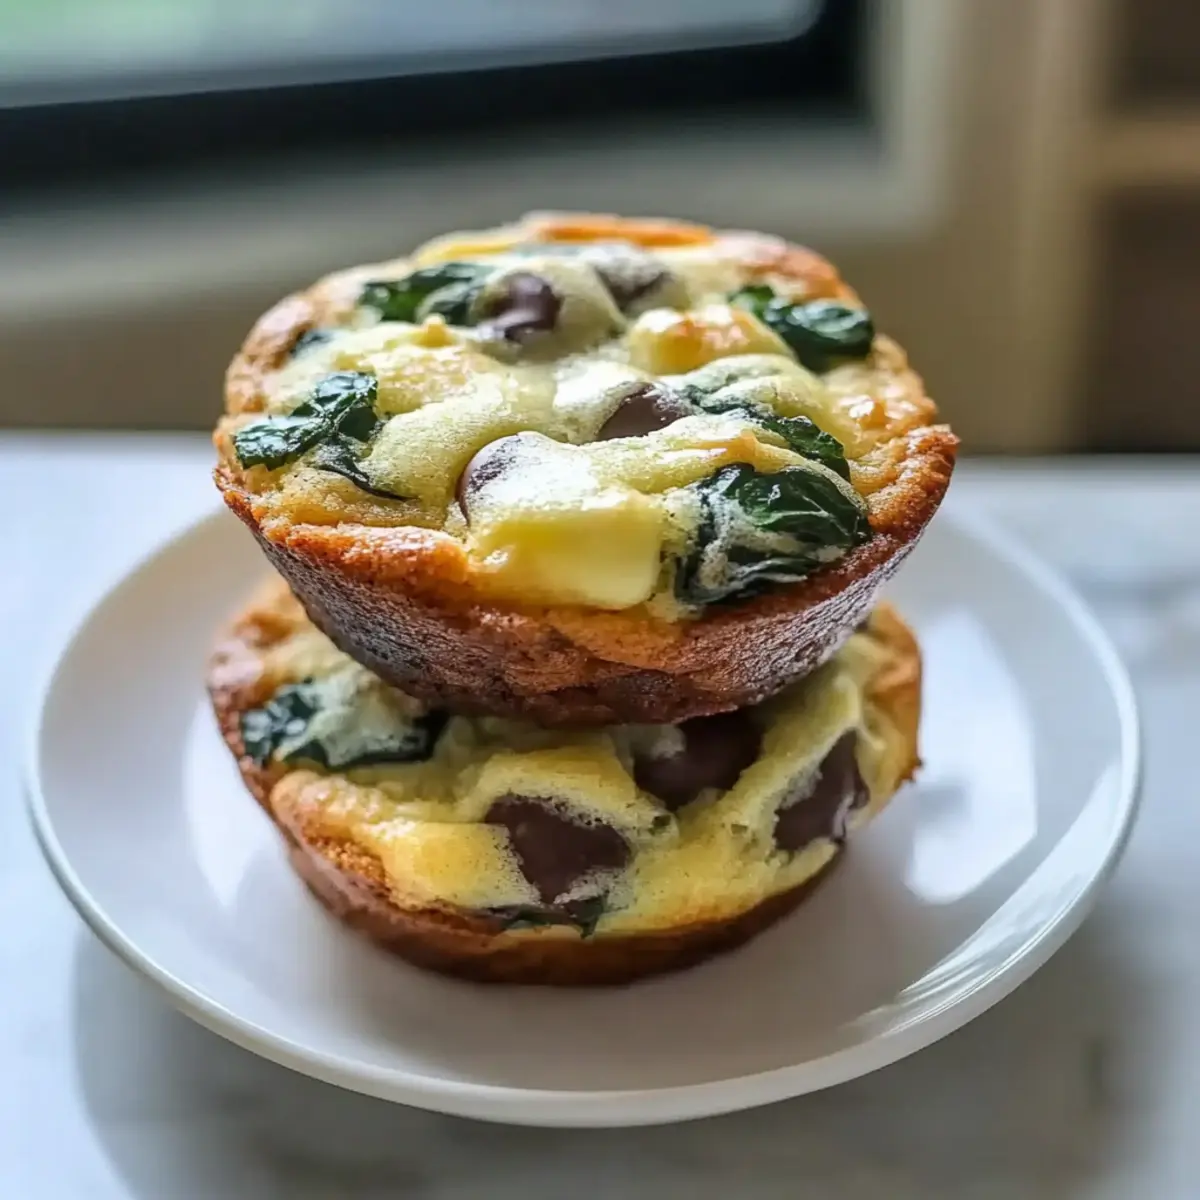
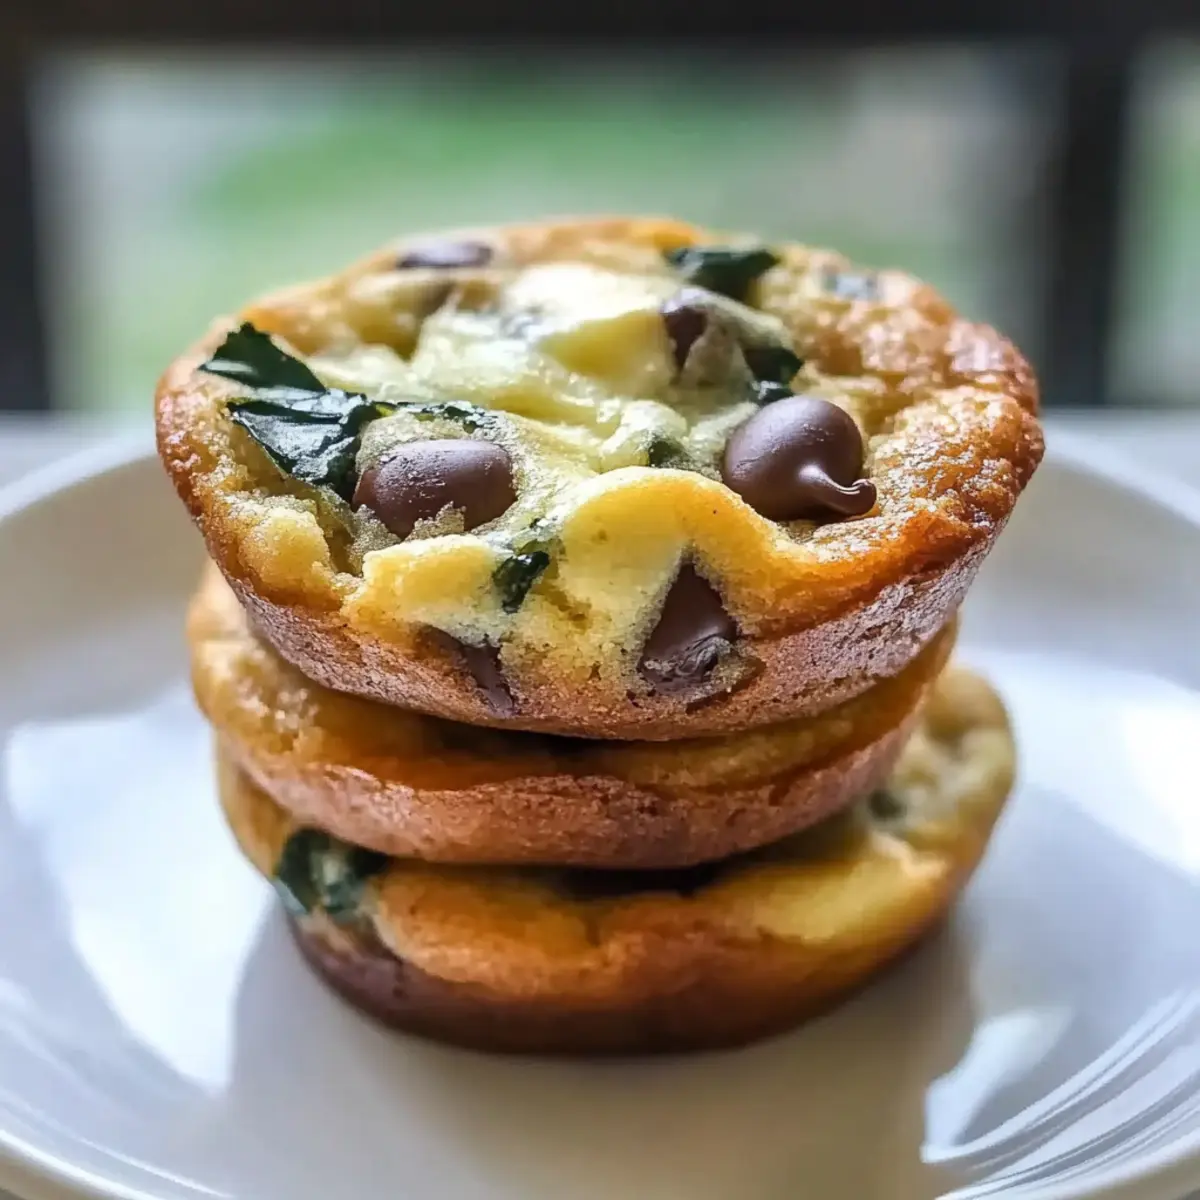
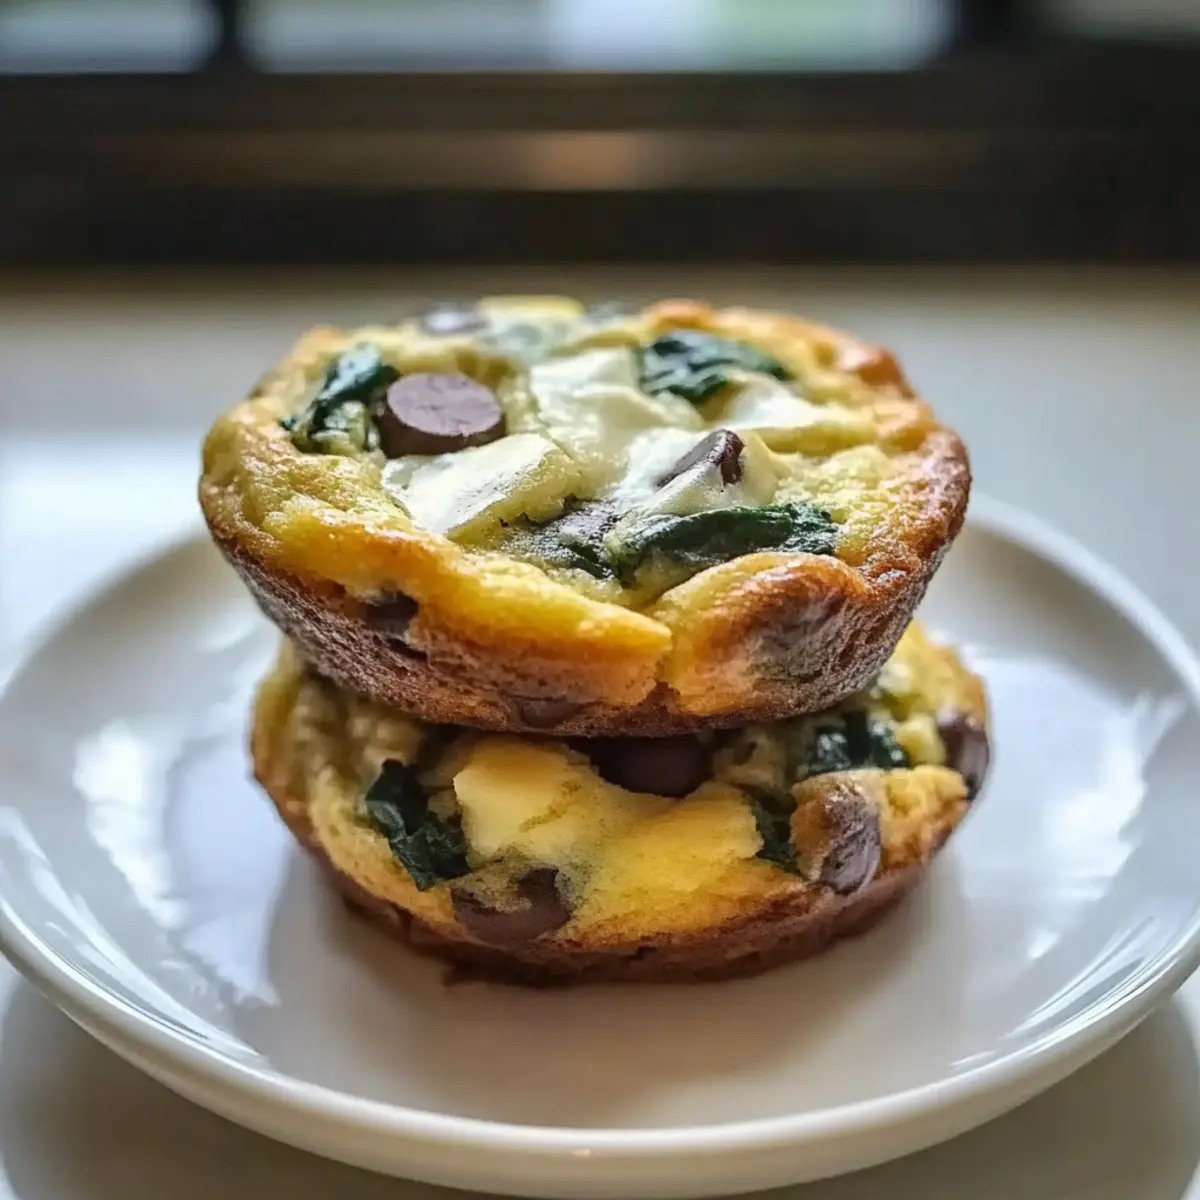
Savory Healthy Egg Muffins with Spinach for Busy Mornings
Ingredients
Equipment
Method
- Preheat your oven to 350°F (175°C) and grease a muffin tin.
- In a mixing bowl, whisk together the eggs, milk, salt, and pepper.
- Fold in the spinach, bell pepper, and cheese.
- Pour the mixture into the muffin tin, filling each cup about 2/3 full.
- Bake for 20 minutes or until the muffins are golden and set.
- Let cool for 5 minutes before removing from the tin.
Leave a Reply