
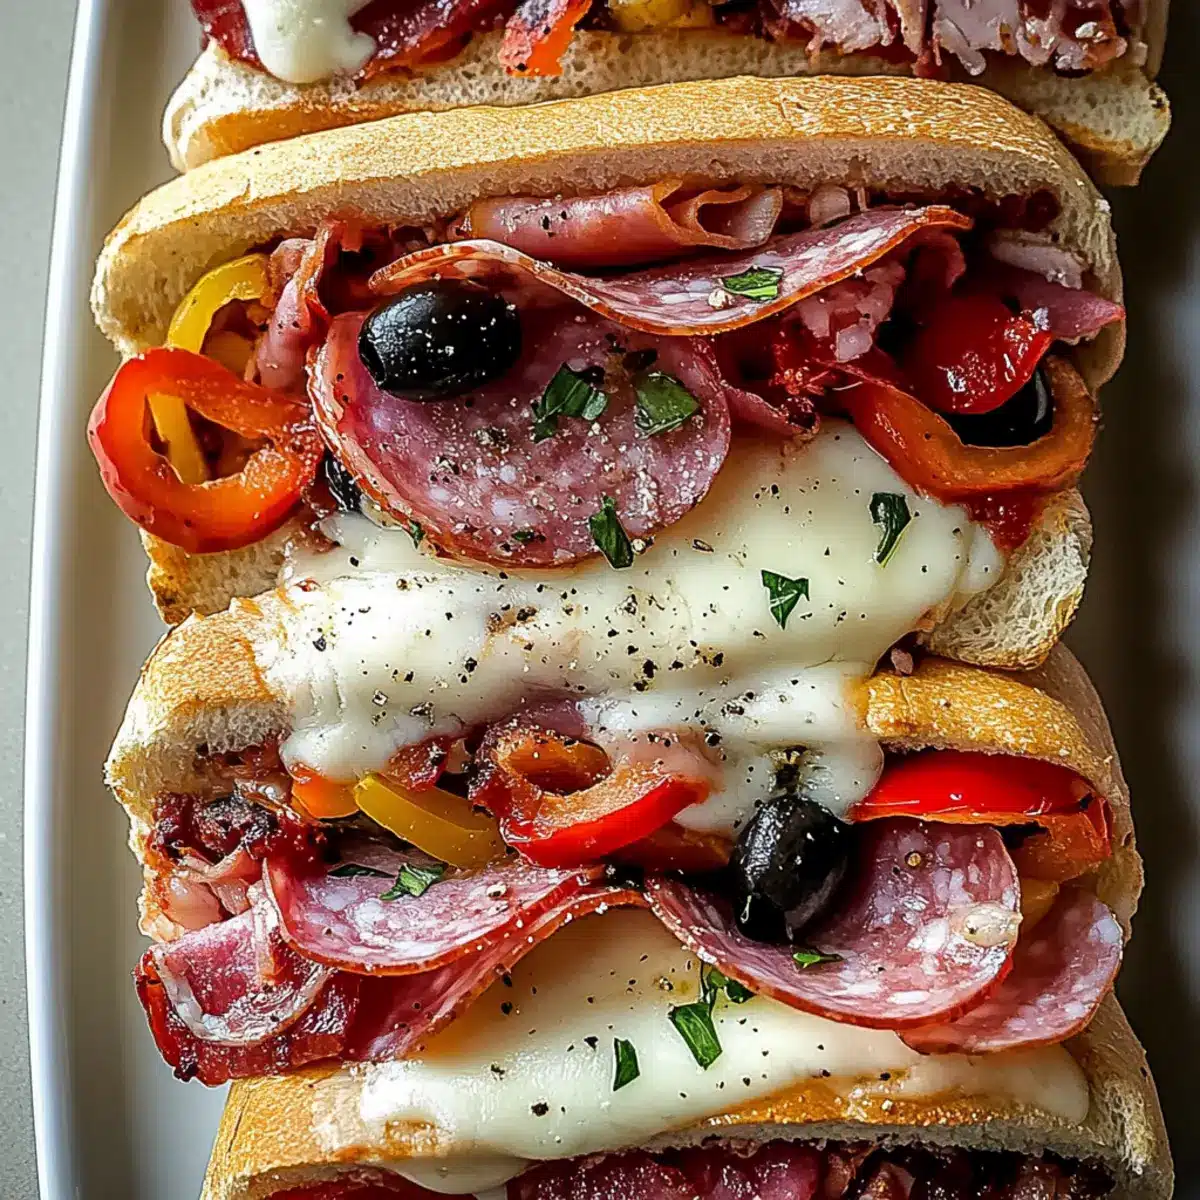
As I pulled these Baked Italian Sub Sandwiches from the oven, the aroma swept through my kitchen like a warm hug on a chilly day. The golden, bubbly cheese beckons, inviting you to indulge in layers of savory deli meats and colorful veggies tucked within a crispy roll. This easy recipe transforms simple ingredients into a meal that caters to both busy lunchtimes and relaxed dinner gatherings. In just 15 minutes of prep and 20 minutes of baking, you can craft a quick and delicious feast that’s easily customizable to suit your taste. Whether it’s a busy weekday or a weekend get-together, these cheesy delights are sure to please everyone. So, are you ready to elevate your lunch game and take a bite out of deliciousness?

Why are Baked Italian Sub Sandwiches a Must-Try?
Comforting, these Baked Italian Sub Sandwiches deliver that classic deli taste right from your oven. Quick prep, with just 15 minutes of hands-on time, makes this recipe perfect for those busy days. Customizable, feel free to swap ingredients based on your preference—turkey instead of salami, or mozzarella in place of provolone! Cheesy goodness abounds, with gooey mozzarella topping that melts beautifully. Pair them with a tangy marinara for dipping and a side of crispy pickle spears. If you’re also interested in easy, hearty dishes, check out our recipes for Baked Feta Eggs and Baked Cranberry Brie. You won’t be disappointed!
Baked Italian Sub Sandwich Ingredients
For the Sandwich
• Submarine Sandwich Rolls – Provide structure for the sandwich; substitute with ciabatta or hoagie rolls for different textures.
• Provolone Cheese (8 slices) – Offers a creamy, melty base for the fillings; can be swapped with mozzarella or cheddar.
• Salami (8 slices) – Adds richness and a savory flavor layer; other cured meats like turkey or roast beef can be used.
• Ham (8 slices) – Brings sweetness and moisture to the sandwich; consider leaner meats for a healthy alternative.
• Pepperoni (8 slices) – Contributes spice and enhances the sandwich’s overall flavor; omit or reduce for less heat.
• Roasted Red Peppers (½ cup) – Adds sweetness and a texture contrast; fresh bell peppers can be used instead.
• Red Onion (1 small, thinly sliced) – Offers sharpness and crunch; can substitute with green onions for a milder taste.
• Banana Peppers (¼ cup) – Provides tang and a bit of heat; other pickled peppers can be used for variation.
• Black Olives (½ cup, sliced) – Adds a briny flavor; omit or replace with green olives if preferred.
• Italian Seasoning (1 tbsp) – Infuses herbaceous notes throughout the sandwich; Italian herbs can be mixed fresh if desired.
• Olive Oil (3 tbsp) – Enhances flavors and aids in browning; can be replaced with melted butter for a richer taste.
• Shredded Mozzarella Cheese (2 cups) – Creates a gooey, bubbly topping; substitute with a dairy-free cheese for a vegan option.
• Marinara Sauce – Optional for dipping, providing a tangy finish and perfect with these Baked Italian Sub Sandwiches.
Step‑by‑Step Instructions for Baked Italian Sub Sandwiches
Step 1: Preheat the Oven
Begin by preheating your oven to 375°F (190°C). This temperature ensures that your Baked Italian Sub Sandwiches will be cooked through while achieving a delightful golden-brown finish. Position a baking rack in the center of the oven for even heat distribution, preparing the perfect environment for your cheesy masterpiece.
Step 2: Prepare the Rolls
Slice each submarine sandwich roll lengthwise, creating a pocket for your delicious fillings. Arrange these rolls cut-side up on a parchment-lined baking sheet, which prevents sticking and makes for easy cleanup later. This setup will provide a sturdy base, ready to hold all the savory layers you will create in the next steps.
Step 3: Layer the Provolone Cheese
Take your provolone cheese slices and layer them generously on the bottom half of each roll. This creamy, melty cheese is what makes these Baked Italian Sub Sandwiches truly irresistible. Make sure to cover the rolls evenly, so every bite is packed with cheesy goodness, setting the foundation for the savory meats to come.
Step 4: Add the Meats
Now, place two slices each of salami, ham, and pepperoni on top of the provolone. This combination brings rich flavors and a hearty texture to your sandwich. As you stack the meats, be sure to distribute them evenly across all the rolls, ensuring that each sandwich has a delicious bite of flavor that’s perfectly balanced.
Step 5: Incorporate the Vegetables
Distribute the roasted red peppers, thinly sliced red onion, banana peppers, and black olives evenly over the layers of meat. These colorful veggies not only add a fresh crunch but also enhance the overall taste of your Baked Italian Sub Sandwiches. Enjoy the vibrant array of colors as they create a mouthwatering contrast with the meats and cheese.
Step 6: Sprinkle with Seasoning
Next, sprinkle Italian seasoning atop the fillings for an aromatic touch that infuses the sandwich with enticing herbal notes. This step elevates the flavors of your Baked Italian Sub Sandwiches, making each bite one to savor. Be generous, but ensure an even distribution for a delightful taste in every mouthful.
Step 7: Drizzle with Olive Oil
Drizzle the olive oil over the top of your sandwich fillings. This step is crucial as it enhances the flavors while also helping the bread achieve a beautiful golden color during baking. The oil will seep into the rolls and toppings, creating a moist and flavorful experience that complements the cheesy base.
Step 8: Add Shredded Mozzarella
Now it’s time to top off your sandwiches with a generous helping of shredded mozzarella cheese. Cover the entire layer of fillings so that they’ll be enveloped in gooey, bubbly goodness when baked. This step is vital to achieving that melt-in-your-mouth texture that will make your Baked Italian Sub Sandwiches truly unforgettable.
Step 9: Assemble and Press
Place the top halves of the submarine rolls back onto the filled bottoms, gently pressing down to secure the sandwich. This compression helps meld all the delicious layers together, ensuring a harmonious blend of flavors in every bite. Make sure the sandwiches hold together well, ready for their toasty transformation in the oven.
Step 10: Bake to Perfection
Place the assembled sandwiches in your preheated oven and bake for 15-20 minutes. Keep an eye on them; they should emerge with beautifully melted cheese and a bubbly golden top. The aroma will fill your kitchen, signaling that your Baked Italian Sub Sandwiches are almost ready to be devoured.
Step 11: Rest Before Serving
Once baked, allow your sandwiches to rest for about 5 minutes before serving. This resting time allows the fillings to settle, ensuring better assembly and flavor distribution when you cut into them. Optionally, serve with a side of marinara sauce for dipping, adding a tangy finish to your satisfying meal.

Baked Italian Sub Sandwiches Variations
Feel free to play with these variations and personalize your Baked Italian Sub Sandwiches to tantalize your taste buds!
- Deli Swap: Experiment with different deli meats like turkey or roast beef for a personal touch. Your choice can add delicious flavor layers that reflect your cravings.
- Cheese Change: Use different types of cheese such as smoked gouda or pepper jack to switch up the flavor profile. A little extra spice could take your sandwiches to new heights!
- Veggie Boost: Incorporate fresh vegetables like spinach or arugula for a nutritious crunch. Consider also adding sliced cucumbers for a refreshing twist.
- Heat Level: For those who love heat, add jalapeños or a drizzle of hot sauce. This fiery kick will give your sandwiches an invigorating vibrancy!
- Garlic Infusion: Mix minced garlic into the olive oil before drizzling for an aromatic punch. Garlic lovers will adore this savory enhancement that brightens every bite!
- Herb Swap: Use fresh herbs like basil or oregano in place of dried Italian seasoning for a garden-fresh flavor. This option can truly elevate the taste, making each sandwich feel like a sunny Italian getaway!
- Sauce Galore: Beyond marinara, try a pesto drizzle or garlic aioli as a dip. These sauces can complement the flavors and provide a unique twist to your mealtime experience.
- Crunch Factor: Add crispy lettuce, shredded carrots, or even crunchy coleslaw inside for an extra texture boost. These additions will enhance your sandwiches with delightful layers of taste and texture.
These variations are just a glimpse of how you can make this recipe truly your own. When you’re craving more satisfying comfort food, you might also enjoy our recipes for Baked Cranberry Brie or Italian Christmas Cookies. Enjoy your culinary adventure!
Expert Tips for Baked Italian Sub Sandwiches
• Roll Selection: Choose sturdy rolls to prevent sogginess. Avoid overly soft bread that can’t hold the delicious layers.
• Cheese Quality: Use good-quality cheese for better melting and flavor. Avoid pre-shredded cheese as it may not melt as well.
• Layer Evenly: Distribute meats and veggies evenly to ensure every bite is packed with flavor. Uneven layers can lead to some bites being too meaty or bland.
• Watch the Bake Time: Keep an eye on your sandwiches while baking; over-browning can occur quickly. Aim for that perfect golden-brown finish!
• Allow for Resting: Let the sandwiches rest after baking for about 5 minutes. This step helps the melted cheese settle and blend the flavors beautifully in each serving of Baked Italian Sub Sandwiches.
How to Store and Freeze Baked Italian Sub Sandwiches
Fridge: Store leftovers in an airtight container for up to 3 days to keep the flavors fresh and prevent sogginess.
Freezer: Wrap each sandwich tightly in plastic wrap or aluminum foil, then place in a freezer-safe bag. They can be frozen for up to 2 months for a quick meal later!
Reheating: To reheat, preheat your oven to 350°F (175°C) and bake for 10-15 minutes, or until heated through. This method will help maintain the crunchy exterior of your Baked Italian Sub Sandwiches.
Assembly Tips: If reheating from frozen, let them thaw in the fridge overnight before baking for the best results.
What to Serve with Baked Italian Sub Sandwiches
These mouthwatering sandwiches are perfect as the star of your meal, but don’t forget about delightful side dishes to enhance your dining experience.
-
Crispy Side Salad: A refreshing mix of greens, tomatoes, and cucumbers drizzled with a zesty vinaigrette brightens up the hearty sandwiches.
-
Crunchy Pickle Spears: The tangy crunch of dill pickles contrasts beautifully with the rich, cheesy flavors of the subs, adding a satisfying bite.
-
Sweet Potato Fries: These sweet, crispy fries offer a delightful contrast in flavor and texture, complementing the savory nature of the sandwiches.
-
Garlic Breadsticks: Soft and buttery, these garlicky delights are a perfect companion for dipping into marinara sauce alongside your Italian subs.
-
Chilled Sparkling Water: Light and refreshing, sparkling water keeps the focus on the flavors of your meal while cleansing the palate.
-
Classic Red Wine: A bold red wine pairs beautifully with the savory elements of the Baked Italian Sub Sandwiches, enhancing the flavors with every sip.
Make Ahead Options
These Baked Italian Sub Sandwiches are fantastic for meal prep enthusiasts! You can assemble the entire sandwich, wrap it tightly in plastic wrap, and refrigerate it up to 24 hours before baking. This includes layering all the deli meats, cheese, and vegetables to ensure every flavor melds beautifully. To maintain quality, avoid drizzling the olive oil until just before baking; it helps the rolls achieve a lovely golden-brown finish. When you’re ready to enjoy, simply preheat your oven and bake them from the refrigerator for about 20 minutes, just until the cheese is bubbly and irresistible. With this prep method, you’ll savor a comforting meal without the last-minute rush!
Baked Italian Sub Sandwiches Recipe FAQs
What type of bread should I use for Baked Italian Sub Sandwiches?
Absolutely! I recommend using sturdy submarine sandwich rolls, as they’ll provide the best support for all those delicious fillings. Avoid overly soft bread, as it may get soggy during baking. If you’re feeling adventurous, ciabatta or hoagie rolls can give you different textures and flavors!
How should I store my Baked Italian Sub Sandwiches?
Leftovers can easily be stored in an airtight container in the fridge for up to 3 days. This will keep them fresh and prevent any sogginess from the fillings. If you’d like to enjoy them at a later date, you can also freeze them to maintain their cheesy goodness!
Can I freeze Baked Italian Sub Sandwiches?
Yes, you can! To freeze, individually wrap each sandwich tightly in plastic wrap or aluminum foil, and then place them in a freezer-safe bag. They will stay fresh for up to 2 months. When you’re ready to enjoy, thaw them in the fridge overnight, then reheat in the oven at 350°F (175°C) for 10-15 minutes to restore that crispy exterior.
What should I do if my sandwiches come out soggy?
Very importantly, sogginess can happen if the bread isn’t sturdy enough or if there’s too much moisture in the fillings. To remedy this, be sure your rolls are not only fresh but also less soft. You can also reduce the amount of roasted red peppers or olives, or opt for drier ingredients instead. Additionally, letting the sandwiches rest for a few minutes after baking can help the flavors settle and eliminate excess moisture.
Can pets eat any of the ingredients in your Baked Italian Sub Sandwiches?
It’s best to avoid sharing these sandwiches with pets. Ingredients like onion and garlic found in the red onion and Italian seasoning can be harmful to dogs and cats. If you’re considering making a pet-friendly version, you can set aside some plain meat or vegetables before adding the seasoning and other toppings.
Is there a vegetarian option for the Baked Italian Sub Sandwiches?
Absolutely! To make a delicious vegetarian version, simply swap out the deli meats for hearty roasted vegetables or additional fresh veggies like spinach, arugula, or even marinated artichokes. You can also use plant-based cheese as a substitute for the mozzarella and provolone for a cheesy finish without the dairy!

Easy Baked Italian Sub Sandwiches Brimming with Cheesy Goodness
Ingredients
Equipment
Method
- Preheat your oven to 375°F (190°C) and position a baking rack in the center.
- Slice each submarine sandwich roll lengthwise, creating a pocket. Arrange cut-side up on a parchment-lined baking sheet.
- Layer provolone cheese slices on the bottom half of each roll.
- Add two slices each of salami, ham, and pepperoni on top of the provolone.
- Distribute roasted red peppers, red onion, banana peppers, and black olives over the meats.
- Sprinkle Italian seasoning on top of the fillings for added flavor.
- Drizzle olive oil over the top of the sandwich fillings.
- Top with shredded mozzarella cheese, covering all fillings.
- Place the top halves of the rolls back on and gently press down.
- Bake in the oven for 15-20 minutes until cheese is melted and bubbly.
- Allow sandwiches to rest for about 5 minutes before serving.
Leave a Reply