
As I unsealed the mason jar, a swirl of sweet cherry aroma filled the kitchen, instantly transporting me to sun-drenched picnics and carefree summer days. This Healthier No-Bake Cheesecake in a Jar is not just a dessert; it’s a delightful experience that lifts your spirits! Using creamy Greek yogurt, this recipe gives you a guilt-free treat packed with protein and a bright, tangy twist. Plus, it’s all about simplicity—perfect for busy days when you crave something indulgent yet nutritious. Each jar is a charming little surprise, effortlessly transforming a classic favorite into a fun, portable dessert. Curious how to whip this up in no time? Let’s dive in!
Why is this cheesecake a must-try?
Deliciously Light: With Greek yogurt as the star, this dessert offers a creamy, tangy flavor while being lower in calories.
Quick & Easy: Just a few simple steps to create stunning individual jars that impress guests without spending all day in the kitchen.
Customizable Toppings: Swap cherries for seasonal fruits like blueberries or raspberries to keep things fresh and exciting.
Perfect For Any Occasion: Whether it’s a family gathering or a casual dinner party, everyone will love this lighter twist on cheesecake! For another fun treat, check out my delicious Churro Cheesecake Indulge.
Portable Pleasure: Mason jars make it easy to take this dessert on picnics or potlucks, ensuring everyone can enjoy a taste wherever they are!
Healthier No-Bake Cheesecake Ingredients
• Dive into the delightful world of Healthier No-Bake Cheesecake in a Jar with these key ingredients!
For the Cherry Topping
- Pitted Cherries – Adds sweetness and a fruity touch to the dessert; substitute with fresh blueberries or strawberries if cherries are out of season.
- Pure Maple Syrup – A natural sweetener that enhances flavor without overpowering; honey or agave syrup can be used as alternatives, though tastes may vary.
- Fresh Lemon Juice – Provides acidity to balance sweetness and enhance flavors; lime juice can also work for a refreshing twist.
- Water – Helps dissolve corn starch for the cherry topping.
- Corn Starch – Thickens the cherry compote; arrowroot is a great gluten-free option you can use instead.
For the Cheesecake Filling
- Cream Cheese – Creates a rich and creamy cheesecake base; try Neufchâtel cheese for a lower fat version.
- Plain Full-Fat Greek Yogurt – Adds protein and creaminess with a tangy flavor; regular yogurt can be substituted for a different texture and taste.
For the Crust
- Graham Cracker Crumbs – Forms the crust, adding a nice crunch; digestive biscuits or gluten-free options can also be used.
- Butter (melted) – Binds the graham cracker crumbs for the crust; coconut oil is a great dairy-free substitute!
With these simple yet essential ingredients, you’re just moments away from creating a charming Healthier No-Bake Cheesecake in a Jar that everyone will adore!
Step‑by‑Step Instructions for Healthier No-Bake Cheesecake in a Jar
Step 1: Prepare Cherry Topping
In a medium saucepan over medium heat, combine pitted cherries, pure maple syrup, fresh lemon juice, water, and corn starch. Stir continuously for about 5-10 minutes until the mixture thickens and begins to bubble, becoming a rich, glossy compote. Once achieved, remove from heat and allow your cherry topping to cool completely while you work on the cheesecake filling.
Step 2: Make Cheesecake Filling
In a large mixing bowl, blend softened cream cheese and plain full-fat Greek yogurt using an electric mixer. Add in the remaining maple syrup and a splash of fresh lemon juice. Mix on medium speed for 2-3 minutes, until the mixture is smooth and creamy, with no lumps remaining. Cover this delicious cheesecake filling and place it in the refrigerator to firm up while you tackle the crust.
Step 3: Prepare Crust
In a separate bowl, combine graham cracker crumbs with melted butter, stirring thoroughly until the crumbs are evenly coated and resemble wet sand. This will create a deliciously crispy crust that adds texture to your Healthier No-Bake Cheesecake in a Jar. Set this mixture aside for assembly, ensuring everything is ready for building your jars.
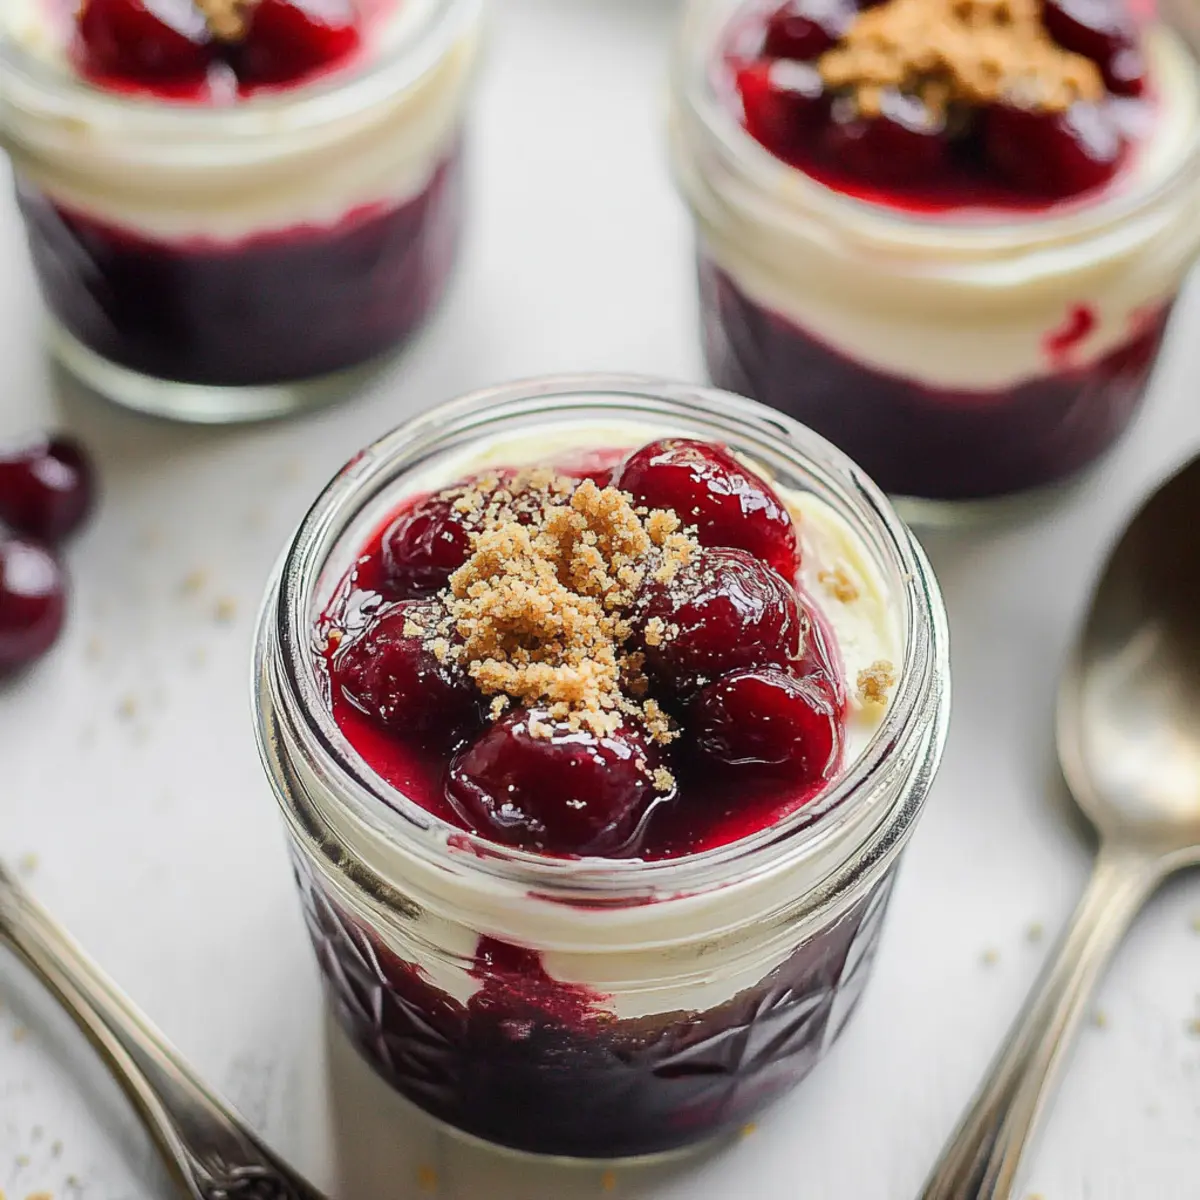
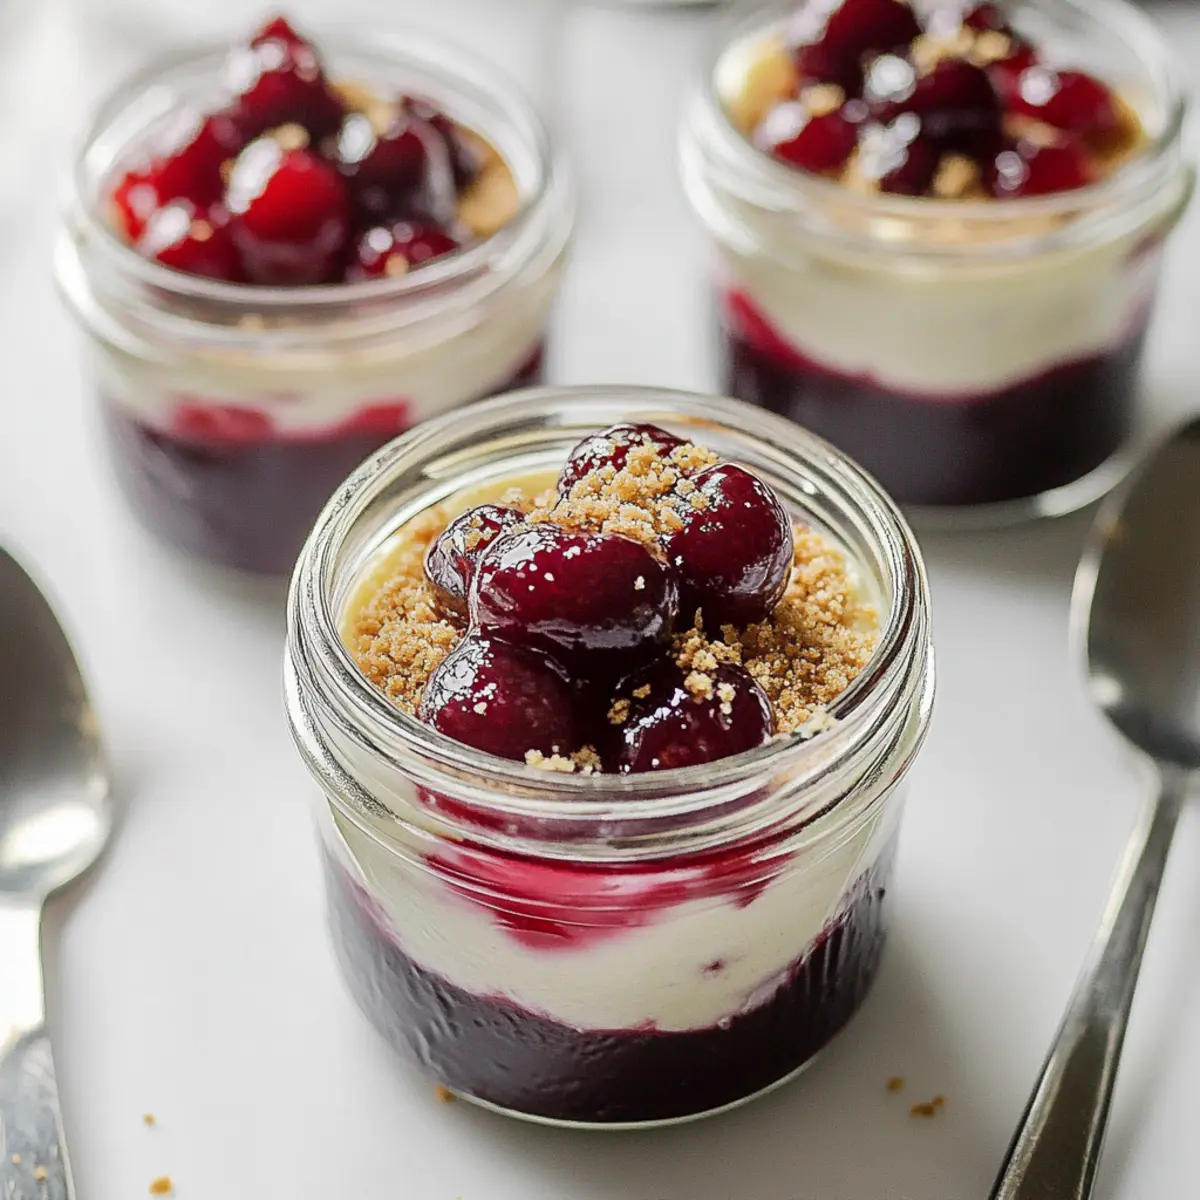
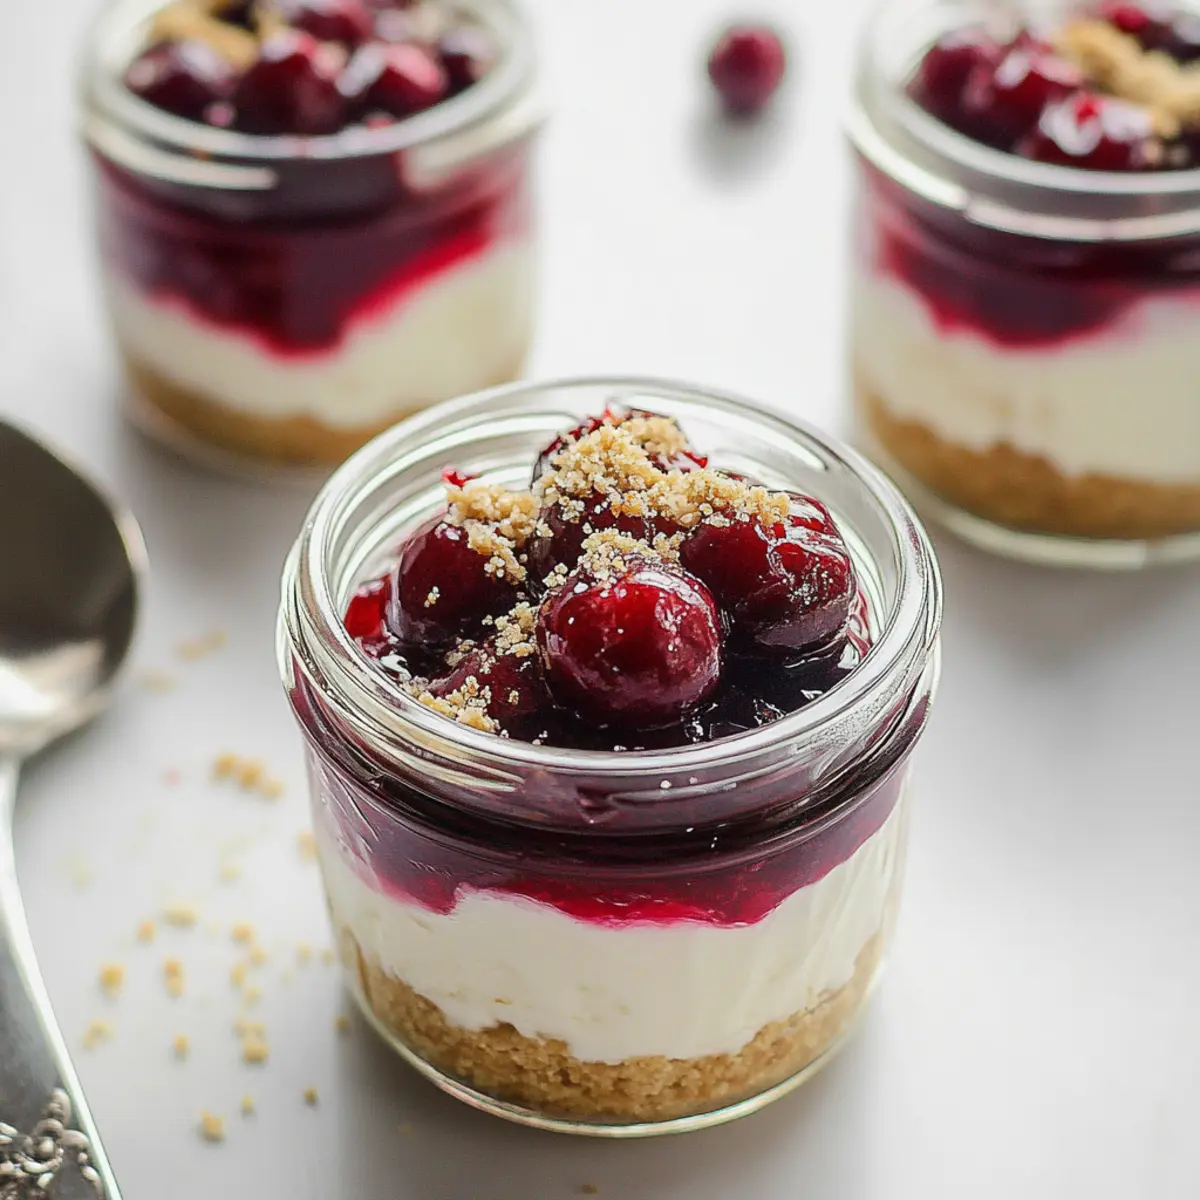
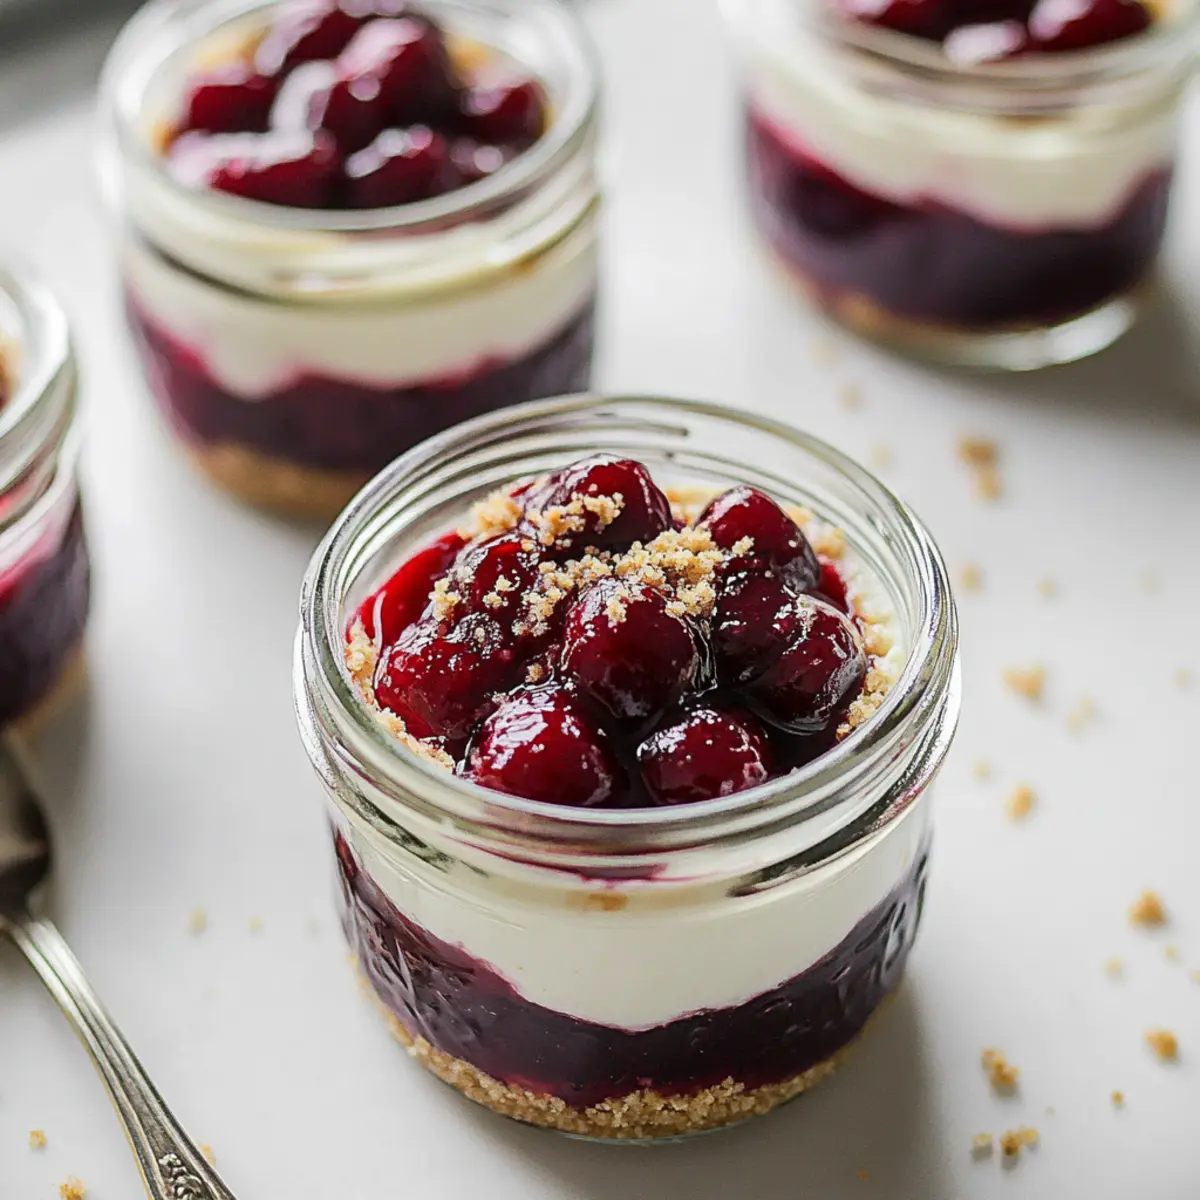
Step 4: Assemble Jars
Gently distribute the crust mixture evenly across six 125 mL mason jars, pressing it down lightly with the back of a spoon to form a solid base. Carefully spoon the chilled cheesecake filling into each jar, tapping them gently to ensure a smooth, even layer that fills to the top. This creates a visually appealing presentation, preparing for the cherry topping to crown these delightful desserts.
Step 5: Chill and Serve
Once assembled, top each jar with the cooled cherry mixture, spreading it evenly for a vibrant finish. Place the jars in the refrigerator and allow them to chill for at least 1 hour, letting the flavors meld and the textures set. After chilling, your Healthier No-Bake Cheesecake in a Jar is ready to serve, offering a deliciously satisfying treat for any occasion.
What to Serve with Healthier No-Bake Cheesecake in a Jar?
Elevate your dessert experience by pairing this delightful cheesecake with complementary delights that tantalize the senses.
-
Fresh Berries: The vibrant colors and natural sweetness of berries like strawberries or blueberries add a refreshing contrast to the creamy cheesecake. Their tartness brightens the dish beautifully.
-
Mint-Infused Water: A cool glass of mint-infused water adds a refreshing element, cleansing your palate between each luscious spoonful. It’s a simple touch that enhances the experience.
-
Chocolate Shavings: Rich dark chocolate shavings provide a touch of decadence. Their bitter notes perfectly balance the sweetness of the cherry topping, making for an indulgent treat.
-
Coffee or Espresso: A warm cup of coffee or espresso complements the cheesecake’s richness with its robust flavor. The pairing will awaken your senses and elevate your dessert experience.
-
Lemon Sorbet: A scoop of lemon sorbet introduces a delightful citrus zing, enhancing the tangy flavors of the cheesecake. Its icy texture adds a bright and refreshing twist.
-
Coconut Whipped Cream: Top with whipped cream for a luxurious finish! The light and airy quality of coconut whipped cream harmonizes with the creamy cheesecake, adding an extra layer of indulgence.
Whether you’re hosting a gathering or enjoying a quiet evening at home, these pairings with Healthier No-Bake Cheesecake in a Jar will surely delight your taste buds!
Healthier No-Bake Cheesecake in a Jar Variations
Feel free to unleash your creativity in the kitchen and make this delightful cheesecake your own!
-
Berry Lovers: Swap the cherry topping with fresh blueberries or strawberries for a vibrant burst of flavor. The sweetness of berries adds a beautiful hue, inviting you to dive in!
-
Tropical Vibes: Embrace a tropical theme by topping with diced mango or kiwi. This fruity twist brightens up the cheesecake and transports your taste buds to a sunny getaway.
-
Nutty Crunch: Add a sprinkle of crushed nuts like almonds or walnuts to the graham cracker crust for an extra crunch. The nuttiness complements the creamy filling beautifully.
-
Chocolate Indulgence: Drizzle some melted dark chocolate over the cheesecake filling before adding the fruit topping. If you’re a chocolate lover, this sweet addition transforms your cheesecake into a decadent treat.
-
Vegan Version: Substitute cream cheese with a vegan cream cheese and use coconut yogurt instead of Greek yogurt for a delicious vegan twist. You can still enjoy all that creaminess without any dairy!
-
Citrus Zing: Incorporate some orange or lime zest into the cheesecake filling for a refreshing zing. This brightens the flavors and enhances the overall experience, making each jar a delight.
-
Flavored Yogurt: Experiment with flavored Greek yogurt, like honey or vanilla, in the cheesecake filling. It’s a simple way to introduce new tastes without any extra effort.
-
Spiced Surprise: For those who love warmth in their desserts, add a pinch of cinnamon or nutmeg to the crust. This fragrant touch lends a cozy note reminiscent of fall gatherings.
For more delightful ideas, don’t miss out on my scrumptious Strawberry Crunch Cheesecake or indulge in the rich flavors of Caramel Brownie Cheesecake!
Make Ahead Options
These Healthier No-Bake Cheesecakes in a Jar are perfect for meal prep! You can prepare the cherry topping and the cheesecake filling up to 24 hours in advance. Just make the cherry compote, let it cool, and store it in an airtight container in the fridge. For the filling, mix your cream cheese and Greek yogurt, then refrigerate it until you’re ready to assemble. When you’re set to serve, simply layer the crust while adding the filling and cherry topping to each jar. This method ensures your dessert remains just as delicious and fresh, saving you precious time on busy weeknights while still delivering a delightful treat!
How to Store and Freeze Healthier No-Bake Cheesecake in a Jar
Fridge: Store your jars in the refrigerator for up to 3 days. Keep the lids on tightly to maintain freshness and prevent odors from affecting the cheesecake.
Freezer: If you want to enjoy your Healthier No-Bake Cheesecake at a later date, freeze the jars (without the cherry topping) for up to 2 months. Thaw in the fridge overnight before serving.
Reheating: There’s no need for reheating, as this dessert is best enjoyed cold. Just add the cherry topping fresh before serving.
Serving Tip: To preserve the crispness of the crust, avoid adding any toppings until just before you’re ready to serve.
Expert Tips for Healthier No-Bake Cheesecake
-
Use Fresh Ingredients: Fresh cherries or seasonal fruits enhance flavor and elevation in this Healthier No-Bake Cheesecake in a Jar experience.
-
Soften Cream Cheese: Make sure cream cheese is at room temperature for a smoother filling; cold cream cheese can lead to lumps.
-
Chill Time Matters: Allowing the jars to chill for at least 1 hour will firm up the cheesecake filling, giving it the perfect texture for serving.
-
Customize Your Topping: Feel free to swap out the cherry topping; mix it up with seasonal fruits for a refreshing twist and exciting flavor variations.
-
Avoid Overmixing: When combining the filling ingredients, mix just until smooth to maintain a light and airy texture in your cheesecake.
Healthier No-Bake Cheesecake in a Jar Recipe FAQs
How do I know when my cherries are ripe?
Absolutely! Look for cherries that are bright, shiny, and have a smooth skin. The optimal cherries should be firm to the touch, with a deep color. Avoid those with dark spots or wrinkles, as they may be past their prime. If you couldn’t find ripe cherries, feel free to switch to fresh blueberries or strawberries, which are just as delightful!
What’s the best way to store my No-Bake Cheesecake jars?
Very good question! These delightful jars can be stored in the refrigerator for up to 3 days. Make sure to keep them tightly sealed to maintain their freshness and to prevent any odors from contaminating the cheesecake. If you want to enjoy a longer-lasting treat, consider freezing them (without the cherry topping) for up to 2 months.
Can I freeze the Healthier No-Bake Cheesecake in a Jar? How?
Absolutely! To freeze your cheesecake jars, follow these simple steps:
- Assemble the jars but do not add the cherry topping yet.
- Place the lids on securely and transfer them to the freezer.
- They can be stored for up to 2 months!
- When you’re ready to enjoy, thaw the jars in the fridge overnight. Once thawed, top with your cherry compote for the freshest flavor! Enjoy this little piece of joy without flavor loss!
What if my cheesecake filling turns out lumpy?
Oh no! If your cheesecake filling is lumpy, it might be due to not softening the cream cheese fully. To fix it, let the mixture blend a little longer until it’s completely smooth. If it’s still stubborn, try passing it through a fine mesh strainer or a food processor for a silky texture. Remember, patience is key for this delightful dessert!
Is the cherry topping suitable for my pet or those with allergies?
Great question! While cherries can be delicious, keep in mind that they can be harmful to pets. For allergies, double-check any individual ingredients like cream cheese for lactose intolerance or potential dairy allergies. Always consult with a health professional about specific allergies regarding any foods included in the dessert. Your loved ones, human or furry, deserve to enjoy safely!
Can I use a different sweetener instead of maple syrup?
Absolutely! If you want to skip maple syrup, honey or agave syrup are good alternatives, though they’ll give your cheesecake a different flavor profile. Just keep in mind, if you choose honey, it can impart a more distinct sweetness than maple. Adjust the sweetness to taste, and trust your palate—it’s all about what you love!
Delightful Healthier No-Bake Cheesecake in a Jar Recipe
Ingredients
Equipment
Method
- In a medium saucepan over medium heat, combine pitted cherries, pure maple syrup, fresh lemon juice, water, and corn starch. Stir continuously for about 5-10 minutes until the mixture thickens and begins to bubble, becoming a rich, glossy compote. Remove from heat and allow the cherry topping to cool completely.
- In a large mixing bowl, blend softened cream cheese and plain full-fat Greek yogurt using an electric mixer. Add in the remaining maple syrup and a splash of fresh lemon juice. Mix on medium speed for 2-3 minutes until smooth and creamy.
- In a separate bowl, combine graham cracker crumbs with melted butter, stirring thoroughly until coated and resembling wet sand. Set this aside for assembly.
- Distribute the crust mixture evenly across six 125 mL mason jars, pressing down lightly to form a solid base. Spoon the chilled cheesecake filling into each jar, tapping gently for an even layer.
- Top each jar with the cooled cherry mixture, spreading evenly. Place jars in the refrigerator and chill for at least 1 hour before serving.
Leave a Reply