
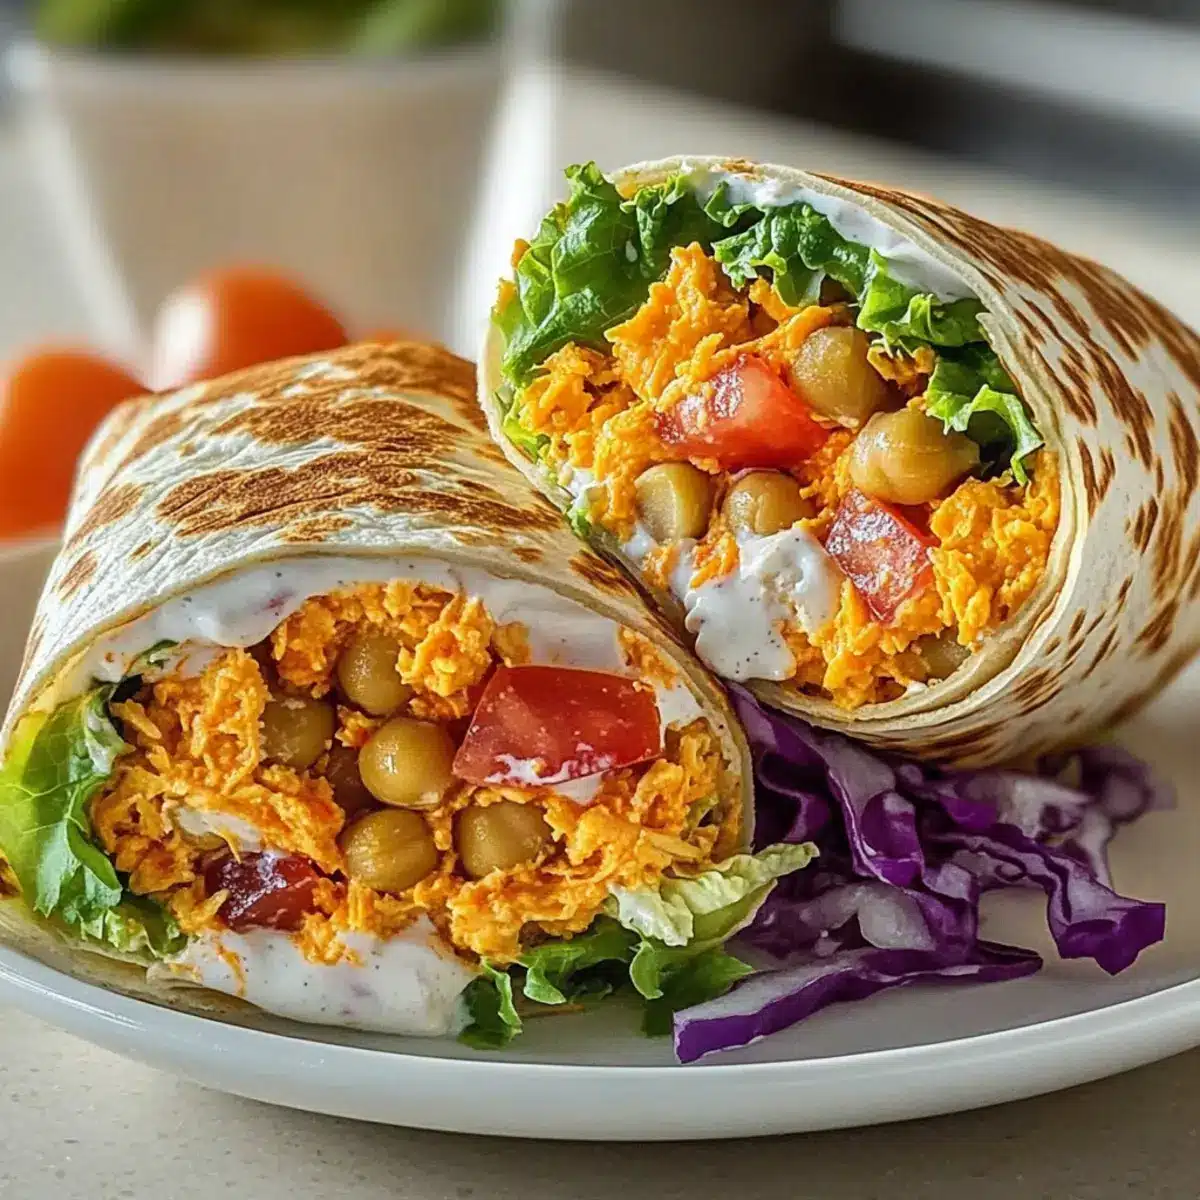
As I tossed together a quick lunch, I couldn’t help but be swept up by the zesty aroma filling my kitchen, beckoning for a taste. These 15-Minute Buffalo Chickpea Wraps are not just a meal; they are a flash of fiery comfort on an average day. Packed with protein and vibrant veggies, each bite brings a delightful crunch and a spicy kick that transforms lunchtime monotony into pure bliss. Whether you’re after a speedy dinner or a satisfying midday recharge, these wraps cater to all tastes and dietary needs, being easily customizable for vegan or gluten-free preferences. Ready to spice up your meal prep with a dish that’s as healthy as it is delicious? Let’s dive in!
Why Are Buffalo Chickpea Wraps Perfect?
Quick and Easy: These wraps come together in just 15 minutes, making them an ideal choice for busy days.
Flavor Explosion: With the boldness of Buffalo sauce paired with fresh veggies, you’ll enjoy a flavor sensation in every bite.
Nutritious and Filling: Packed with protein-rich chickpeas and vibrant produce, they’re as nourishing as they are tasty.
Customizable Delight: Easily adapt these wraps for various dietary needs, whether you prefer gluten-free tortillas or a vegan twist.
Crowd-Pleasing Appeal: Perfect for family lunches or gatherings, these wraps will impress anyone looking for a hearty yet healthy meal.
For another delicious option, check out my Chickpea Feta Avocado salad for a refreshing side!
Buffalo Chickpea Wrap Ingredients
-
For the Chickpea Filling
• Chickpeas – A protein-packed base; drain and rinse canned chickpeas for best flavor.
• Vegan Mayonnaise or Greek Yogurt – Adds creaminess; swap in regular mayonnaise if preferred.
• Buffalo Hot Sauce – Brings the spice; adjust based on your heat tolerance.
• Fresh Lemon Juice – Brightens and balances flavors.
• Celery – Adds a crisp texture; finely dice for the best bite.
• Carrot – Introduces sweetness and color; grate for easier mixing.
• Red Onion – Provides a nice kick; finely dice to distribute flavor evenly.
• Fresh Parsley – Adds freshness; cilantro works as a tasty alternative.
• Garlic Powder & Smoked Paprika – Enhance the depth of flavor; don’t skip these seasonings!
• Salt and Pepper – Season to taste, ensuring maximum flavor. -
For the Wraps
• Tortillas (flour or whole wheat) – The perfect wrap base; use gluten-free tortillas for an alternative.
• Shredded Lettuce & Diced Tomatoes – Fresh veggies for crunch and nutrients.
• Shredded Cheddar or Vegan Cheese (optional) – Adds creaminess and enhances flavor.
These Buffalo Chickpea Wraps are not only delicious but also customizable to fit your dietary needs, making mealtime simpler and more enjoyable!
Step‑by‑Step Instructions for Buffalo Chickpea Wraps
Step 1: Mash the Chickpeas
Begin by draining and rinsing one can of chickpeas, then transfer them to a mixing bowl. Using a fork or potato masher, mash the chickpeas for about 1-2 minutes until a mix of creamy and chunky textures forms. This texture will give your Buffalo Chickpea Wraps a satisfying bite.
Step 2: Combine the Filling Ingredients
Add 1/4 cup of vegan mayonnaise or Greek yogurt, 1/4 cup of Buffalo hot sauce, and a squeeze of fresh lemon juice to the mashed chickpeas. Then, toss in finely diced celery, grated carrot, and red onion. Sprinkle with garlic powder, smoked paprika, salt, and pepper, then mix everything until well combined, creating a vibrant and flavorful filling.
Step 3: Prepare the Tortilla Base
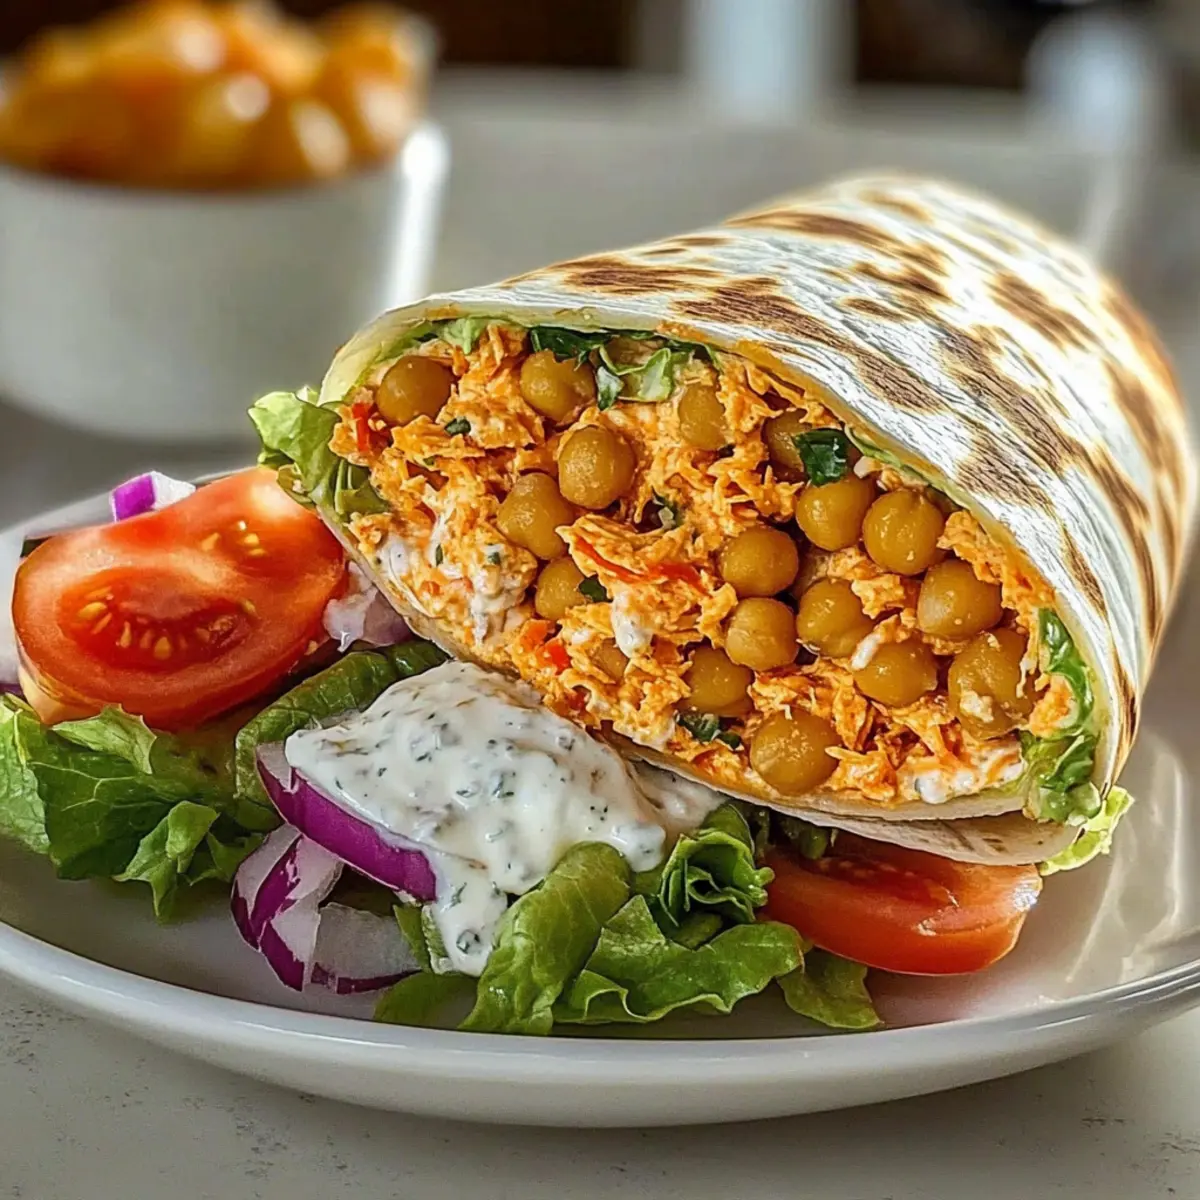
Lay out your tortillas on a clean, flat surface. To each tortilla, evenly distribute a layer of shredded lettuce and diced tomatoes, creating a refreshing foundation for your Buffalo Chickpea filling. This will add extra crunch and nutrients to your wraps, making them even more enjoyable.
Step 4: Fill the Wraps
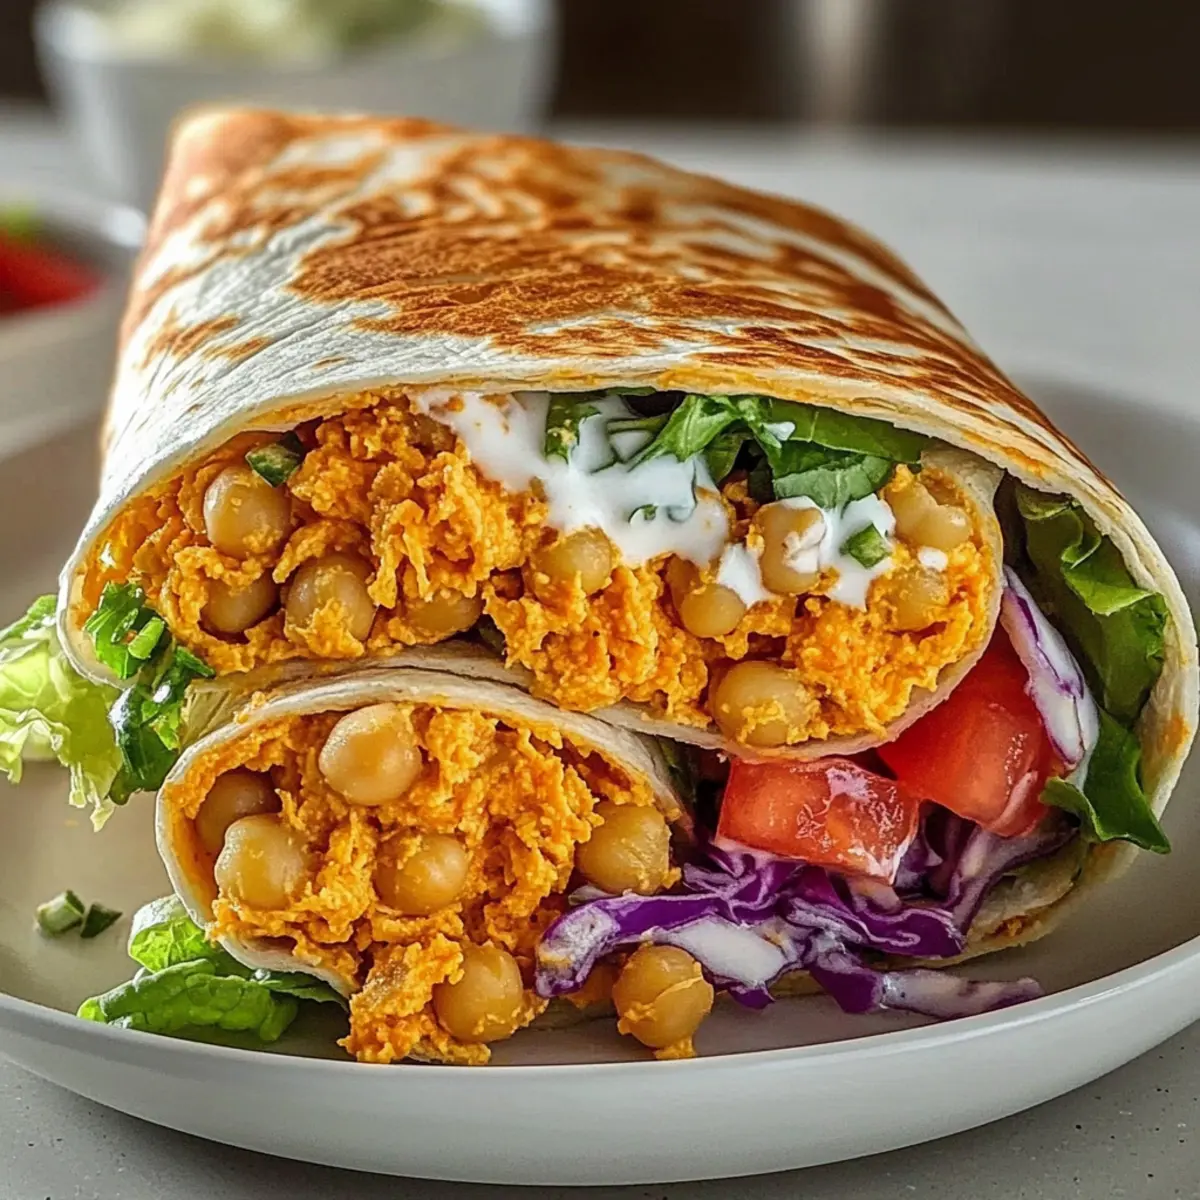
Spoon a generous portion of the chickpea salad mixture onto the loaded tortillas, ensuring an even spread. If desired, sprinkle on some shredded cheddar or vegan cheese for an extra burst of flavor. The color and texture will make your Buffalo Chickpea Wraps look irresistible!
Step 5: Roll Your Wraps
Carefully fold in the sides of each tortilla, then tightly roll the tortilla from the bottom to the top, ensuring the filling is enclosed securely. This method will help keep your delicious chickpea wrap intact while you enjoy every bite, preventing any spills.
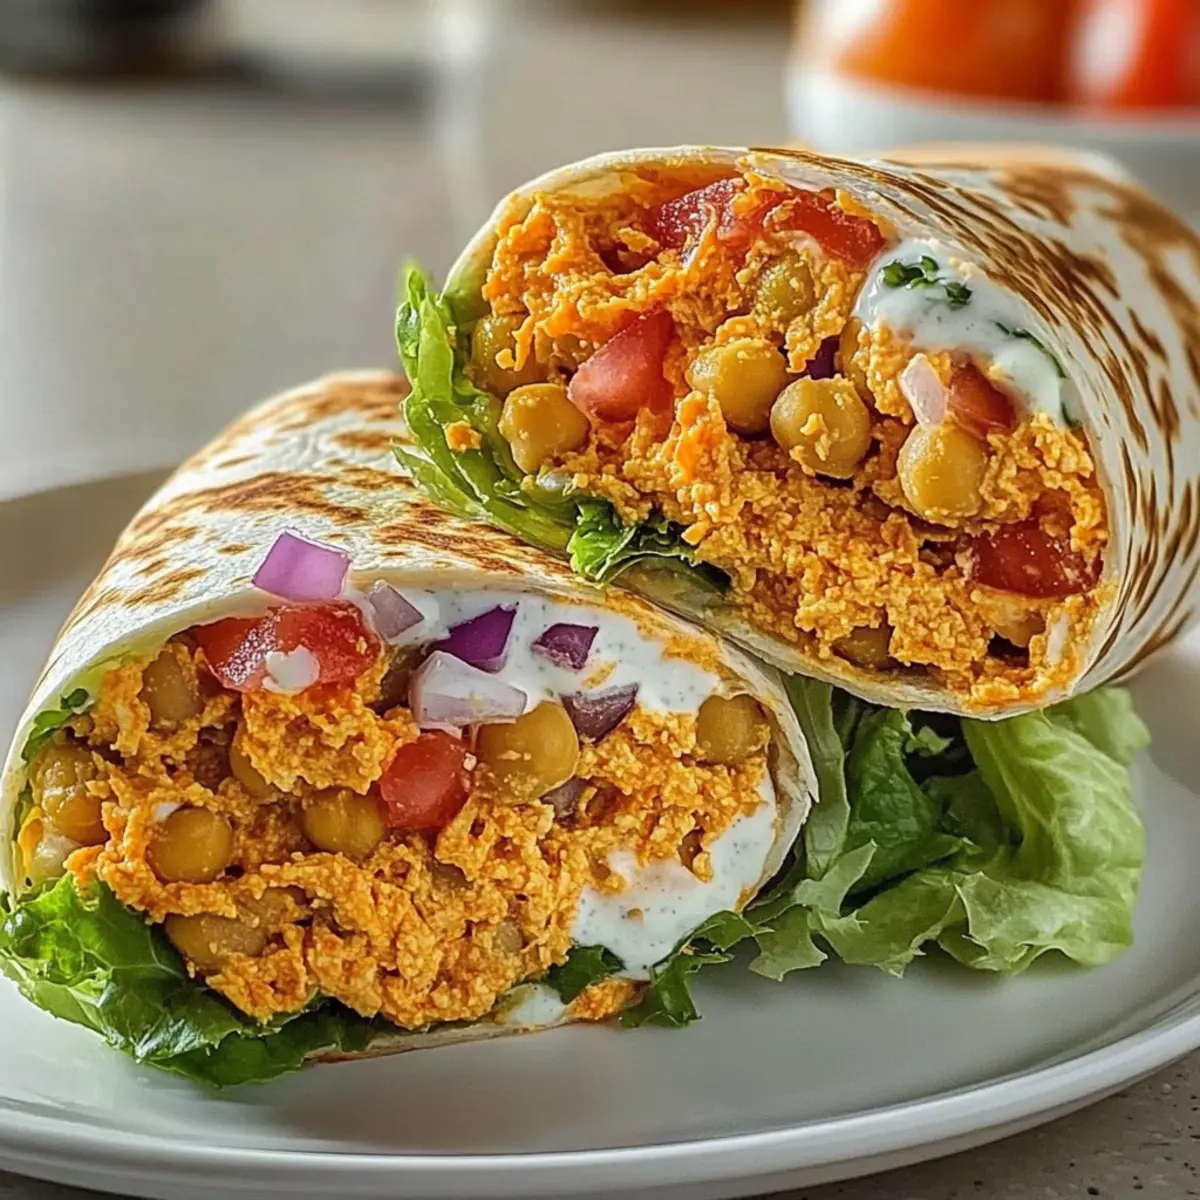
Step 6: Slice and Serve
Once rolled, use a sharp knife to slice each wrap in half, making them easier to handle and share. You can serve them immediately, or wrap them in foil for a convenient on-the-go meal. Either way, these Buffalo Chickpea Wraps are ready to delight your taste buds!
Make Ahead Options
These Buffalo Chickpea Wraps are perfect for meal prep enthusiasts! You can whip up the chickpea filling and store it in an airtight container in the refrigerator for up to 3 days. This allows flavors to meld beautifully while saving you time on busy evenings. Just remember to keep the filling separate from the tortillas to prevent sogginess. When you’re ready to enjoy, simply assemble the wraps with fresh ingredients like lettuce and tomatoes, ensuring the veggies stay crisp and vibrant. With this make-ahead strategy, you’ll savor the same delicious flavor and texture, hurry-free!
How to Store and Freeze Buffalo Chickpea Wraps
- Fridge: Store leftover chickpea filling in an airtight container for up to 3 days. Keep the tortillas wrapped separately to maintain their texture.
- Freezer: If you have extra filling, freeze it in a sealed container for up to 1 month. Thaw in the fridge overnight before serving.
- Reheating: For best results, reheat the chickpea filling in a pan over low heat until warmed through. Assemble the wraps fresh to preserve crunch.
- Make-Ahead: Prepare the chickpea filling in advance for quick meals, just remember to store it separately from the tortillas to avoid sogginess.
Expert Tips for Buffalo Chickpea Wraps
-
Perfect Texture: Aim for a mix of creamy and chunky chickpeas. This balance not only adds flavor but also enhances the overall texture of your Buffalo Chickpea Wraps.
-
Spice Levels: Adjust the amount of Buffalo hot sauce to suit your taste. Start with a small amount and add more if you prefer a spicier kick.
-
Fresh Ingredients: Use the freshest vegetables possible for the best flavor and crunch. Wilted veggies can result in a soggy wrap, so always check for freshness.
-
Storage Strategy: To keep your wraps from getting soggy, store the chickpea filling separately from the tortillas. This keeps them fresh until you’re ready to eat.
-
Creative Variations: Feel free to mix in other veggies like bell peppers or cucumbers for additional crunch and nutrients in your Buffalo Chickpea Wraps.
Buffalo Chickpea Wraps Variations & Substitutions
Feel free to jazz up your Buffalo Chickpea Wraps with these delightful twists that cater to your taste and dietary needs!
-
Gluten-Free: Swap traditional tortillas for gluten-free ones to keep your meal light and satisfying without compromising flavor.
-
Lentils or Beans: Replace chickpeas with black beans or cooked lentils for a different taste and texture while still packing in the protein.
-
Extra Crunch: Toss in diced bell peppers or sliced cucumbers for a refreshing crunch that complements the creamy filling perfectly.
-
Spicy Enhancements: Add a pinch of cayenne pepper or diced jalapeños for an extra kick that will ignite your palate with warmth.
-
Herbal Twist: Feel free to substitute parsley with fresh basil or cilantro for a burst of unique flavor and freshness in every bite.
-
Creamy Alternatives: If you’re not a fan of vegan mayo or Greek yogurt, consider using tahini or avocado for a deliciously rich experience.
-
Cheesy Options: Incorporate crumbled feta or goat cheese instead of shredded cheddar for a tangy richness that elevates your wraps.
-
On the Side: Serve your wraps with a side of homemade Chili Chicken Wraps for a satisfying lunch spread that appeals to all taste buds.
No matter the variations you choose, these Buffalo Chickpea Wraps are sure to delight! Enjoy experimenting in your kitchen!
What to Serve with Buffalo Chickpea Wraps
There’s nothing quite like rounding out your meal with complementary sides that enhance the zesty delight of your wraps.
-
Crispy Sweet Potato Fries: The subtle sweetness contrasts beautifully with the spicy wraps, adding a satisfying crunch. Pairing them with your favorite dipping sauce creates a perfect balance of flavors.
-
Crunchy Vegetable Sticks: Fresh celery, carrots, and bell peppers provide a refreshing palate cleanser, offering a crisp texture alongside your hearty wraps. They make for vibrant, colorful bites that are healthy and satisfying.
-
Side Salad with Citrus Vinaigrette: A light salad with greens topped with a zesty lemon dressing adds brightness and complements the rich flavors of the wraps perfectly. The tangy dressing will awaken your taste buds while keeping the meal light.
-
Quinoa or Rice Pilaf: A fluffy quinoa or rice dish serves as a filling base to soak up any flavorful saucy remnants from the wraps. With each bite, you’ll enjoy a warm, nutty taste, enhancing the chickpea experience.
-
Classic Pickles: The sharp tang of pickles or pickled vegetables brings a delightful contrast, cutting through the creaminess of the wraps. Their crunch offers a fun texture and added zing.
-
Iced Herbal Tea or Lemonade: Refreshing drinks like iced herbal tea or zesty lemonade add a cool burst of flavor to your meal. They are perfect for quenching your thirst while keeping the spicy kick in check.
Embrace these flavors that bring a delightful variety to the table, transforming mealtime into a vibrant celebration!
Buffalo Chickpea Wraps Recipe FAQs
How do I choose ripe chickpeas for my wraps?
Absolutely! When using canned chickpeas, pick the freshest ones. Look for brands that have a firm texture and no dented cans. If you’re using dried chickpeas, soak them overnight and make sure they feel tender when cooked. Freshness makes a world of difference in flavor!
How should I store my leftover Buffalo Chickpea filling?
Very! Transfer any leftover chickpea filling into an airtight container and stick it in the fridge, where it will stay good for up to 3 days. To keep things crunchy, store the tortillas separately. This way, when you’re ready to enjoy, everything stays fresh!
Can I freeze the chickpea filling for later use?
Absolutely! To freeze, place the chickpea filling in a sealed container, making sure to remove as much air as possible. It can be stored in the freezer for up to 1 month. When you’re ready to eat, just thaw it overnight in the fridge and then reheat in a pan. You can add fresh veggies immediately before serving!
What if my wraps turn out soggy?
Ah, sogginess can be a bummer, but it’s preventable! Always store the chickpea filling separately from the tortillas until you’re ready to eat. If you notice that the tortillas are soft after assembly, lightly toast them in a dry skillet before filling. This little step can help maintain that delightful crunch!
Are Buffalo Chickpea Wraps suitable for a gluten-free diet?
Absolutely! Simply swap regular tortillas for gluten-free options available at most grocery stores. These wraps can easily accommodate your dietary needs without compromising on taste.
Can I use other vegetables in these wraps?
The more the merrier! Feel free to add a variety of your favorite veggies, like diced cucumbers, bell peppers, or even avocado slices for added flavor and texture. Mixing in different vegetables not only enhances the taste but also provides extra nutrients!
These Buffalo Chickpea Wraps are sure to please all at the table while being easy to customize to your liking. Enjoy your cooking adventure!
Buffalo Chickpea Wraps: Spicy, Creamy, and Ready in 15 Minutes
Ingredients
Equipment
Method
- Mash the chickpeas in a mixing bowl until a mix of creamy and chunky textures forms.
- Combine chickpeas with vegan mayonnaise, Buffalo hot sauce, fresh lemon juice, diced celery, grated carrot, diced red onion, garlic powder, smoked paprika, salt, and pepper. Mix until well combined.
- Lay out tortillas and add shredded lettuce and diced tomatoes evenly on each.
- Spoon a generous portion of the chickpea mixture onto the tortillas, and optionally add shredded cheese.
- Fold in the sides of each tortilla, and roll tightly from the bottom to the top.
- Slice the wraps in half for easier handling and serve immediately or wrap in foil for later.
Leave a Reply