
When the summer sun blazes down, nothing refreshes quite like a scoop of icy sweetness. Enter my Chocolate Peanut Butter Ninja Creami Ice Cream, a delightful dessert that combines the rich, creamy goodness of chocolate and the savory notes of peanut butter. This quick and easy recipe not only brings fun and nostalgia into your kitchen but also promises a slightly healthier twist with simple, accessible ingredients. You’ll love how it takes minimal preparation and just a little bit of patience to transform into an indulgent treat, perfect for cooling off on hot days. Best yet, it’s customizable—feel free to add your favorite mix-ins for that extra layer of fun! Curious about how to whip up this creamy confection in no time? Let’s dive in!
Why is this ice cream so special?
Rich, Decadent Flavor: The combination of chocolate and peanut butter creates an indulgent experience that is simply irresistible.
Customizable Fun: Feel free to personalize your creation with mix-ins like crushed cookies or chocolate chips for added texture!
Easy Preparation: With just a few basic steps, you’ll have your ice cream ready to freeze, making it ideal for home cooks of all skill levels.
Perfect for Summer: This ice cream is the ultimate refreshing treat to enjoy on a hot day, similar to our popular Raspberry Hot Chocolate that combines indulgence with cool relief.
Healthier Twist: Utilizing cream cheese and peanut butter powder allows you to enjoy dessert without the guilt, making it a treat you can feel good about.
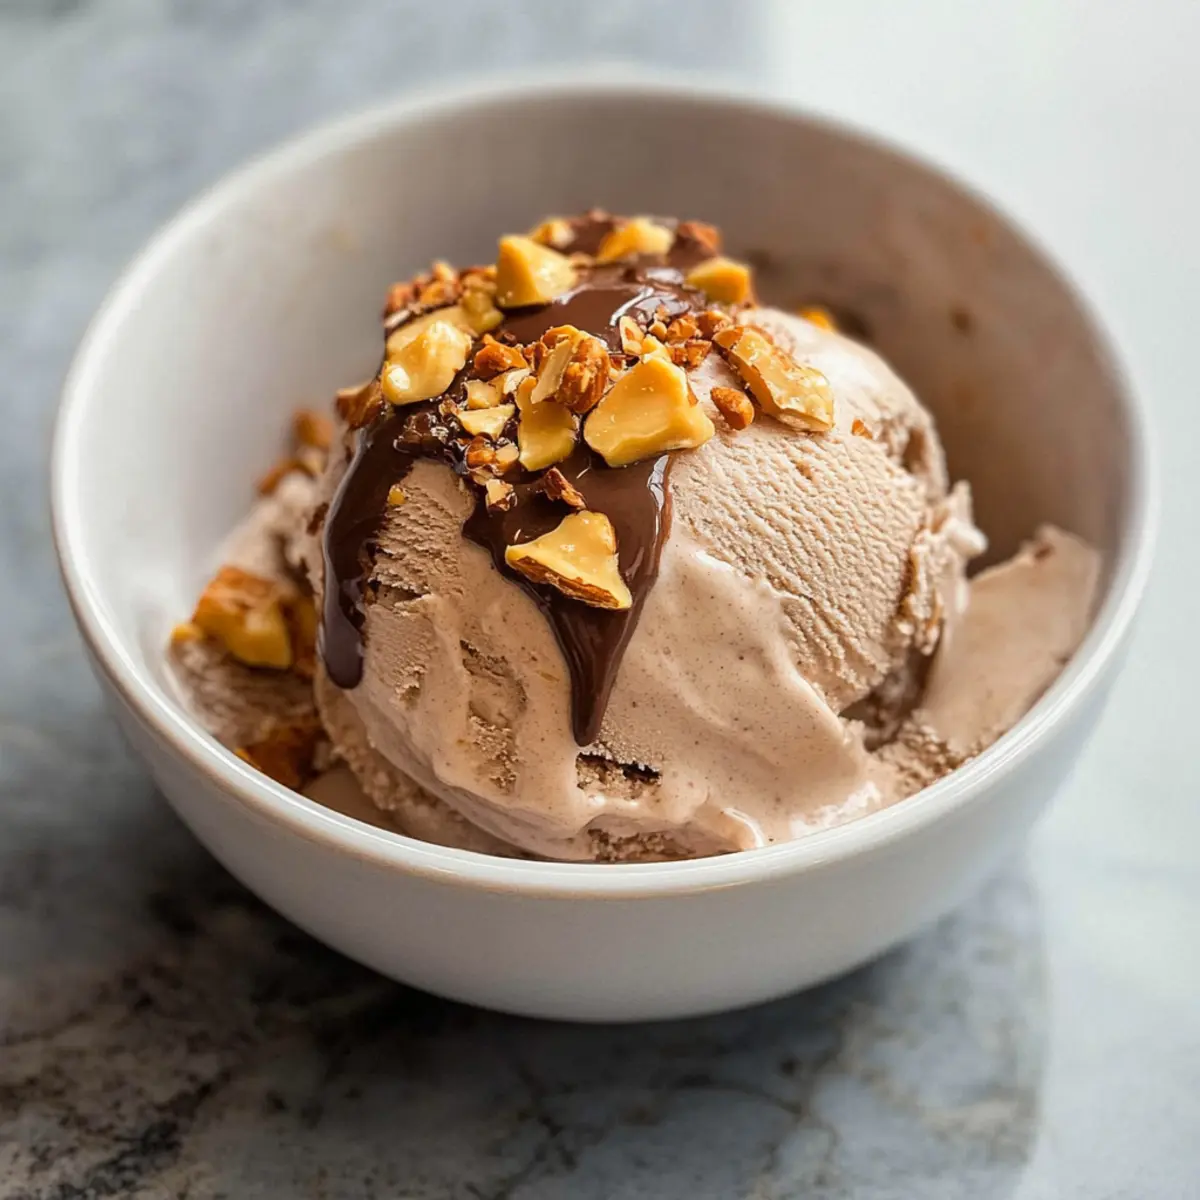
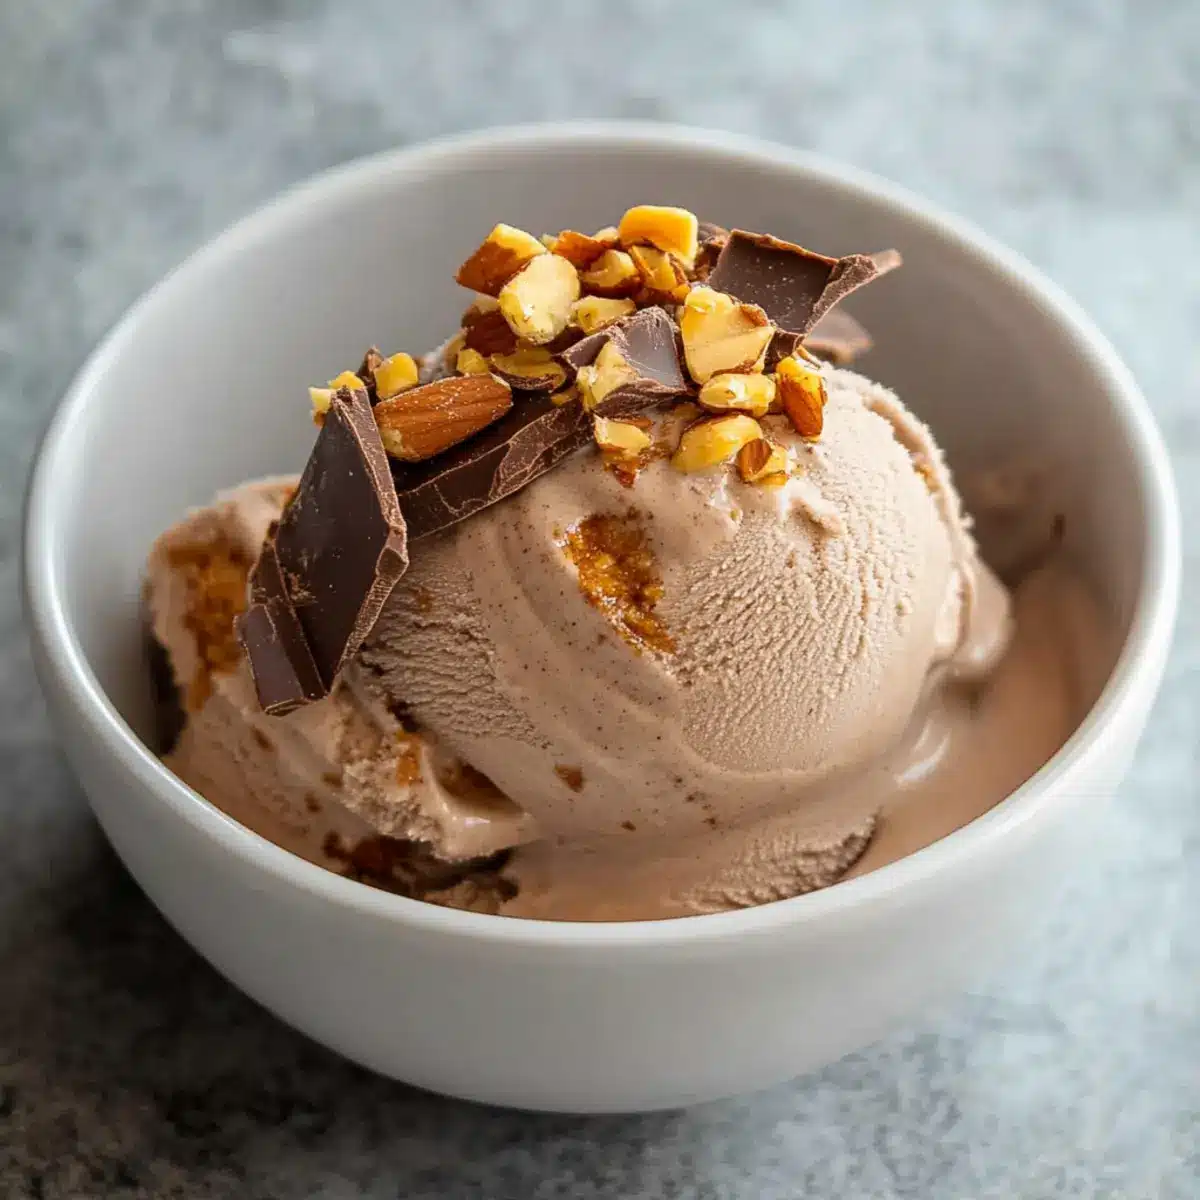
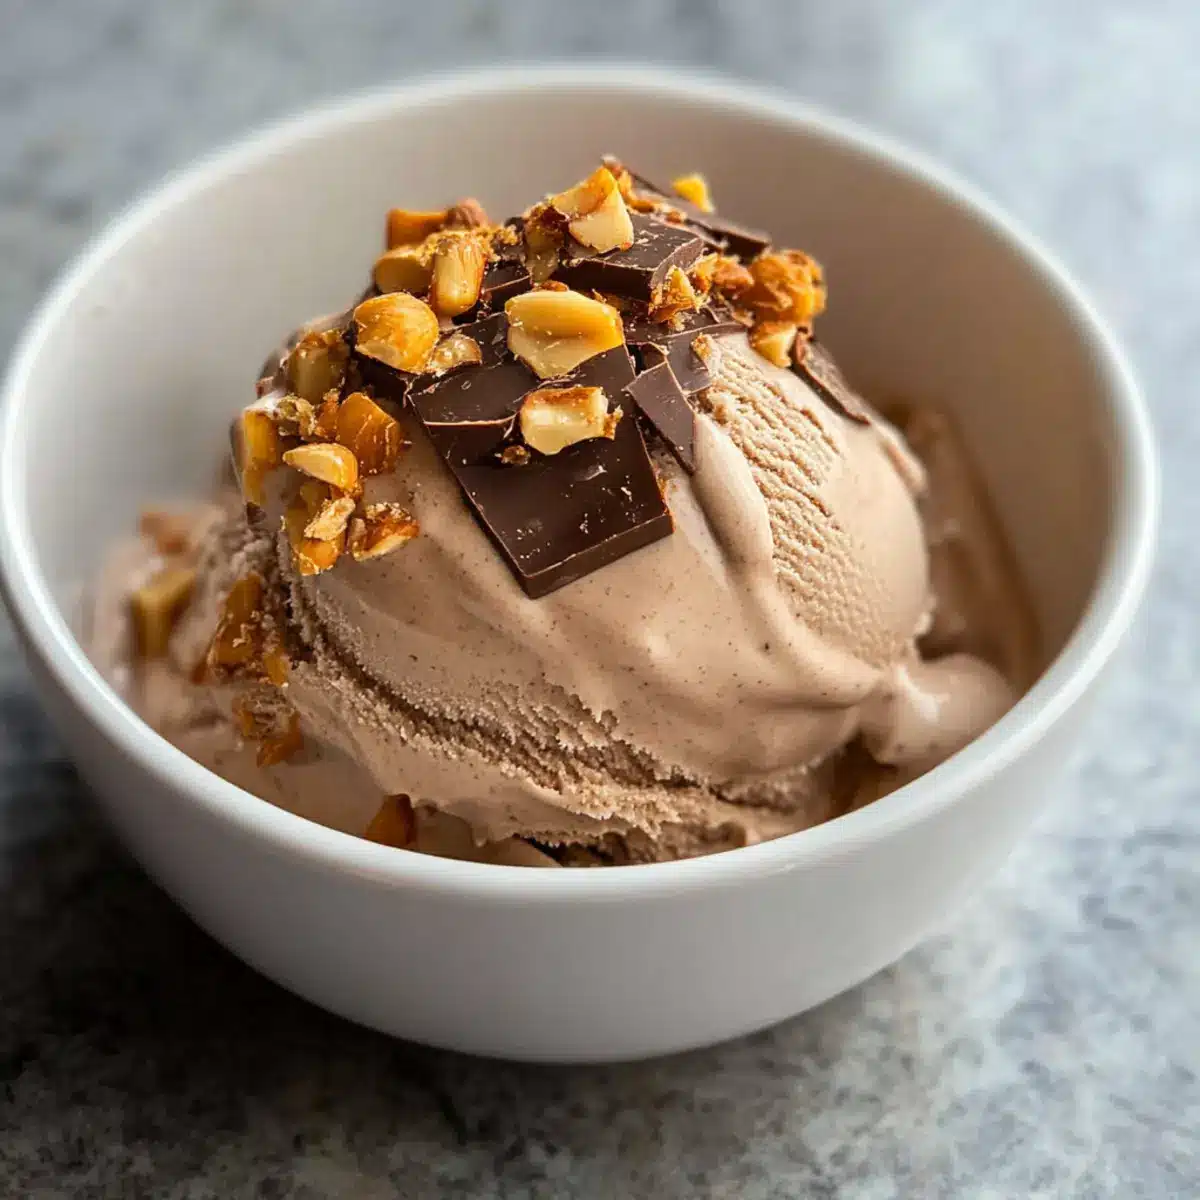
Imagine serving this delightful dessert with a drizzle of melted chocolate or a sprinkle of your favorite nuts, just like with our Chocolate Orange Cheesecake. It’s sure to impress your family and friends!
Chocolate Peanut Butter Ingredients
For the Ice Cream Base
- Cream Cheese – Adds a creamy base and rich texture. Substitution: Use low-fat cream cheese for a lighter version.
- Sugar – Provides sweetness to balance the rich flavors. Substitution: You may use coconut sugar or a sugar alternative for a lower-calorie option.
- Peanut Butter Powder – Contributes to the peanut flavor without the extra fat. Substitution: Replace with 1/4 cup of regular peanut butter if unavailable; mix until smooth.
- Cocoa Powder – Imparts a chocolate flavor. Tip: Use Dutch-processed cocoa for a richer flavor.
- Vanilla Extract – Enhances overall flavor. Substitution: Vanilla bean paste can be used for a more intense vanilla taste.
- Milk – Provides moisture and creaminess. Substitution: Almond milk or oat milk can work for a dairy-free version.
- Heavy Cream – Adds richness and creamy texture. Substitution: Use coconut cream for a dairy-free option.
Optional Mix-ins
- Crushed Cookies – Add texture and crunch to your ice cream delight!
- Chocolate Chips – For an extra burst of sweetness and a chocolatey surprise in every bite.
- Chopped Nuts – Incorporate your favorite nuts for added flavor and crunch.
Indulge in this Chocolate Peanut Butter ice cream and savor the delightful blend of chocolate and peanut flavors, perfect for a refreshing summer treat!
Step‑by‑Step Instructions for Chocolate Peanut Butter Ninja Creami Ice Cream
Step 1: Soften Cream Cheese
Start by microwaving the cream cheese for 10–15 seconds until it’s soft enough to mix easily. This will create a smoother, creamier base for your Chocolate Peanut Butter Ninja Creami Ice Cream. Check for a spreadable consistency where it’s slightly warm but not melted.
Step 2: Combine Dry Ingredients
In a mixing bowl, combine the softened cream cheese, sugar, cocoa powder, peanut butter powder, and vanilla extract. Using a hand mixer or spatula, blend the ingredients until they are mostly combined, creating a thick and creamy mixture with a rich chocolatey aroma filling the air.
Step 3: Add Liquids
Pour in the milk and heavy cream, stirring until the ice cream base becomes smooth and well-blended. Whisk vigorously for about 1–2 minutes to ensure everything is fully incorporated, looking for a consistent texture with no lumps, which brings that indulgent chocolate-peanut flavor to life.
Step 4: Freeze Mixture
Carefully pour the combined mixture into the Ninja Creami pint. Place the pint in the freezer and let it freeze for at least 24 hours. Ensure that it’s fully frozen and solidified, looking like a block of ice that’s ready to be transformed into the most delicious dessert.
Step 5: Process the Ice Cream
Once the mixture is frozen, place the pint into the Ninja Creami machine. Process using the ice cream setting until it becomes creamy and fluffy, which typically takes about 2–3 minutes. If the mixture appears too thick, add a splash of milk and reprocess until smooth, ensuring a delightful texture.
Step 6: Add Mix-ins (if desired)
Now comes the fun part! Make a hole in the center of your creamy ice cream and sprinkle in your favorite mix-ins like crushed cookies or chocolate chips. Use the mix-in feature to gently fold them into the ice cream, making sure every scoop of your Chocolate Peanut Butter Ninja Creami Ice Cream is bursting with delicious surprises!
Storage Tips for Chocolate Peanut Butter Ice Cream
Fridge: Store any leftover ice cream in the fridge for up to 3 days if you prefer a slightly softer texture, but it’s best enjoyed straight from the freezer.
Freezer: Keep your Chocolate Peanut Butter Ninja Creami Ice Cream in an airtight container in the freezer for up to 2 weeks. Ensure it’s tightly sealed to prevent freezer burn.
Reheating: If the ice cream becomes too hard, simply reprocess it in the Ninja Creami using the ice cream setting with a splash of milk to restore its creamy consistency.
Serving: When ready to serve, let the ice cream sit at room temperature for 5–10 minutes before scooping for easier servings.
What to Serve with Chocolate Peanut Butter Ninja Creami
Want to create the ultimate dessert experience that pairs beautifully with this creamy delight?
-
Warm Brownies: Indulge in fudgy, warm brownies that offer a delightful contrast to the cold, creamy ice cream, creating a heavenly combination. Imagine the richness of chocolate melting into the ice cream on your tongue!
-
Salted Caramel Sauce: Drizzle this gooey, sweet sauce over your ice cream for added decadence and a touch of savory flavor that enhances the chocolate-peanut goodness.
-
Fresh Berries: Serve a side of strawberries or raspberries to add a refreshing, tart element. Their juicy brightness cuts through the richness of the ice cream, offering a perfect balance.
-
Chopped Nuts: Sprinkle with crunchy roasted peanuts or walnuts for a delightful texture contrast. The nutty crunch complements the smooth, creamy body, making each bite more exciting.
-
Chocolate Chip Cookies: Pair with warm, gooey chocolate chip cookies that invite dipping into the ice cream. It’s like two favorites in one dessert adventure!
-
Iced Coffee or Mocha: Enjoy a chilled coffee or mocha alongside your ice cream for a delightful pick-me-up. The coffee’s rich flavor accentuates the chocolate, making your treat even more satisfying.
-
Whipped Cream: Top your dessert with a fluffy layer of whipped cream for added creaminess. The lightness of whipped cream adds a fantastic texture that works well with the richness of the ice cream.
-
Mini Cheesecake Bites: Serve these alongside your creation for a decadent twist! The creamy flavors of cheesecake echo the peanut butter, while their mini size invites indulgence without feeling too heavy.
-
Coconut Macaroons: The chewy sweetness of coconut macaroons provides an exotic touch, seamlessly pairing with the luscious chocolate and peanut butter flavors.
Chocolate Peanut Butter Variations & Substitutions
Feel free to put your own spin on this delicious recipe and let your creativity shine!
- Nut-Free: Substitute peanut butter powder with sun butter for an allergy-friendly twist that still brings that nutty flavor.
- Fruit-Infused: Blend in some ripe bananas or strawberries for a fruity version that adds a delightful sweetness and freshness!
- Dairy-Free: Opt for coconut cream and almond milk in place of heavy cream and regular milk for a creamy, dairy-free delight.
- Extra Chocolate: For the ultimate chocolate lover, mix in chocolate syrup or use chocolate almond milk instead of regular milk.
- Spicy Kick: Sprinkle in a dash of cayenne pepper or chili powder to give your ice cream a unique, flavorful heat that surprises your taste buds.
- Protein Boost: Stir in a scoop of your favorite protein powder to make this treat a satisfying post-workout delight.
- Gourmet Touch: Infuse with a splash of espresso or coffee liqueur for an adult version that provides a rich coffee flavor perfect for summer parties.
- Marvelous Mix-ins: Incorporate crushed pretzels or toffee bits for a delightful mix of salty and sweet textures, just like our delicious Winter Wonderland Chocolate recipe!
The beauty of this Chocolate Peanut Butter Ninja Creami Ice Cream is that each variation transforms it into a unique dessert experience, inviting you to explore different flavors and textures!
Expert Tips for the Best Chocolate Peanut Butter Ice Cream
-
Smooth Base: Ensure your cream cheese is fully softened to prevent lumps in the mixture; this will create a creamy, indulgent texture.
-
Taste Test: Don’t forget to adjust the sweetness before freezing! Taste the mixture to find your perfect level of sweetness that complements the chocolate and peanut butter.
-
Mix-in Magic: When adding mix-ins, don’t overcrowd them; a few well-placed treats will enhance rather than overpower your Chocolate Peanut Butter ice cream.
-
Freezing Time: Be patient! Let the mixture freeze for a full 24 hours for a better texture. Premature freezing may result in an icy end product.
-
Reprocess if Necessary: If your ice cream ends up too hard after freezing, simply process it again in the Ninja Creami on the ice cream setting with a splash of milk added to achieve that desired creamy consistency.
Make Ahead Options
These Chocolate Peanut Butter Ninja Creami Ice Creams are perfect for meal prep enthusiasts, allowing you to enjoy the creamy goodness without the last-minute rush! You can prepare the ice cream base up to 24 hours in advance—just mix all the ingredients and refrigerate until ready to freeze. Ensure the mixture is smooth and avoid ice crystals by mixing well before pouring it into the Ninja Creami pint for freezing. When it’s time to serve, simply let the pint sit at room temperature for a few minutes for easier processing, then process in the Ninja Creami to achieve that delightful creamy texture. By prepping ahead, you’ll have this indulgent treat ready to enjoy with minimal effort!
Chocolate Peanut Butter Ninja Creami Recipe FAQs
What type of cream cheese should I use for the best texture?
I recommend using full-fat cream cheese for a rich and creamy base. However, if you prefer a lighter version, low-fat cream cheese can be a good alternative. Just remember to soften it well before mixing to avoid lumps!
How long can I store leftover ice cream?
To keep your Chocolate Peanut Butter Ninja Creami Ice Cream fresh, store it in an airtight container in the freezer for up to 2 weeks. Ensure it’s sealed tightly to prevent freezer burn for the best taste and texture.
Can I freeze this ice cream for longer?
While I typically recommend enjoying your ice cream within 2 weeks, it can be stored upright in the freezer for up to 3 months. Just be sure to use an airtight container and press plastic wrap against the surface to minimize air exposure.
What if my ice cream is too hard after freezing?
No worries at all! If your ice cream becomes too hard to scoop, simply reprocess it in the Ninja Creami. Add a splash of milk to the pint before processing to achieve a creamy consistency. It usually only takes a couple of minutes to return to a soft-serve delight.
Are there any dietary considerations for allergies?
Yes! This ice cream contains cream cheese, dairy, and peanuts. For those with dairy allergies, consider using dairy-free cream cheese and substitutes like almond or oat milk. If you’re avoiding peanuts, feel free to use almond or cashew butter instead to create your own unique flavor!
Can I add mix-ins, and how should I do it?
Absolutely! Add mix-ins like crushed cookies or chocolate chips after processing the ice cream. Make a small hole in the center of the ice cream and sprinkle in your chosen mix-ins. Use the Ninja Creami’s mix-in feature to fold them in gently, ensuring every scoop has that delightful surprise!

Chocolate Peanut Butter Bliss: Cool Summer Ninja Creami Dream
Ingredients
Equipment
Method
- Step 1: Soften Cream Cheese. Start by microwaving the cream cheese for 10–15 seconds until it's soft enough to mix easily.
- Step 2: Combine Dry Ingredients. In a mixing bowl, combine the softened cream cheese, sugar, cocoa powder, peanut butter powder, and vanilla extract.
- Step 3: Add Liquids. Pour in the milk and heavy cream, stirring until the ice cream base becomes smooth and well-blended.
- Step 4: Freeze Mixture. Carefully pour the combined mixture into the Ninja Creami pint and let it freeze for at least 24 hours.
- Step 5: Process the Ice Cream. Once frozen, place the pint into the Ninja Creami machine and process until creamy and fluffy.
- Step 6: Add Mix-ins (if desired). Make a hole in the center of your ice cream and sprinkle in your favorite mix-ins.
Leave a Reply