
As I rummaged through my kitchen shelves, I stumbled upon a dusty box filled with cherished baking memories. That’s where I found my mother’s recipe for Pink Velvet Cake, an absolute showstopper that not only looks stunning but also tastes heavenly. This delightful Mother’s Day Pink Velvet Cake is remarkably easy to make, yet its vibrant layers of cocoa-vanilla-infused goodness topped with creamy frosting will impress even the toughest dessert critics. Perfect for celebrating the special moments in life, this cake is easily customizable to suit different tastes. Whether you’re baking for a gathering or simply treating yourself, this recipe promises to create sweet memories with every bite. So, are you ready to whip up some colorful joy in your kitchen?

Why is Pink Velvet Cake a Must-Bake?
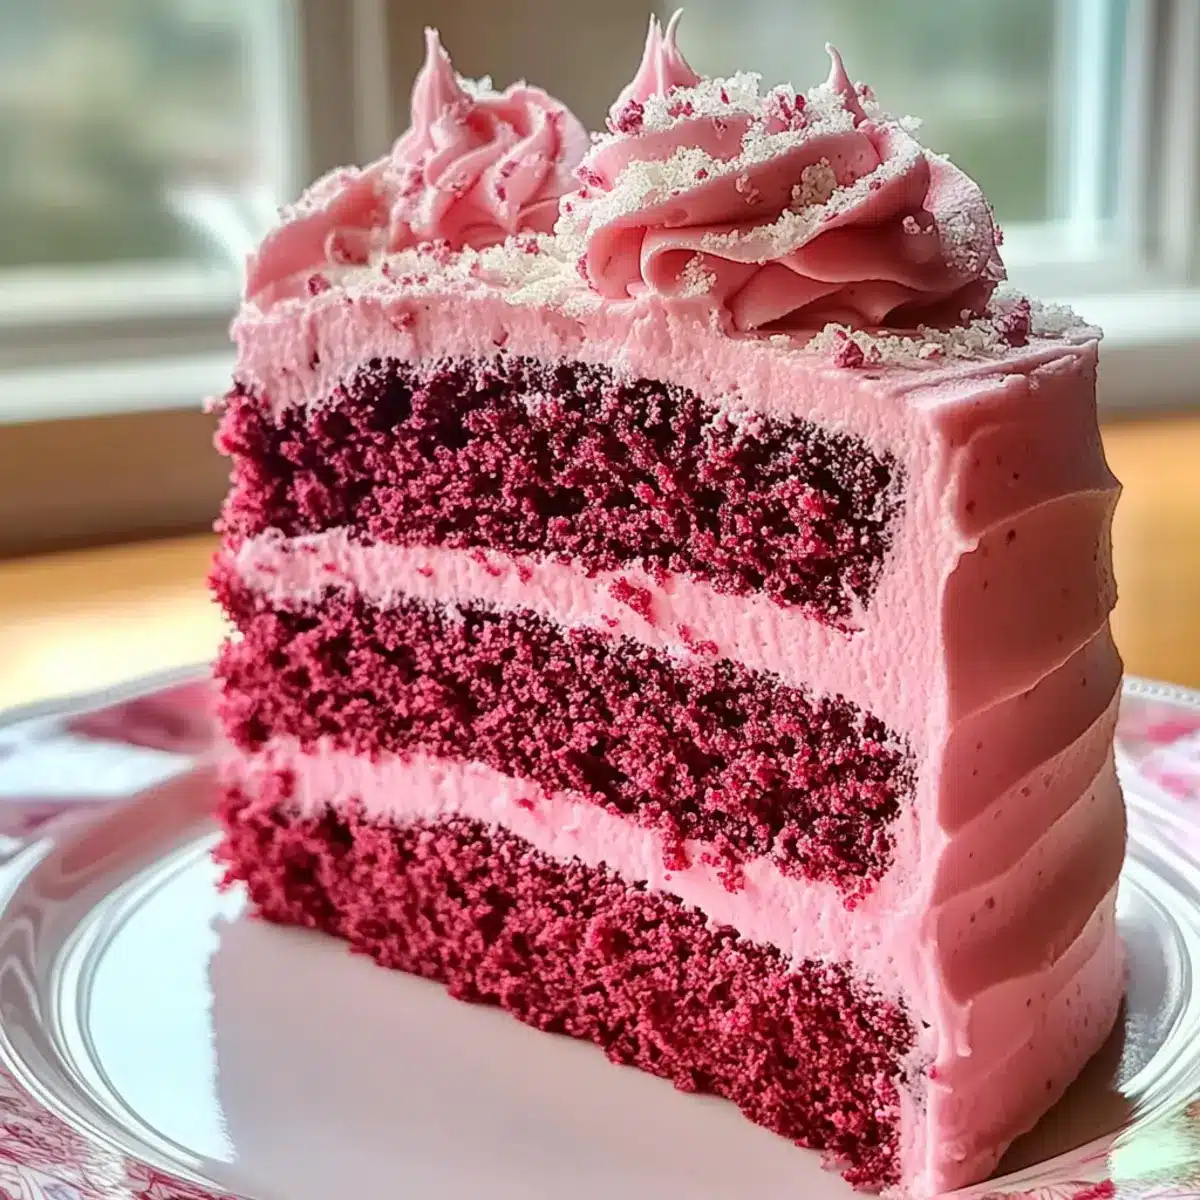
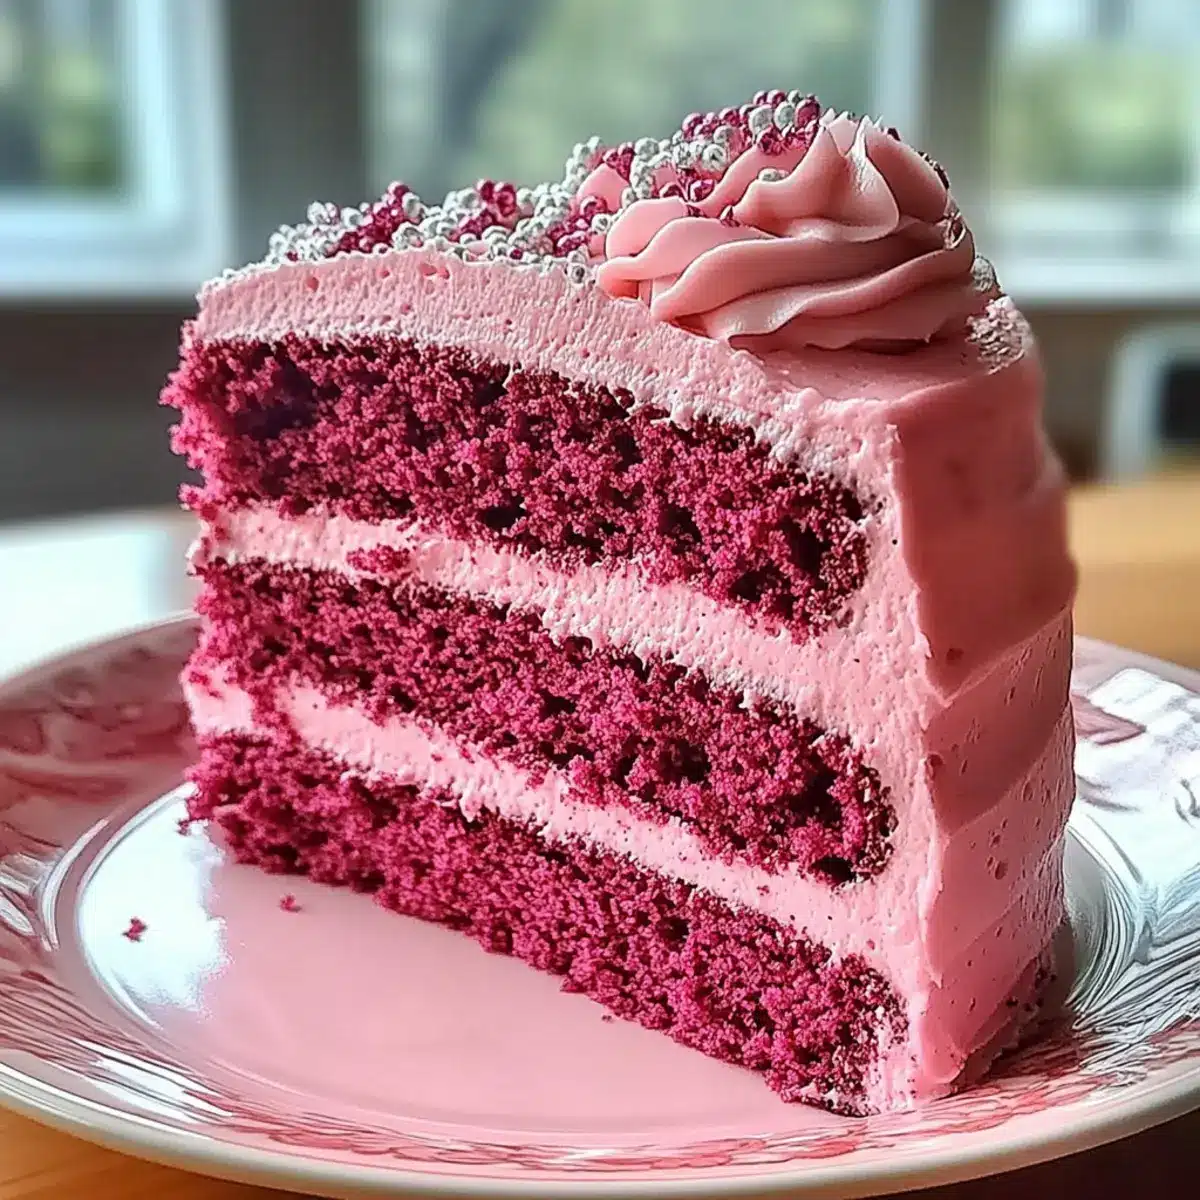
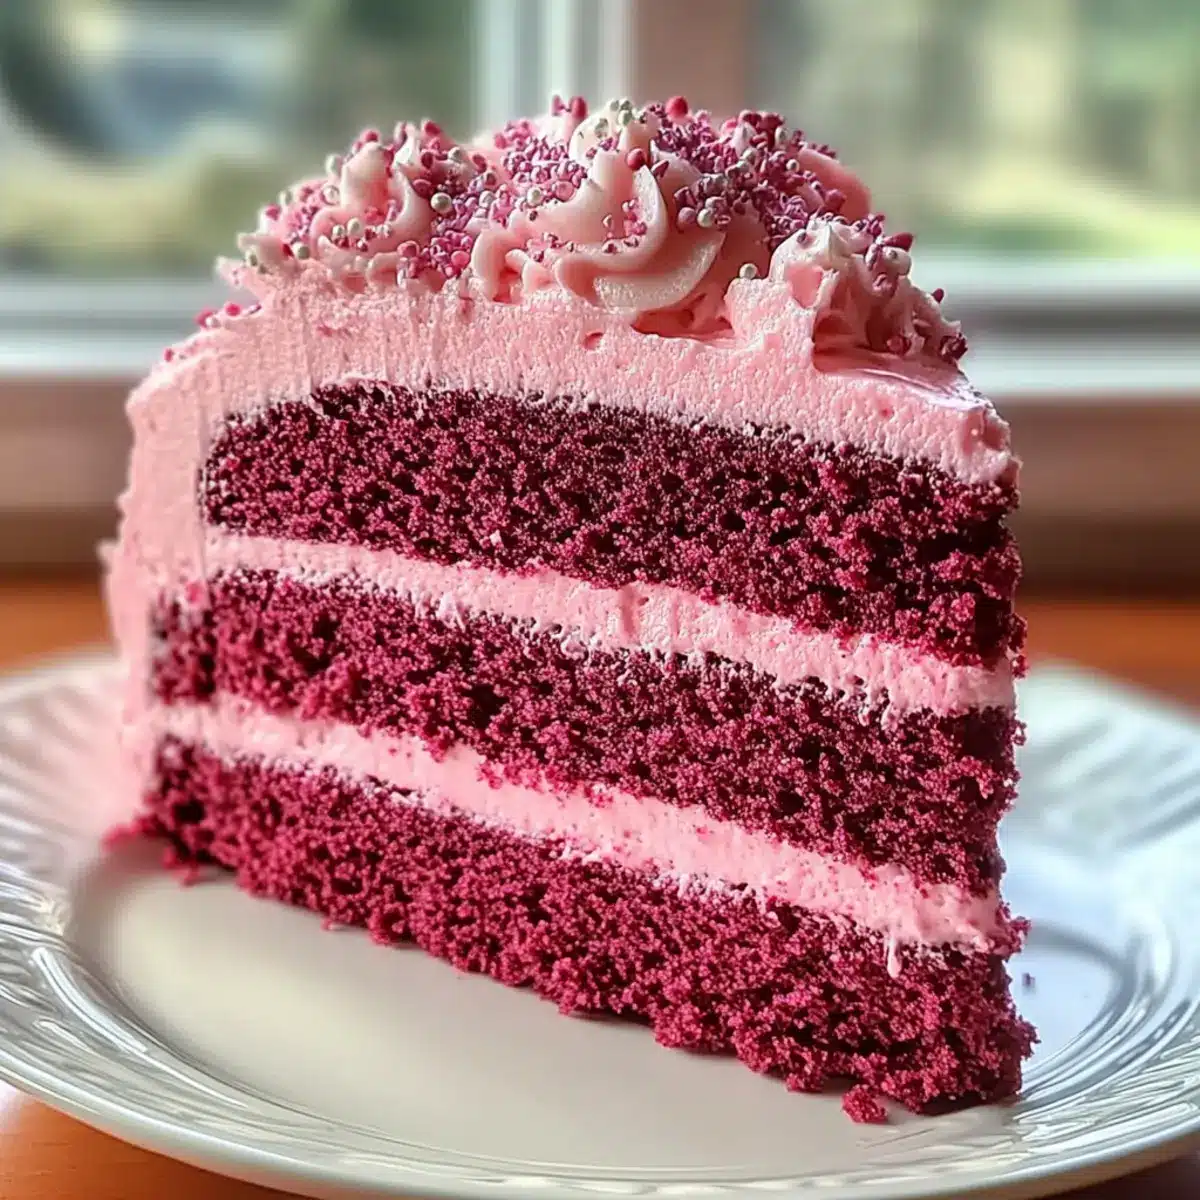
Visually Stunning: This cake is a feast for the eyes, boasting a vibrant pink color that makes any occasion feel extra special.
Easy Preparation: Perfect for bakers of all skill levels, it simplifies the baking process without sacrificing flavor.
Customizable Flavors: Feel free to swap out the frosting or add unique toppings, making it versatile for any palate.
Memorable Moments: It’s not just a dessert; it’s a centerpiece that invites joy and celebration—ideal for gatherings and special occasions.
Perfect with Extras: Pair it with fresh berries or a dollop of whipped cream to enhance the experience and elevate your dessert to the next level.
Make this delightful cake and create lasting memories; it might just become your go-to for celebrations!
Pink Velvet Cake Ingredients
For the Cake
- Cake Flour – Provides the perfect structure and softness; no direct substitutions to maintain the cake’s texture.
- Unsweetened Cocoa Powder – Infuses a rich chocolate flavor without added sweetness; Dutch-process cocoa will deepen the color.
- Baking Powder – Ensures the cake rises beautifully; make sure it’s fresh for optimal results.
- Salt – Balances the sweetness and enhances flavors; omit if using salted butter.
- Unsalted Butter – Adds a rich, moist texture; substitute with margarine only if necessary.
- Granulated Sugar – Sweetens the cake and contributes to its delightful texture; not recommended for substitutions.
- Large Eggs – Provides moisture and structure; use room temperature eggs for better mixing.
- Buttermilk – Adds a subtle tanginess and moisture; can be substituted with milk and a splash of vinegar.
- Vanilla Extract – Enhances the overall flavor profile; consider almond extract for a unique twist.
- Red Food Coloring – Gives the cake its signature vibrant hue; add gradually until your desired color is achieved.
For the Frosting (Optional)
- Cream Cheese – Adds rich, tangy notes that pair well with the cake; soften to spread easily.
- Powdered Sugar – Sweetens and helps to achieve the perfect frosting consistency; sift for a smoother texture.
- Heavy Cream – Makes the frosting light and fluffy; whip until soft peaks form for best results.
Whether you’re celebrating Mother’s Day or simply indulging your sweet tooth, this Pink Velvet Cake will surely elevate your dessert experience!
Step‑by‑Step Instructions for Mother’s Day Pink Velvet Cake
Step 1: Preheat and Prepare
Preheat your oven to 350°F (175°C), ensuring it’s hot enough for the cake to rise properly. While the oven warms, grease and flour two 9-inch round cake pans, creating a non-stick surface for your beautiful Pink Velvet Cake. Set them aside so they’re ready when you need them.
Step 2: Whisk Dry Ingredients
In a large mixing bowl, whisk together 2 cups of cake flour, 1 tablespoon of unsweetened cocoa powder, 1 tablespoon of baking powder, and a pinch of salt. This will evenly distribute the leavening agent and enhance the flavor. You’ll want a light and airy mixture that will contribute to the cake’s soft texture!
Step 3: Cream Butter and Sugar
In a separate bowl, beat 1 cup of softened unsalted butter and 2 cups of granulated sugar using an electric mixer on medium speed. Cream them until the mixture is light and fluffy, about 3 minutes. This step is vital as it incorporates air into the batter, which helps your Pink Velvet Cake rise beautifully.
Step 4: Add Eggs and Flavorings
Once creamy, add 4 large eggs, one at a time, ensuring each is fully incorporated before adding the next. Follow with 1 cup of buttermilk, 2 teaspoons of vanilla extract, and your desired amount of red food coloring for that signature pink hue. Mix well until combined, creating a vibrant and smooth batter.
Step 5: Combine Dry and Wet Ingredients
Carefully fold the dry ingredients into the wet mixture using a spatula. Do this gradually until just combined; be cautious not to overmix, which can make your cake dense. You want the batter to be smooth with a hint of that gorgeous pink color peeking through.
Step 6: Divide and Bake
Pour the batter evenly into your prepped cake pans, filling each about halfway. Bake in the preheated oven for 25 to 30 minutes. Keep an eye out for visual cues: the edges should pull away slightly from the pan, and a toothpick inserted in the center should come out clean.
Step 7: Cool the Cakes
Once baked, remove the pans from the oven and let them cool in the pans for about 10 minutes. Then, carefully transfer the cakes to wire racks to cool completely. This is crucial to avoid a soggy texture—your Pink Velvet Cake deserves to retain its fluffy charm!
Step 8: Frost and Serve
After the cakes have cooled, it’s time to frost! Spread cream cheese frosting generously between the layers and on top, enhancing the cake’s delectable flavor. Feel free to get creative with the decoration—that splash of extra color makes your Pink Velvet Cake a real showstopper!
What to Serve with Mother’s Day Pink Velvet Cake
Delight in a feast of flavors that will elevate your special occasion and complement every bite of this enchanting dessert.
-
Fresh Berries: Juicy strawberries and raspberries enhance the cake’s sweetness while adding a refreshing burst of flavor. Their bright colors also offer a gorgeous visual contrast!
-
Whipped Cream: A dollop of airy whipped cream lightens the experience, making each slice feel even more indulgent and creamy.
-
Vanilla Ice Cream: Creamy vanilla ice cream provides a cool counterpart to the cake’s soft warmth, creating a delightful melt-in-your-mouth sensation.
-
Chocolate Ganache: Rich chocolate ganache drizzled on top takes the flavor profile to new heights, marrying the cocoa notes beautifully with the cake.
-
Coffee or Espresso: A warm cup of coffee or espresso cuts through the cake’s sweetness and enhances its flavors, making it perfect for adult gatherings.
-
Sparkling Rosé: This bubbly, fruity drink adds a touch of celebration and pairs charmingly with the cake, perfect for toasting special moments.
Each pairing not only enhances the cake but also brings your celebration to life, ensuring that every bite is savored and enjoyed!
Pink Velvet Cake Variations & Substitutions
Feel free to explore delightful twists on this recipe that lift your Pink Velvet Cake to new heights of flavor and presentation!
- Gluten-Free: Substitute cake flour with a gluten-free blend to make this cake accessible for everyone without sacrificing texture.
- Flavored Frosting: Try swapping the cream cheese frosting for a whipped vanilla or chocolate frosting. The lightness of whipped cream makes for a delightful contrast!
- Fruit Toppings: Top your cake with fresh strawberries or raspberries for a burst of natural sweetness that pairs beautifully with the cake’s richness. Adding a fruit sauce can also elevate the experience.
- Nutty Crunch: Add chopped nuts like almonds or pecans to the frosting or as a topping for texture. The crunch complements the softness of the cake wonderfully.
- Coconut Twist: Incorporate shredded coconut into the batter for a tropical flair! Coconut pairs beautifully with the chocolate notes and adds a sweet chewiness.
- Chocolate Ganache: Pour a rich chocolate ganache over the top of your frosted cake for an indulgent finish. This melt-in-your-mouth layer will leave your guests raving.
- Boozy Garden: For an adult twist, add a splash of flavored liqueur (like raspberry or coconut) to the batter or frosting, creating a fun way to celebrate special occasions.
- Layered Love: Instead of a two-layer cake, bake cupcakes or a cake roll with the same flavor profile for fun, individual servings that are perfect for sharing during gatherings.
Take these suggestions as your canvas and create a masterpiece that will make your Pink Velvet Cake uniquely yours. And if you’re looking for more delectable treats, consider trying out my delightful Pancake Breakfast Treat or the showstopping Caramel Apple Cake for future celebrations!
Make Ahead Options
These Pink Velvet Cakes are perfect for meal prep enthusiasts, making your celebrations less stressful! You can bake the cake layers up to 24 hours in advance. Once cooled, wrap each layer in plastic wrap to maintain their moisture and place them in the refrigerator. If you’re prepping a few days ahead, the baked layers can also be frozen for up to 3 months—just ensure they’re well wrapped to prevent freezer burn. When you’re ready to serve, simply frost them with cream cheese frosting and let them sit at room temperature for about 30 minutes before serving. This way, your Pink Velvet Cake will taste just as delicious, with minimal effort on the day of your celebration!
How to Store and Freeze Pink Velvet Cake
Room Temperature: Store the Pink Velvet Cake in an airtight container at room temperature for up to 3 days to retain its softness and flavor.
Fridge: If you need to keep it longer, refrigerate your cake for up to a week. Make sure it’s well-wrapped to prevent it from drying out.
Freezer: You can freeze the cake for up to 3 months. Wrap each layer tightly in plastic wrap and aluminum foil before placing them in a freezer-safe bag.
Reheating: To enjoy frozen Pink Velvet Cake, thaw it in the refrigerator overnight and bring it to room temperature before serving for the best flavor and texture.
Expert Tips for Pink Velvet Cake
- Room Temperature Ingredients: Make sure all your ingredients, especially eggs and butter, are at room temperature for better emulsification, ensuring a fluffy Pink Velvet Cake.
- Avoid Overmixing: Mix the batter until just combined. Overmixing can lead to a denser texture, which you want to avoid for this light and airy cake.
- Color Gradually: Add red food coloring gradually to achieve your desired hue; a little goes a long way, so it’s best to err on the side of caution.
- Check Freshness: Confirm that your baking powder is fresh before using it, as old leavening agents can prevent the cake from rising properly.
- Flavor Swap: Don’t hesitate to experiment with different frostings like whipped cream or flavored buttercream—this versatility makes the Pink Velvet Cake truly special.
Mother’s Day Pink Velvet Cake Recipe FAQs
What type of ingredients should I use to achieve the best flavor?
For the best flavor and texture in your Pink Velvet Cake, always use cake flour instead of all-purpose flour, as it provides the perfect softness. Ensure your ingredients are at room temperature—especially the eggs and butter—for better mixing and a lighter cake.
How should I store the Pink Velvet Cake to keep it fresh?
You can store the cake in an airtight container at room temperature for up to 3 days. If you need to keep it longer, refrigerate it for up to a week. Just make sure it’s wrapped well to prevent drying out!
Can I freeze Pink Velvet Cake, and if so, how?
Absolutely! To freeze Pink Velvet Cake, wrap each layer tightly in plastic wrap and then in aluminum foil—this helps prevent freezer burn. Place the wrapped layers in a freezer-safe bag and store them for up to 3 months. To enjoy, thaw the layers in the refrigerator overnight before bringing them to room temperature prior to serving.
What are common troubleshooting tips if my cake doesn’t rise?
If your Pink Velvet Cake didn’t rise as expected, the most common culprits are stale baking powder or overmixing the batter. Make sure your baking powder is fresh—check the expiration date! Also, be gentle when combining your wet and dry ingredients; overmixing can create a dense cake.
Are there any dietary considerations for this recipe?
If you have allergies, it’s good to know that this recipe contains gluten (from cake flour), dairy (from buttermilk and butter), and eggs. For gluten-free options, you can experiment with a gluten-free flour blend, though results may vary. Additionally, for a dairy-free version, substitute buttermilk with plant-based milk mixed with vinegar, and use dairy-free butter.
Can I customize the flavors of my Pink Velvet Cake?
Very! Feel free to swap the vanilla extract for almond extract for a delightful twist or even add citrus zest for an extra flavor kick. You can also change up the frosting; consider whipped cream or flavored buttercream for different tastes. The more, the merrier!
Deliciously Soft Pink Velvet Cake for Special Celebrations
Ingredients
Equipment
Method
- Preheat your oven to 350°F (175°C) and grease and flour two 9-inch round cake pans.
- In a large mixing bowl, whisk together cake flour, unsweetened cocoa powder, baking powder, and salt.
- In a separate bowl, beat the softened unsalted butter and granulated sugar until light and fluffy.
- Add the eggs one at a time, then mix in the buttermilk, vanilla extract, and red food coloring.
- Carefully fold the dry ingredients into the wet mixture until just combined.
- Pour the batter evenly into prepared cake pans and bake for 25 to 30 minutes.
- Cool the cakes in the pans for about 10 minutes, then transfer to wire racks.
- Frost with cream cheese frosting generously between the layers and on top before serving.
Leave a Reply