
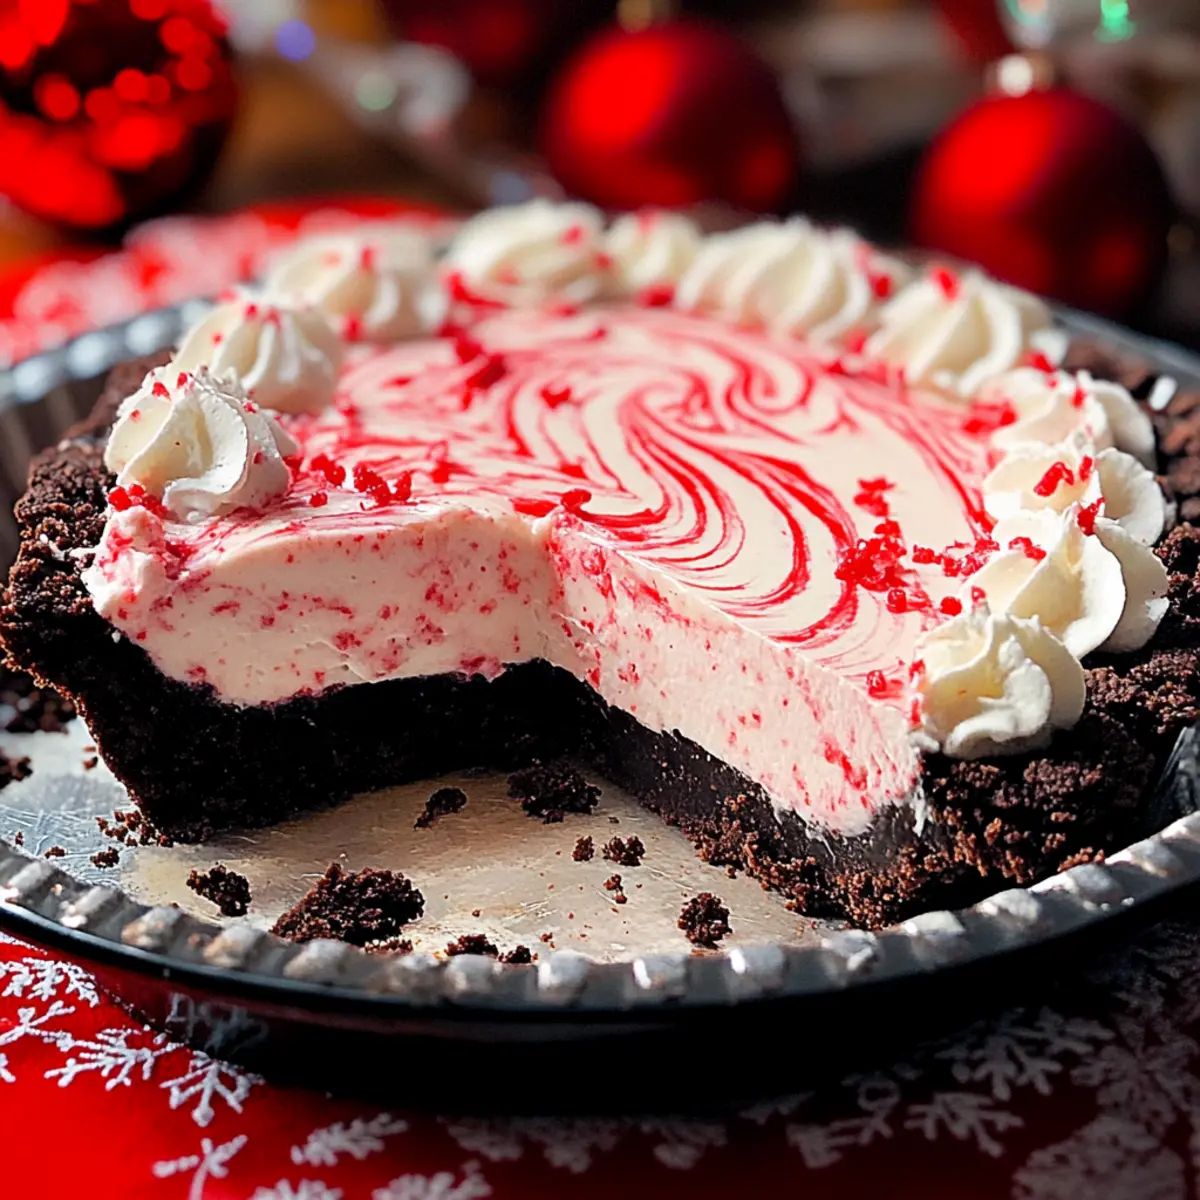
As the holiday season approaches, the air fills with a blend of cheerful anticipation and a sprinkle of stress. I find myself searching for festive treats that are both simple and spectacular. Enter the No Bake Christmas Peppermint Pie—a make-ahead holiday dessert that captures the essence of Christmas with its delightful combination of minty freshness and rich chocolate. This pie is a lifesaver, allowing you to whip it up with minimal effort and still impress your family and friends at gatherings. With its creamy filling and stunning red and white swirls, it’s a true crowd-pleaser, perfect for bringing joy to both kids and adults alike. So, are you ready to spread some holiday cheer with this easy and delightful dessert?
Why is This Pie a Holiday Must-Have?
Effortless Delight: This No Bake Christmas Peppermint Pie requires no oven time, making it ideal for busy holiday schedules.
Refreshing Mintiness: The minty flavor combined with chocolate creates a refreshing and indulgent treat that captures the spirit of the season.
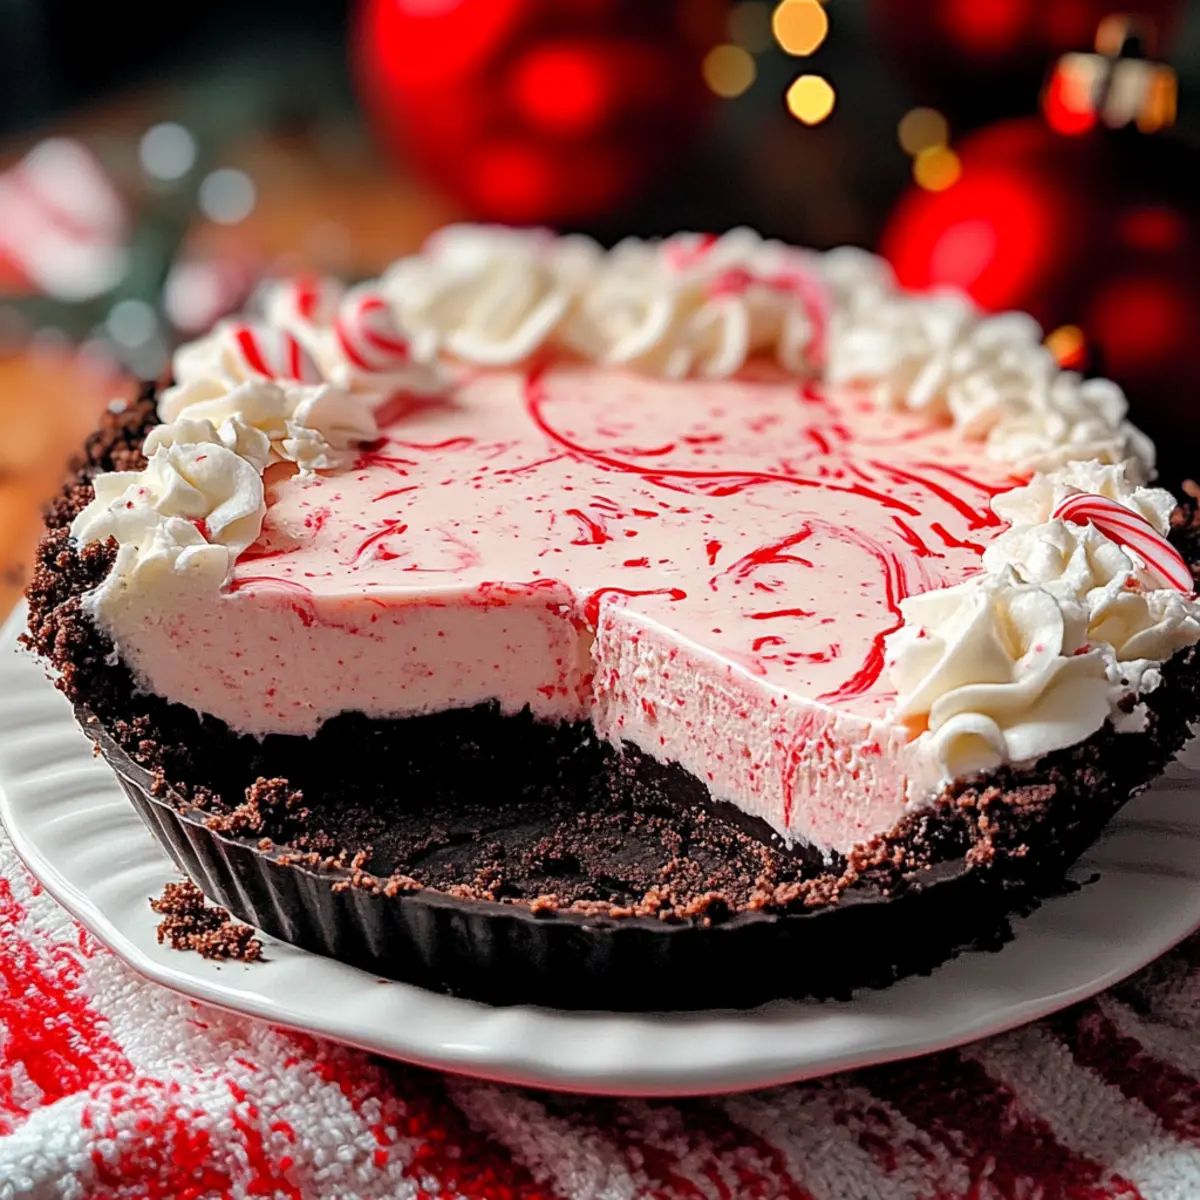
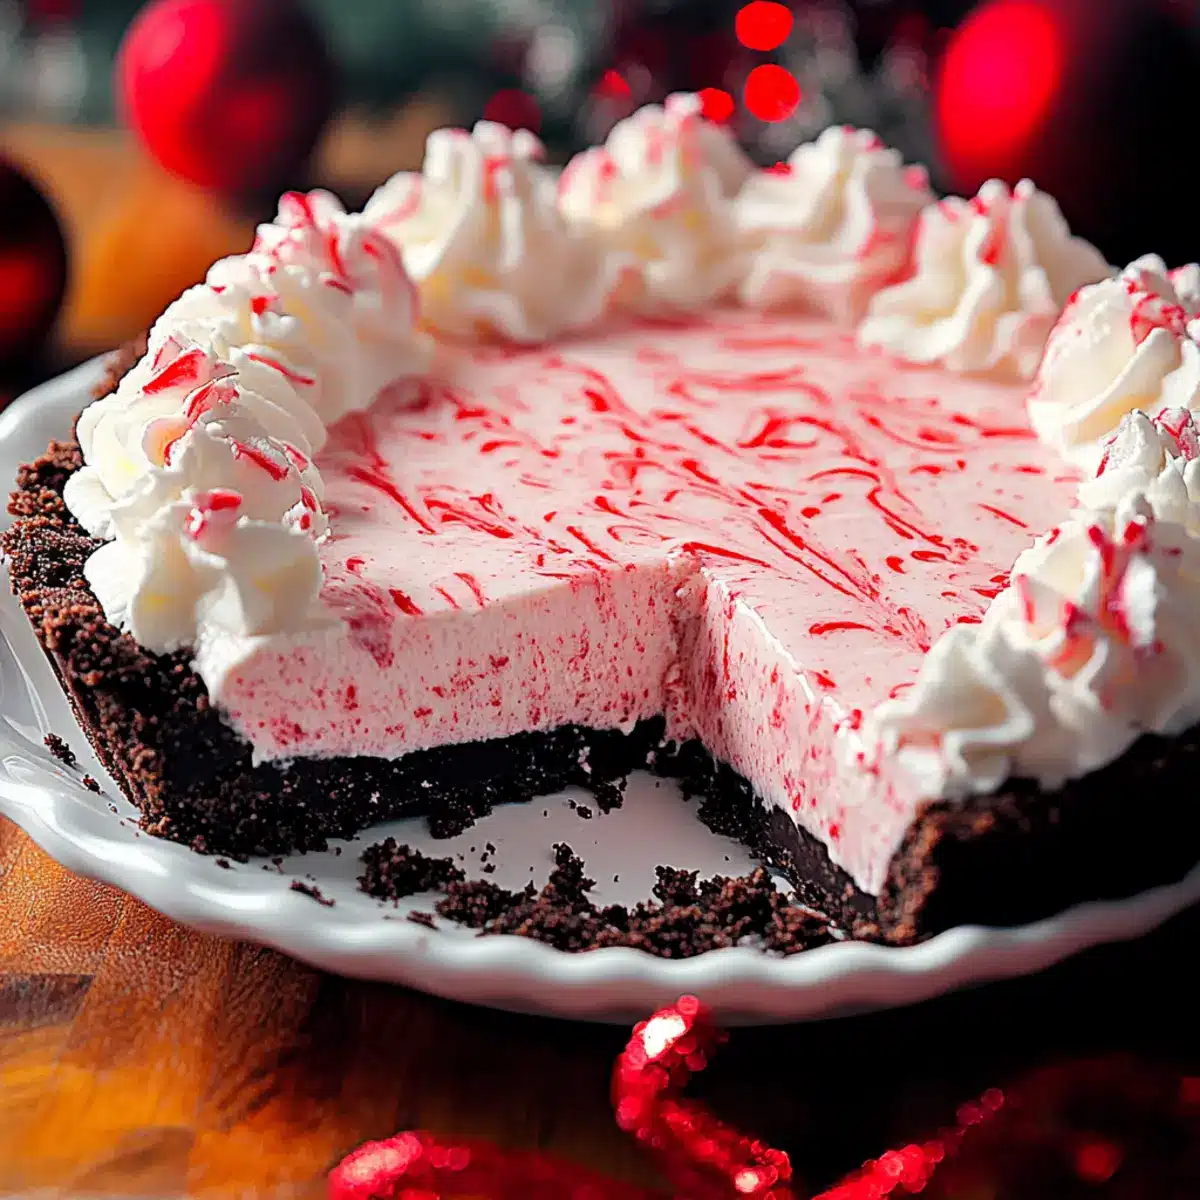
Visual Appeal: With its beautiful red and white swirls, this pie is not just delicious but also a stunning centerpiece for your dessert table.
Crowd-Pleasing Flavor: Loved by kids and adults alike, its creamy texture and festive crunch leave everyone wanting more.
Make-Ahead Magic: Prepare it a day or two before your holiday gathering, giving you more time to relax and enjoy the festivities.
Try pairing this pie with festive treats like Cheesy Christmas Tree or Deviled Egg Christmas for a complete holiday spread!
No Bake Christmas Peppermint Pie Ingredients
For the Filling
• Heavy Cream – Provides richness and contributes to the pie’s creamy texture; ensure it is chilled for best results.
• Powdered Sugar – Sweetens the filling while aiding in texture; can substitute with a sugar alternative if needed.
• Cream Cheese – Essential for a smooth filling; use full-fat block cream cheese for the best texture.
• Vanilla Extract – Enhances the flavor profile; pure extract is preferred for authenticity.
• Peppermint Extract – Adds holiday flavor; start with a smaller amount and adjust to taste.
• Food Coloring – Optional for visual appeal, to create red swirls in the filling.
For the Topping
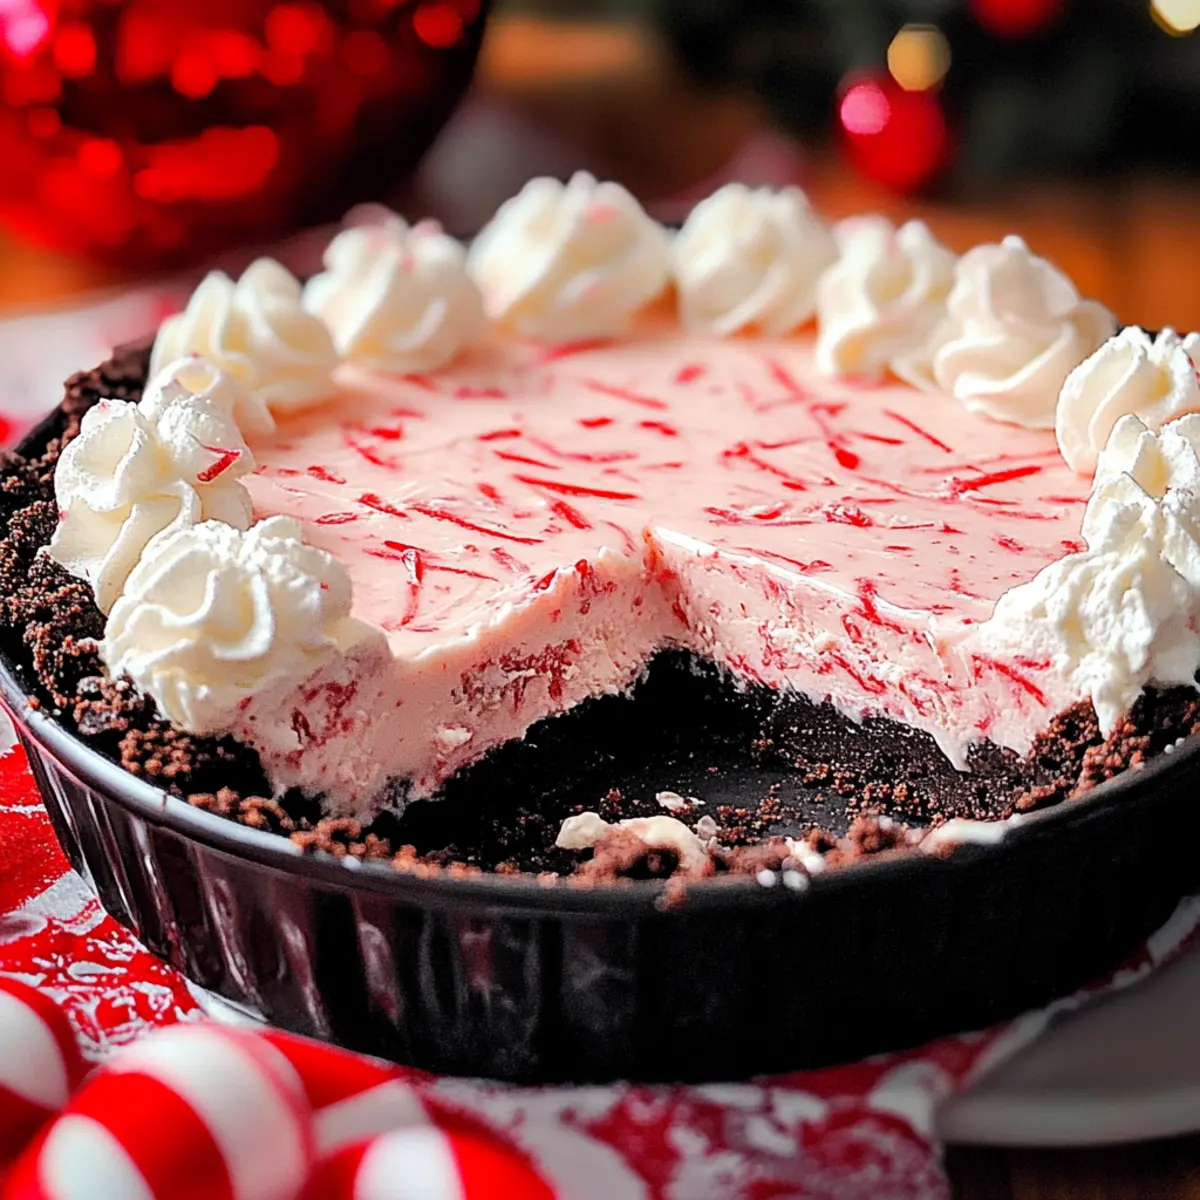
• Crushed Peppermint Candy – For topping; adds crunch and festive flair—use larger pieces for texture contrast.
• Chocolate Oreo Crust – Provides a rich base; you can use store-bought for convenience or make your own if preferred.
This no bake Christmas peppermint pie is not only simple to make, but it’s bound to be a hit at your holiday gathering!
Step‑by‑Step Instructions for No Bake Christmas Peppermint Pie
Step 1: Whip the Cream
In a large mixing bowl, pour in 2 cups of chilled heavy cream. Using an electric mixer, whip on medium-high speed for about 3–5 minutes, or until stiff peaks form and the cream is light and fluffy. This step is crucial for achieving the airy texture that makes the No Bake Christmas Peppermint Pie so delightful. Once ready, set the whipped cream aside.
Step 2: Prepare the Cream Cheese Mixture
In another bowl, combine 8 ounces of softened cream cheese and 1 cup of powdered sugar. With a mixer, blend on medium until the mixture is smooth and creamy, taking about 2–3 minutes. This step creates the rich base for the pie. Ensure the cream cheese is at room temperature for ease of mixing, which helps achieve a velvety texture.
Step 3: Add Flavorings
To the cream cheese mixture, add 1 teaspoon of vanilla extract and 1 teaspoon of peppermint extract, adjusting to taste based on your preference. If using, add a few drops of red food coloring for those festive swirls. Mix on low speed until everything is fully incorporated, and the filling turns a lovely pale pink, which will enhance the visual appeal of your No Bake Christmas Peppermint Pie.
Step 4: Fold in the Peppermint
Gently fold in ½ cup of the crushed peppermint candy into the cream cheese mixture. Use a spatula to incorporate the peppermint without deflating the mixture. This will add delightful crunch and festive flavor to each slice of your pie, ensuring everyone enjoys that minty burst included in the No Bake Christmas Peppermint Pie.
Step 5: Combine Creams
Now, carefully fold the whipped cream into the cream cheese mixture using a spatula. Do this slowly and gently to maintain the light, airy texture from the whipped cream. This step is essential for creating the creamy consistency that characterizes the No Bake Christmas Peppermint Pie. Keep folding until fully incorporated and smooth.
Step 6: Pour into Crust
Take your pre-prepared chocolate Oreo crust and pour the peppermint filling into it. Use a spatula to spread the mixture evenly across the crust, smoothing the top. Make sure there are no air pockets, and the filling is nice and level, ready for the delectable toppings that will crown your No Bake Christmas Peppermint Pie.
Step 7: Add Toppings
To finish off the pie, spread a layer of Cool Whip over the top of the filling. Then, sprinkle the remaining crushed peppermint candy generously over the Cool Whip for a festive touch. This not only adds extra texture but makes the pie visually stunning, perfect for showcasing at your holiday gathering.
Step 8: Chill Before Serving
Cover the pie with plastic wrap and chill it in the refrigerator for at least 4 hours, or overnight for best results. This chilling process allows the flavors to meld beautifully and ensures the No Bake Christmas Peppermint Pie sets properly. The longer you chill, the better the pie will taste when you’re ready to serve it!
Expert Tips for No Bake Christmas Peppermint Pie
- Room Temperature Cream Cheese: Ensure cream cheese is at room temperature for at least 2 hours. This helps achieve a smooth and creamy filling, crucial for your No Bake Christmas Peppermint Pie.
- Perfect Whipped Cream: Avoid overbeating the heavy cream; stop mixing as soon as stiff peaks form. This preserves its lightness and prevents graininess in your pie.
- Gradual Flavoring: Start by adding a small amount of peppermint extract and taste as you go. This prevents the flavor from becoming too overpowering in your No Bake Christmas Peppermint Pie.
- Chill Time Matters: Chill your pie for a minimum of 4 hours, preferably overnight. This allows the flavors to meld and ensures a perfect set.
- Chunky Peppermint Crunch: For a delightful textural contrast, keep crushed peppermint candy pieces larger instead of pulverizing them into dust. This enhances the festive crunch in every slice!
Make Ahead Options
These No Bake Christmas Peppermint Pies are perfect for busy home cooks looking to save time during the holiday hustle! You can prepare the filling up to 24 hours in advance. Simply whip the cream and mix the cream cheese mixture beforehand, but keep them separated until you’re ready to serve. To prevent the crust from getting soggy, assemble the pie no more than 3 days prior to serving. Store the pie covered in the refrigerator, and when it’s time to enjoy, simply top with whipped cream and crushed peppermint. With these make-ahead tips, you’ll delight your guests with this crowd-pleasing dessert that tastes just as wonderful as freshly made!
Storage Tips for No Bake Christmas Peppermint Pie
Fridge: Keep the pie in an airtight container in the fridge for up to 5 days. This preserves its creamy texture and minty flavor perfectly.
Freezer: If you want to save some for later, freeze the pie for up to 2 months. Wrap it tightly in plastic wrap and aluminum foil to prevent freezer burn.
Thawing: To enjoy the pie after freezing, simply transfer it to the fridge overnight to thaw. This helps maintain the delightful texture of your No Bake Christmas Peppermint Pie.
Serving: For best results, serve the pie chilled directly from the fridge. Avoid refreezing once thawed to keep it fresh and delicious.
What to Serve with No Bake Christmas Peppermint Pie
Ready to elevate your holiday dessert experience with delightful sides and treats?
- Warm Chocolate Chip Cookies: The gooeyness of freshly baked cookies satisfies the sweet tooth, offering a comforting contrast to the cool peppermint pie.
- Creamy Hot Chocolate: A rich hot chocolate pairs beautifully, enhancing the festive flavors and providing warmth against the coolness of the pie.
- Festive Fruit Salad: A colorful mix of seasonal fruits brings a refreshing balance and bright flavors that complement the minty sweetness.
- Whipped Cream: A dollop of lightly sweetened whipped cream adds a creamy texture that contrasts wonderfully with the crispness of the crust.
- Chocolate-Covered Pretzels: The salty-sweet crunch of chocolate-covered pretzels provides a delightful textural contrast and playful flavor twist to your dessert spread.
- Mulled Wine: This warm, spiced drink not only complements the pie’s flavor but also adds a traditional holiday touch that encourages relaxation and cheer.
- Peppermint Bark: For the ultimate minty experience, chocolate peppermint bark offers a crunchy, decadent treat that plays beautifully with the flavors in the pie.
- Gingerbread Cookies: The warming spices in gingerbread cookies create a cozy atmosphere, making them a perfect holiday pairing for your No Bake Christmas Peppermint Pie.
- Candy Canes: Serve whole candy canes on the side for guests to enjoy, adding a nostalgic touch that reinforces the festive spirit.
No Bake Christmas Peppermint Pie Variations
Feel free to explore these delightful twists on the classic recipe, allowing customization to fit your cravings and dietary needs!
-
Almond Twist: Substitute almond extract for peppermint for a unique flavor profile, adding a warm, nutty essence that surprises the palate.
-
Graham Cracker Crust: Swap the chocolate Oreo crust for a graham cracker crust for a different texture and a hint of vanilla sweetness.
-
Vegan Version: Use coconut cream and dairy-free cream cheese, ensuring your pie is friendly for plant-based diets while still delicious.
-
Add Spice: Incorporate a pinch of cinnamon or nutmeg for an extra depth of flavor that complements the mint beautifully, perfect for holiday warmth.
-
Chocolate Drizzle: Drizzle melted chocolate over the top for a decadent touch, enhancing the rich chocolate undertones and elevating the visual appeal.
-
Heat it Up: Mix in a dash of cayenne pepper or crushed red pepper flakes for adventurous eaters who enjoy a spicy kick alongside sweet and minty flavors.
-
Dessert Shooter: Layer the pie filling in mini dessert cups with crumbled crust and crushed peppermint; serve as individual portioned treats for a fun party idea.
-
Festive Sprinkles: Top the whipped cream with colorful holiday sprinkles or edible glitter, turning your pie into a festive centerpiece that dazzles.
Try pairing your pie with festive treats like Italian Christmas Cookies for a delightful holiday spread!
No Bake Christmas Peppermint Pie Recipe FAQs
How do I select ripe ingredients for the pie?
Absolutely! For this pie, ensure your heavy cream is fresh and chilled, as this will whip up nicely to create that airy texture. When choosing cream cheese, go for full-fat block cream cheese; it should feel firm but smooth to the touch, avoiding any low-fat versions. As for peppermint extract, look for pure extract for the best flavor, and when selecting crushed peppermint candy, aim for pieces that are large enough to provide that delightful crunch, ideally avoiding any powdery bits.
How should I store the No Bake Christmas Peppermint Pie?
To keep your pie fresh, store it in an airtight container in the refrigerator, where it will stay delicious for up to 5 days. If you find yourself with leftovers, you can freeze the pie for up to 2 months. Just wrap it tightly in plastic wrap and aluminum foil to avoid freezer burn. Remember to refrigerate it overnight to thaw before serving for the best texture!
Can I freeze the No Bake Christmas Peppermint Pie?
Very! Freezing your pie is a great option. Simply wrap the pie tightly in plastic wrap followed by aluminum foil to protect it from freezer burn. It can be frozen for up to 2 months. When you’re ready to enjoy it, remove the pie from the freezer and let it thaw in the refrigerator overnight. This gradual thawing will help preserve its creamy texture, so it tastes just as divine as when you first made it!
What if my whipped cream isn’t forming stiff peaks?
Don’t worry; this happens! If you notice your whipped cream isn’t forming stiff peaks, double-check that your heavy cream is chilled thoroughly before whipping. It’s essential to use an electric mixer on medium-high speed, stopping as soon as you see those peaks forming. If you’ve overwhipped it, it’ll become grainy—just gently fold it into the cream cheese mixture until fully incorporated, and enjoy the pie despite the texture.
Are there any dietary considerations for this recipe?
Of course! If you’re accommodating someone with a dairy allergy, you can substitute the cream cheese and heavy cream with dairy-free alternatives available on the market, like cashew cream or coconut cream. For vegans, consider using silken tofu or a vegan cream cheese. Also, verify that any commercial ingredients like the Oreo crust and peppermint candy are vegan-friendly as well. Enjoying the festive flavors is possible for everyone!
Can I use alternatives for the peppermint extract?
Absolutely! If peppermint isn’t your favorite, you can use almond extract for a different flavor twist that’s equally festive. Alternatively, vanilla extract can also work well! Just be sure to start with a small amount and adjust according to your taste while carefully blending it into the cream cheese mixture for a delightful twist.
No Bake Christmas Peppermint Pie: Effortless Holiday Bliss
Ingredients
Equipment
Method
- In a large mixing bowl, pour in 2 cups of chilled heavy cream and whip on medium-high speed for about 3–5 minutes until stiff peaks form.
- In another bowl, combine 8 ounces of softened cream cheese and 1 cup of powdered sugar, blending on medium until smooth and creamy.
- To the cream cheese mixture, add 1 teaspoon of vanilla extract and 1 teaspoon of peppermint extract, along with optional food coloring.
- Gently fold in ½ cup of crushed peppermint candy into the cream cheese mixture.
- Carefully fold the whipped cream into the cream cheese mixture using a spatula until fully incorporated.
- Pour the peppermint filling into the pre-prepared chocolate Oreo crust and spread evenly.
- Spread a layer of Cool Whip over the filling and sprinkle with crushed peppermint candy.
- Cover with plastic wrap and chill in the refrigerator for at least 4 hours or overnight.
Leave a Reply