
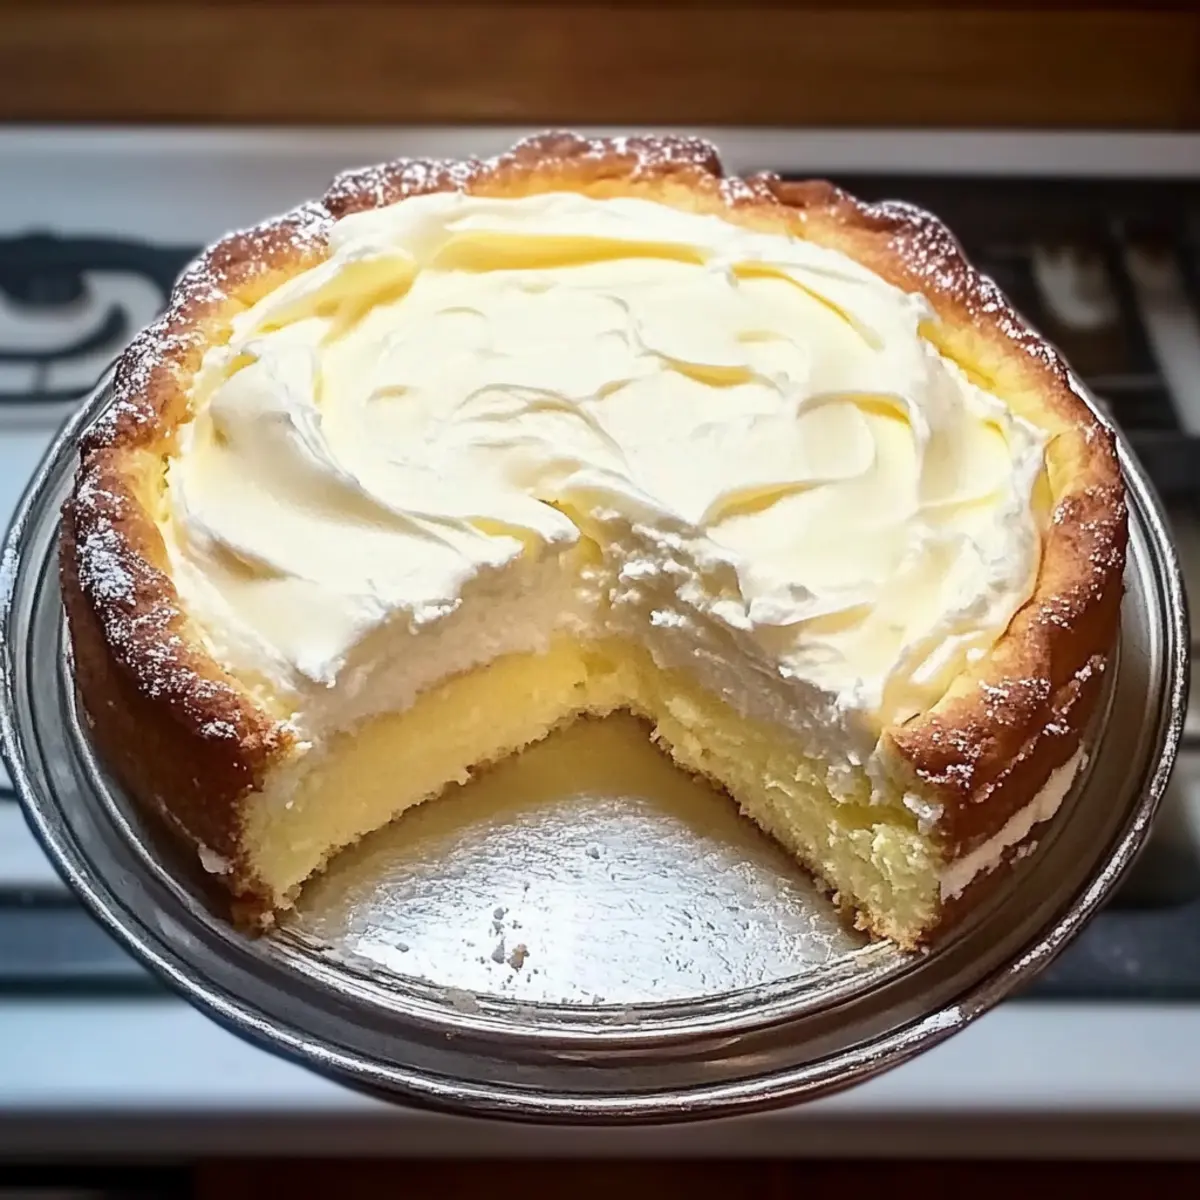
As I stood in my kitchen, the scent of melted butter wafted through the air, instantly transporting me to my grandmother’s home where delightful Polish desserts came to life. This Melt-in-Your-Mouth Cake, a true gem from Poland, captures the heart and essence of those cherished moments. With its layers of buttery goodness and a silky cream filling, this cake is not only a stunner for special occasions but also a simple, affordable treat that brings everyone together. Whether you’re looking to impress guests at a gathering or simply indulge in a sweet craving, this recipe promises to deliver joy with each slice. Ready to bake your way to a delicious memory? Let’s dive in!
Why Is This Cake So Irresistible?
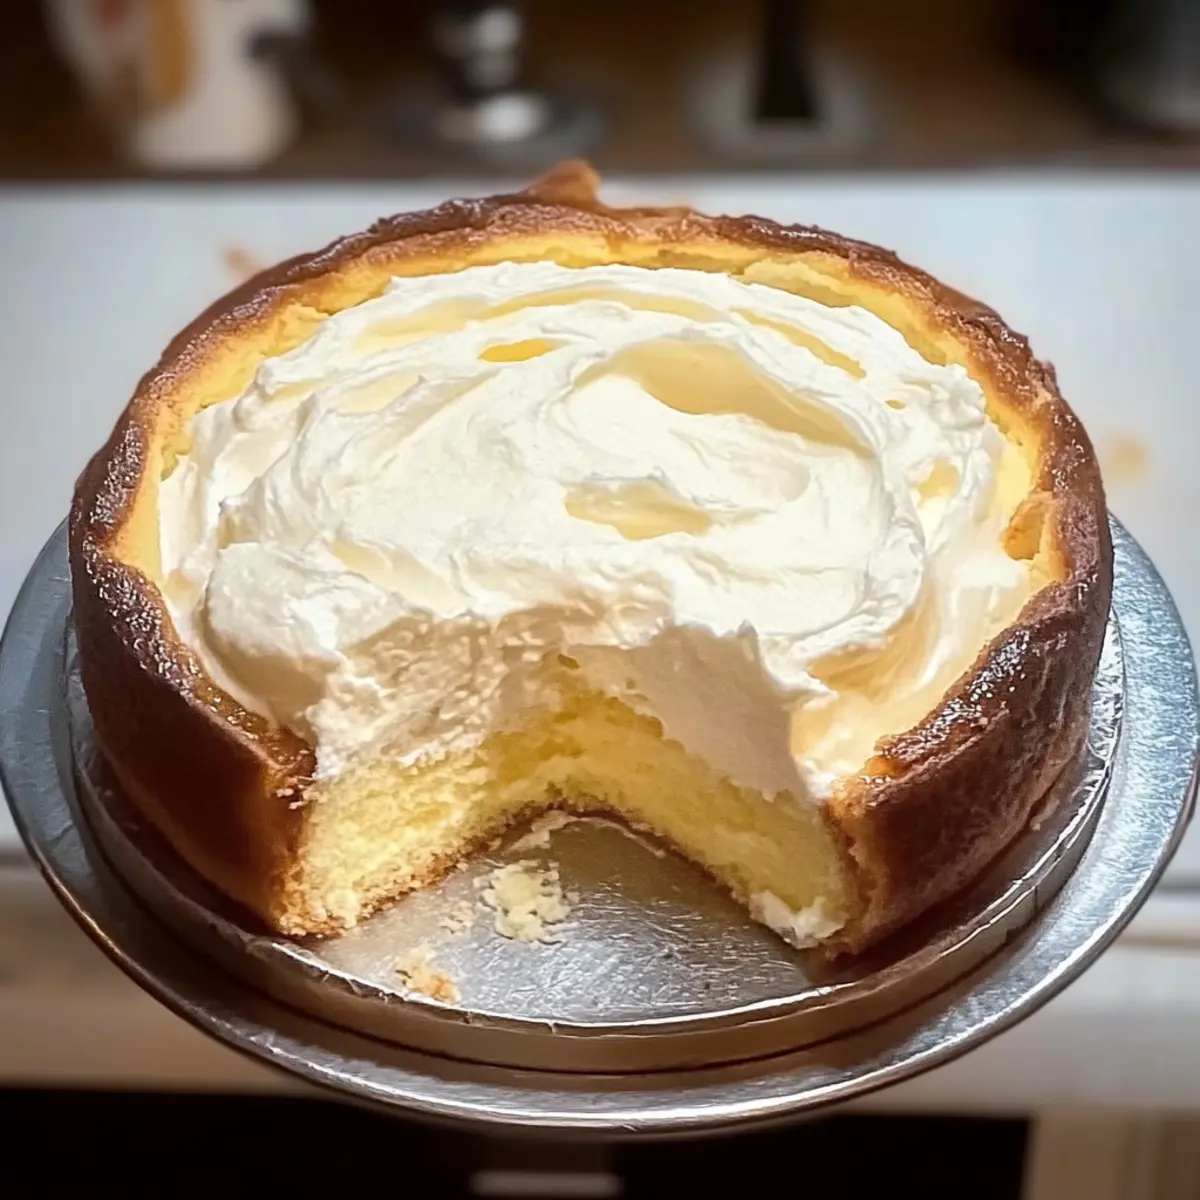
Decadent, buttery layers melt in your mouth, making every bite a celebration of flavor. Super simple preparation means you can whip this up even on busy days! Customizable options allow you to get creative—add fruit purees or chocolate ganache for a personal touch! Perfect for gatherings, this cake is sure to impress your friends and family, making it the highlight of any dessert table. Plus, just like my Strawberry Crunch Cheesecake or Churro Cheesecake Indulge, it’s an affordable yet indulgent treat that brings everyone together!
Melt-in-Your-Mouth Cake Ingredients
Get ready to create a delightful dessert that truly lives up to its name!
For the Cake Layers
• Butter (80 grams) – Adds richness and moisture to the dough; margarine can be used as a dairy-free alternative.
• Milk (100 ml) – Contributes to the dough’s moisture; swap for non-dairy options like almond or oat milk.
• Water (100 ml) – Binds the ingredients in the dough; no substitute needed.
• Salt (½ teaspoon) – Enhances the overall flavor of the cake.
• Flour (150 grams) – Provides structure; all-purpose flour works well, and a gluten-free blend can be a great substitute.
• Baking Powder (1 teaspoon) – A key leavening agent for a fluffy texture.
• Eggs (2) – Vital for binding the ingredients and creating that light, airy bite.
For the Cream Filling
• Sugar (100 grams) – Sweetens the cream filling, balancing the flavors perfectly. Adjust to enhance the sweetness as desired.
• Additional Flour (40 grams) – Used for structure in the cream filling.
• Cream Ingredients – A delightful mix of butter and eggs, combining for that luxurious creaminess in the filling.
For the Finishing Touch
• Icing Sugar (optional) – Perfect for dusting before serving, adding a hint of sweetness and a lovely finish to your Melt-in-Your-Mouth Cake.
Dive into this recipe and let the magic of the Melt-in-Your-Mouth Cake transform your dessert experience!
Step‑by‑Step Instructions for Melt-in-Your-Mouth Cake
Step 1: Prepare the Dough
Begin by melting 80 grams of butter in a medium saucepan over low heat. Once melted, pour in 100 ml of milk, 100 ml of water, and ½ teaspoon of salt. Increase the heat to medium and bring the mixture to a boil. As it bubbles, whisk in 150 grams of flour and 1 teaspoon of baking powder until a cohesive dough forms, which should take about 2-3 minutes.
Step 2: Incorporate Eggs
Allow the dough to cool for about 5 minutes, so it’s warm but not hot. Crack 2 eggs into a bowl and add them one at a time to the dough, stirring vigorously after each addition until the mixture becomes smooth and slightly sticky. This process should take around 3-4 minutes, resulting in a vibrant dough ready for baking.
Step 3: Bake Cake Layers
Preheat your oven to 400°F (200°C) and grease a round cake pan. Spread half of the dough evenly into the pan, smoothing the surface with a spatula. Bake in the preheated oven for about 20 minutes, or until the top is golden and a toothpick inserted in the center comes out clean. Once baked, remove the layer and let it cool on a wire rack. Repeat this step with the remaining dough.
Step 4: Make Cream Filling
For the creamy filling, start by beating 2 eggs with 100 grams of sugar in a mixing bowl until frothy and pale, which should take about 5 minutes. Gradually mix in 40 grams of additional flour and 100 ml of milk, stirring continuously to prevent lumps. Transfer this mixture to a saucepan and cook over medium heat, stirring constantly until thickened, which usually takes 5-7 minutes.
Step 5: Blend with Butter
Once the cream has thickened, remove it from the heat and let it cool slightly. In a separate bowl, beat 80 grams of softened butter until light and fluffy. Gradually add the cooled cream mixture to the whipped butter, blending well until you have a silky cream filling. This creamy concoction will create a delightful layer in your Melt-in-Your-Mouth Cake.
Step 6: Assemble the Cake
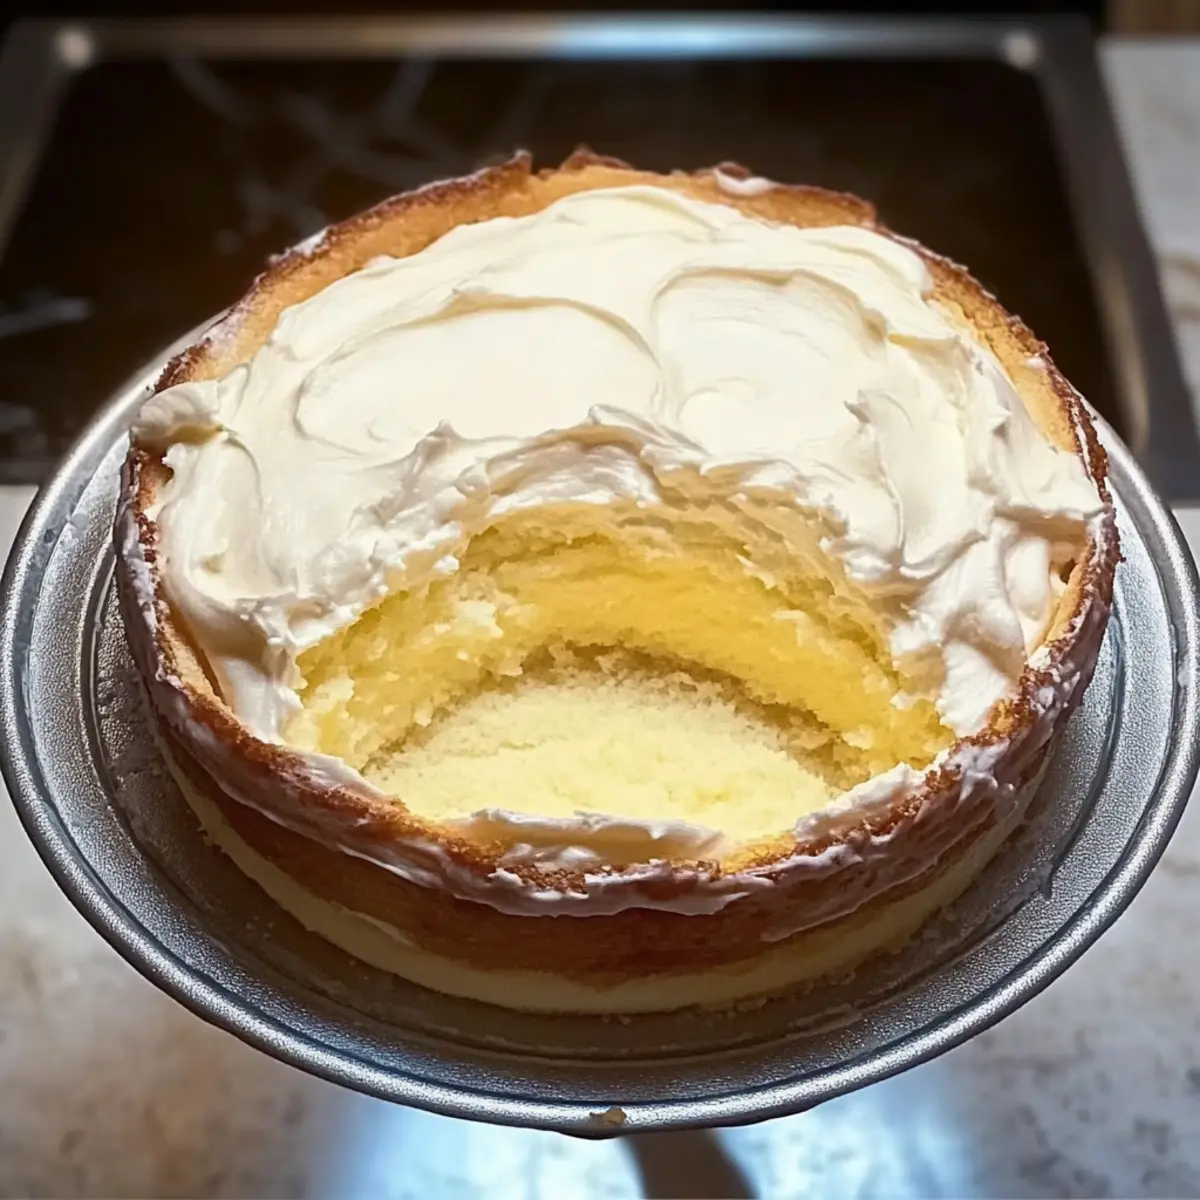
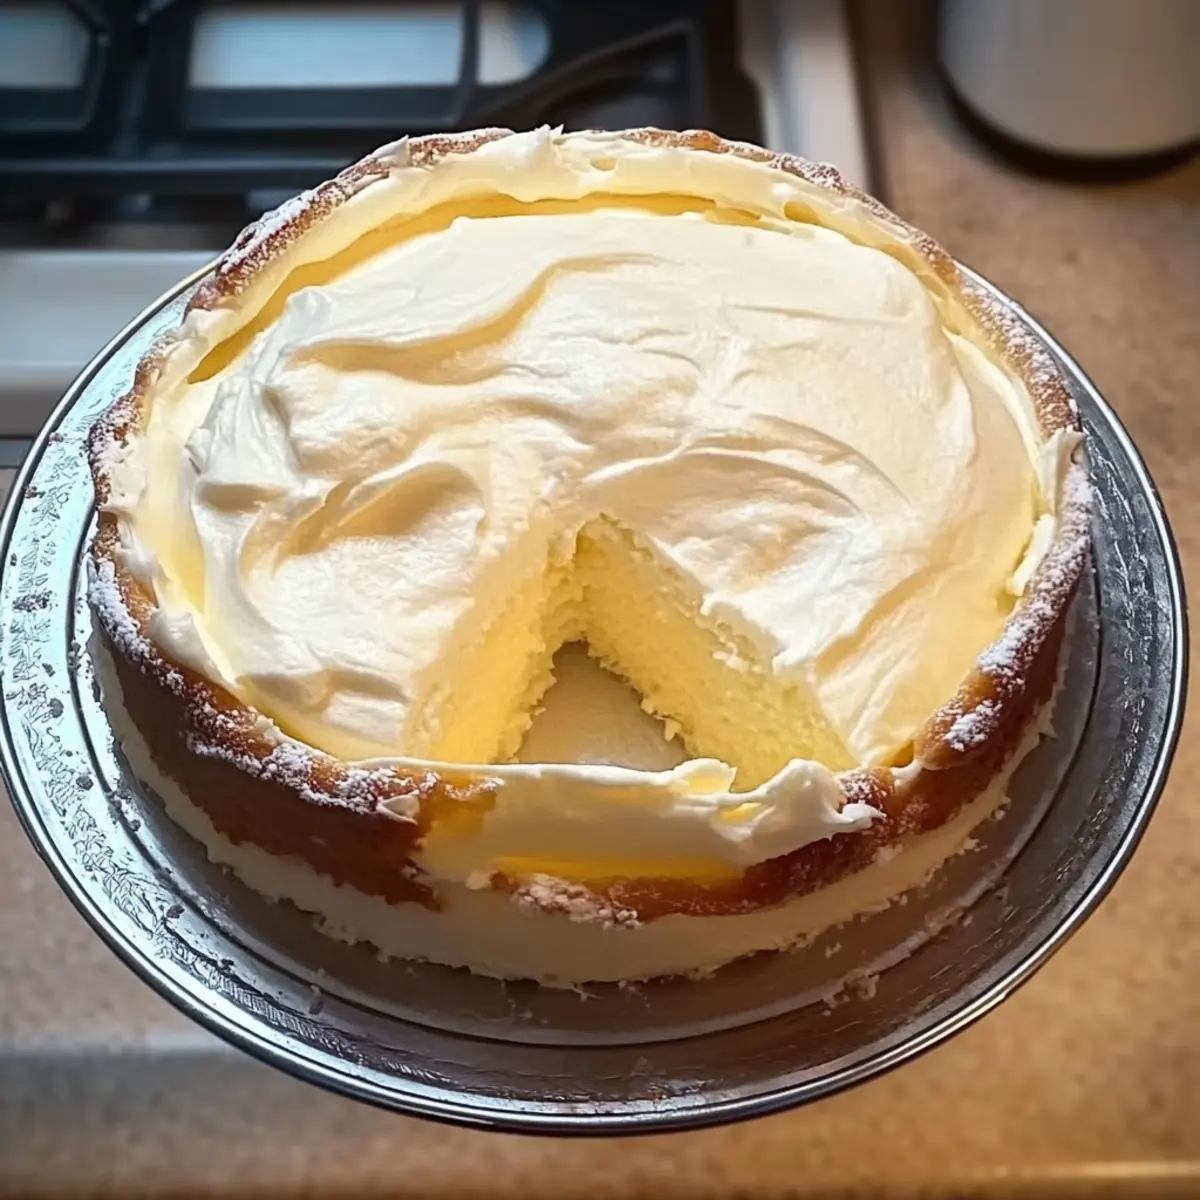
On a serving platter, place one baked cake layer and spread half of the cream filling evenly over the surface. Carefully layer the second cake layer on top, then top with the remaining cream filling, smoothing it out with a spatula. This assembly will enhance the rich texture of the Melt-in-Your-Mouth Cake and prepare it for chilling.
Step 7: Chill
Cover the assembled cake with plastic wrap and refrigerate for at least 2 hours, allowing the cream to set properly. This chilling step is crucial for melding the flavors and improving the overall texture, making it easier to slice and serve later.
Step 8: Serve
Finally, take the cake out of the refrigerator and dust the top with icing sugar for a touch of sweetness and visual appeal. Slice and serve your Melt-in-Your-Mouth Cake to family and friends, enjoying the rich buttery layers and creamy filling that will surely delight everyone.
Melt-in-Your-Mouth Cake Variations
Feel free to sprinkle some creativity into your baking and make this delightful cake uniquely yours!
-
Vanilla Boost: Add 1 teaspoon of vanilla extract to the cream filling for an aromatic twist that elevates the flavors beautifully.
-
Fruity Layers: Try incorporating your favorite fruit purees, like raspberry or strawberry, between the layers for a fresh and tangy surprise that complements the cream perfectly.
-
Chocolate Lovers: Swap the cream filling for a rich chocolate ganache; simply melt dark chocolate with heavy cream for a decadent chocolate twist.
-
Nutty Crunch: Fold in chopped nuts like walnuts or almonds into the cream filling for added texture and a nutty flavor that will delight your taste buds.
-
Zest of Lemon: Grate some lemon zest and mix it into the cream filling for a brightening citrus note that cuts through the richness and adds a refreshing zing.
-
Caramel Swirl: Drizzle caramel sauce between the layers or incorporate it into the cream filling for a sweet, gooey surprise that adds depth to every bite.
-
Dairy-Free Delight: Use coconut cream instead of regular cream for the filling and a dairy-free butter substitute for the cake layers, making it a delightful option for vegan diets.
-
Spiced Up: Add a pinch of cinnamon or nutmeg to the cream filling for a warm flavor profile that brings comfort and coziness to every slice.
This versatile cake pairs beautifully with fresh berries or a dollop of whipped cream. For another sweet adventure, don’t forget to check out my easy-to-make Mini Lemon Cheesecakes or indulge in our luscious Red Velvet Strawberry Cheesecake for more delightful options. Enjoy baking!
Storage Tips for Melt-in-Your-Mouth Cake
Fridge: Keep your Melt-in-Your-Mouth Cake in the refrigerator, where it will stay fresh for up to 3 days. Cover it with plastic wrap or store it in an airtight container to maintain its creamy filling.
Freezer: For longer storage, freeze the cake by wrapping it tightly in plastic wrap and then placing it in a freezer bag. It can last up to 2 months; simply thaw in the fridge overnight before serving.
Chilling: If you make the cake a day in advance, it allows the flavors to meld beautifully, enhancing the overall taste. Just remember to chill it for at least 2 hours before serving!
Reheating: If you prefer your cake slightly warmed, set it at room temperature for 30 minutes before serving, or gently reheat individual slices in the microwave for about 10-15 seconds.
What to Serve with Melt-in-Your-Mouth Cake
Elevate your dessert experience with perfect pairings that enhance the flavors and textures of this delightful cake.
-
Creamy Whipped Topping: A dollop of fresh whipped cream adds a light, airy contrast that complements the cake’s rich layers.
-
Fresh Berries: Bright, tart berries like raspberries or strawberries provide a refreshing burst and vibrant color, balancing the sweetness.
-
Chocolate Sauce: A drizzle of warm chocolate sauce adds an indulgent twist, enhancing the luxurious feel of the dessert.
-
Nutty Crème Anglaise: The smooth texture and nutty flavor lend depth to the cake and can be poured over for extra elegance.
-
Fragrant Mint Garnish: A sprig of fresh mint not only beautifies the plate but also offers a refreshing flavor contrast to the creamy cake.
-
Vanilla Ice Cream: The cool creaminess of vanilla ice cream melts into the layers, adding contrast and a comforting taste that many adore.
-
Chai or Herbal Tea: A warm cup of tea with spices will enhance the dessert’s richness and create a cozy experience for you and your guests.
-
Pistachio Crumbles: Adding a sprinkle of pistachio crumbles gives a delightful crunch and nutty flavor, creating a satisfying textural contrast.
-
Light Dessert Wine: A glass of Moscato or sweet Riesling pairs beautifully, enhancing the cake’s creamy notes while making it feel indulgent.
Make Ahead Options
Preparing the Melt-in-Your-Mouth Cake in advance is a lifesaver for busy home cooks! You can make the cake layers up to 24 hours ahead of time; simply bake and cool them before wrapping in plastic wrap and storing in the refrigerator. Additionally, the cream filling can be made and stored in the fridge for up to 3 days—just ensure it’s covered tightly to maintain its creamy texture. When it’s time to serve, assemble the cake and let it chill for at least 2 hours to allow the flavors to meld before dusting with icing sugar. This way, you’ll enjoy delightful cake layers and a rich cream filling that are just as delicious as if made fresh!
Expert Tips for Melt-in-Your-Mouth Cake
• Cool the Dough: Allow the dough to cool slightly before adding eggs to prevent cooking them; this ensures a smooth, fluffy texture.
• Stir Constantly: When preparing the cream filling, constant stirring is essential to avoid lumps and achieve that silky consistency everyone loves.
• Chill for Flavor: Don’t skip the chilling step; it melds the flavors beautifully and makes your Melt-in-Your-Mouth Cake easier to slice.
• Avoid Overbaking: Keep an eye on your cake layers while baking to prevent them from becoming dry or hard; they should be golden and springy.
• Use Quality Ingredients: Opt for fresh, high-quality butter and eggs for the best flavor and texture in your creamy filling and delicate layers.
Melt-in-Your-Mouth Cake Recipe FAQs
What kind of butter should I use for the Melt-in-Your-Mouth Cake?
Absolutely! I recommend using unsalted butter for the best flavor, but you can substitute it with margarine if you need a dairy-free option. Make sure it’s softened to room temperature to ensure it blends smoothly in your cream filling.
How should I store my leftover Melt-in-Your-Mouth Cake?
Very! Store your cake in the refrigerator, where it will remain fresh for up to 3 days. Place it in an airtight container or cover it with plastic wrap to avoid drying out the creamy filling. Keeping it chilled helps preserve its delightful texture!
Can I freeze the Melt-in-Your-Mouth Cake? If so, how?
Definitely! To freeze, wrap the assembled cake tightly in plastic wrap and then place it in a freezer-safe container or bag. It can be stored in the freezer for up to 2 months. When you’re ready to enjoy it, simply thaw it overnight in the fridge before serving. This allows the flavors to develop beautifully.
What if my cream filling becomes lumpy while cooking?
No worries! If the cream filling gets lumpy, keep stirring vigorously while cooking; this will help break down any lumps. If it’s too late and lumps remain, you can use an immersion blender to smooth it out after it’s cooled. For future batches, make sure to stir continuously and keep the heat low to prevent lumps from forming.
Is this Melt-in-Your-Mouth Cake suitable for people with dietary restrictions?
Absolutely! This recipe is quite versatile. You can easily make it dairy-free by using non-dairy milk and margarine. For a gluten-free version, simply substitute the all-purpose flour with a gluten-free blend. Just ensure to double-check ingredient labels for allergens, especially if you’re serving guests with food sensitivities. Enjoy baking!
Can I customize the flavor of the cream filling?
Very! You can infuse the filling with vanilla extract or a splash of almond extract for a delightful twist. If you’re a chocolate lover, consider folding in cocoa powder or using a chocolate ganache instead of the cream filling for a rich and decadent alternative!
Melt-in-Your-Mouth Cake: A Polish Delight You Can’t Resist
Ingredients
Equipment
Method
- Melt 80 grams of butter in a medium saucepan over low heat. Pour in 100 ml of milk, 100 ml of water, and ½ teaspoon of salt. Increase heat to medium and bring to a boil. Whisk in 150 grams of flour and 1 teaspoon of baking powder until cohesive, about 2-3 minutes.
- Allow the dough to cool for about 5 minutes. Crack 2 eggs into a bowl and add one at a time to the dough, stirring vigorously after each addition. This should take around 3-4 minutes.
- Preheat oven to 400°F (200°C) and grease a round cake pan. Spread half of the dough evenly into the pan and bake for about 20 minutes until golden. Cool on a wire rack and repeat with remaining dough.
- For the creamy filling, beat 2 eggs with 100 grams of sugar in a mixing bowl until frothy, about 5 minutes. Gradually mix in 40 grams of flour and 100 ml of milk, stirring continuously. Transfer to a saucepan and cook over medium heat until thickened, about 5-7 minutes.
- Once thickened, let the cream cool slightly. Beat 80 grams of softened butter until light and fluffy, then gradually add the cooled cream mixture, blending well.
- On a serving platter, place one baked cake layer and spread half of the cream filling evenly over it. Layer the second cake on top and spread remaining filling over it. Smooth with a spatula.
- Cover the cake with plastic wrap and refrigerate for at least 2 hours to set the cream.
- Dust the top with icing sugar before serving, slice, and enjoy.
Leave a Reply