
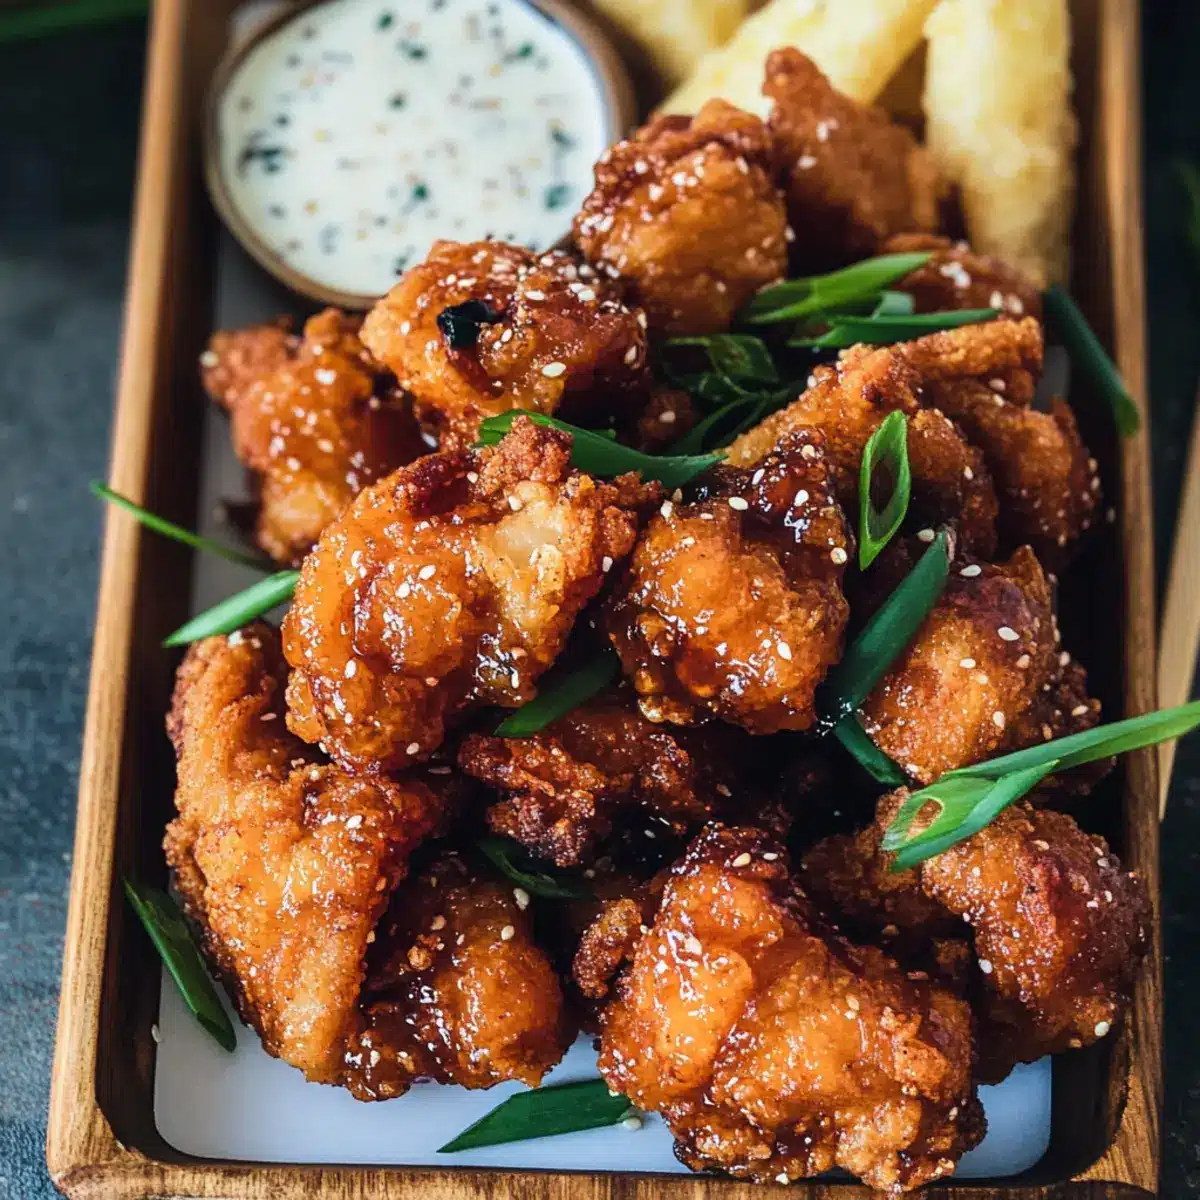
Standing around the frying pan, I couldn’t help but pause as the sizzling sound filled the kitchen, reminding me of my last trip to Hawaii’s vibrant street markets. The aroma swirling around was nothing short of enchanting, a delightful blend of garlic and sweetness that could turn any ordinary evening into a tropical escape. Today, I’m thrilled to share my favorite recipe for Crispy Hawaiian Fried Garlic Chicken, a dish that combines comfort with the joy of quick preparation—ready in just 30 minutes. Whether it’s a laid-back weeknight dinner or a sun-soaked outdoor gathering, this dish is guaranteed to please. The crunchy, golden-brown exterior and the sticky garlic sauce create a mouthwatering harmony of flavors that will leave you craving more. Curious about how to bring a taste of Hawaii to your table? Let’s dive into this culinary adventure together!

Why is Hawaiian Fried Garlic Chicken a Must-Try?
Irresistible Flavor: This dish is a fantastic blend of sweet and savory, highlighted by the robust garlic flavor that’ll have everyone coming back for seconds.
Quick Preparation: Ready in just 30 minutes, it’s perfect for busy weeknights when time is of the essence but you still crave something delicious.
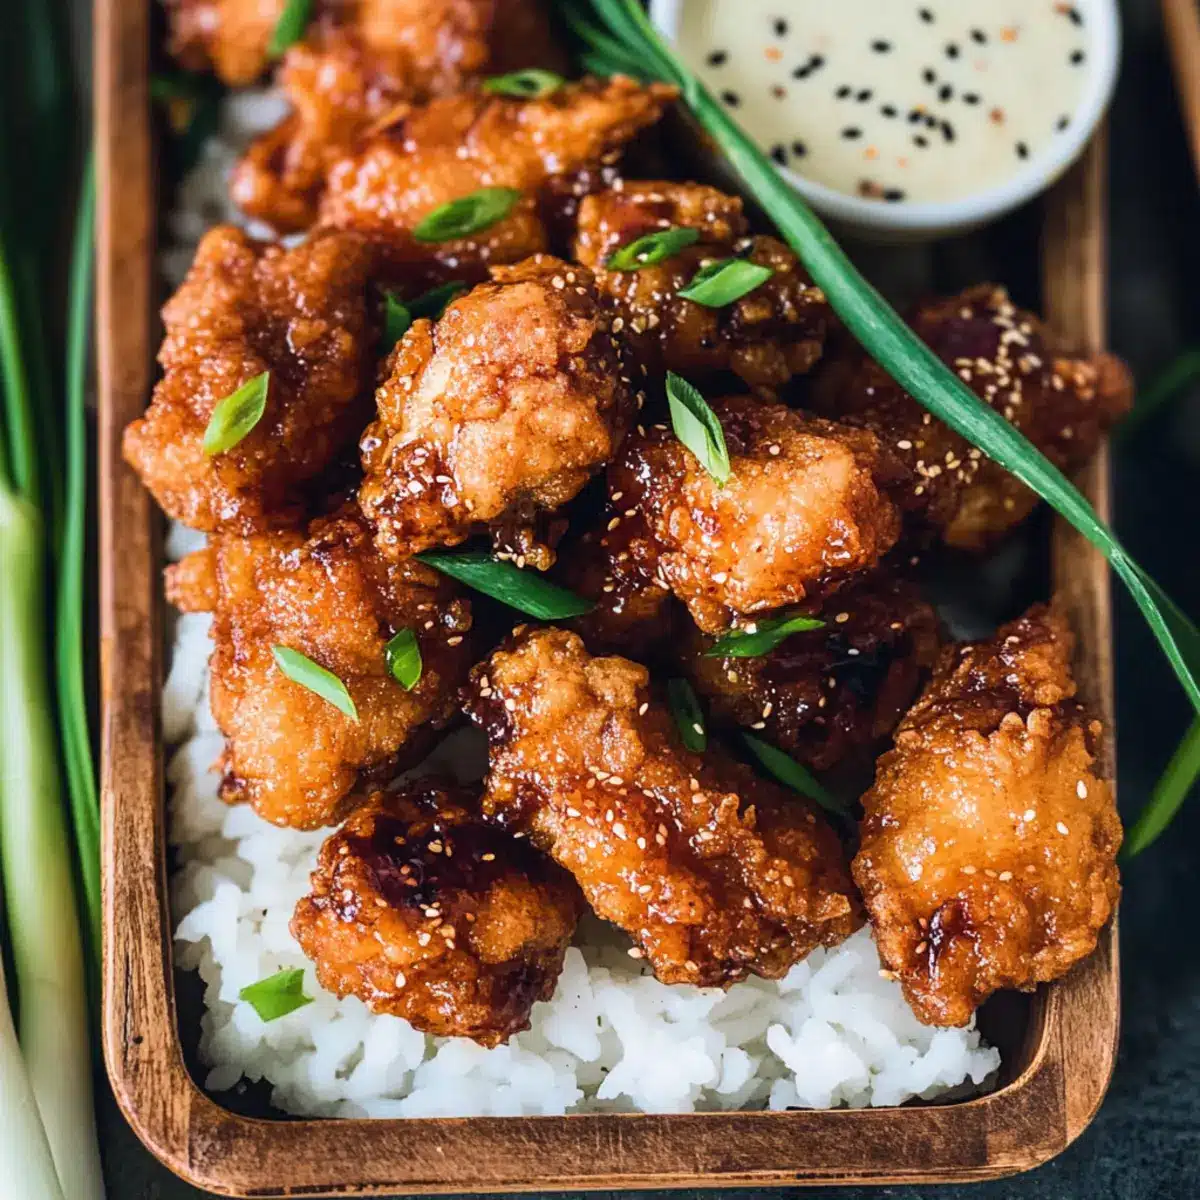
Versatile Serving Options: Pair it with fluffy jasmine rice or fried rice topped with furikake seasoning for an authentic Hawaiian experience, or enjoy it as a standout centerpiece at your next gathering.
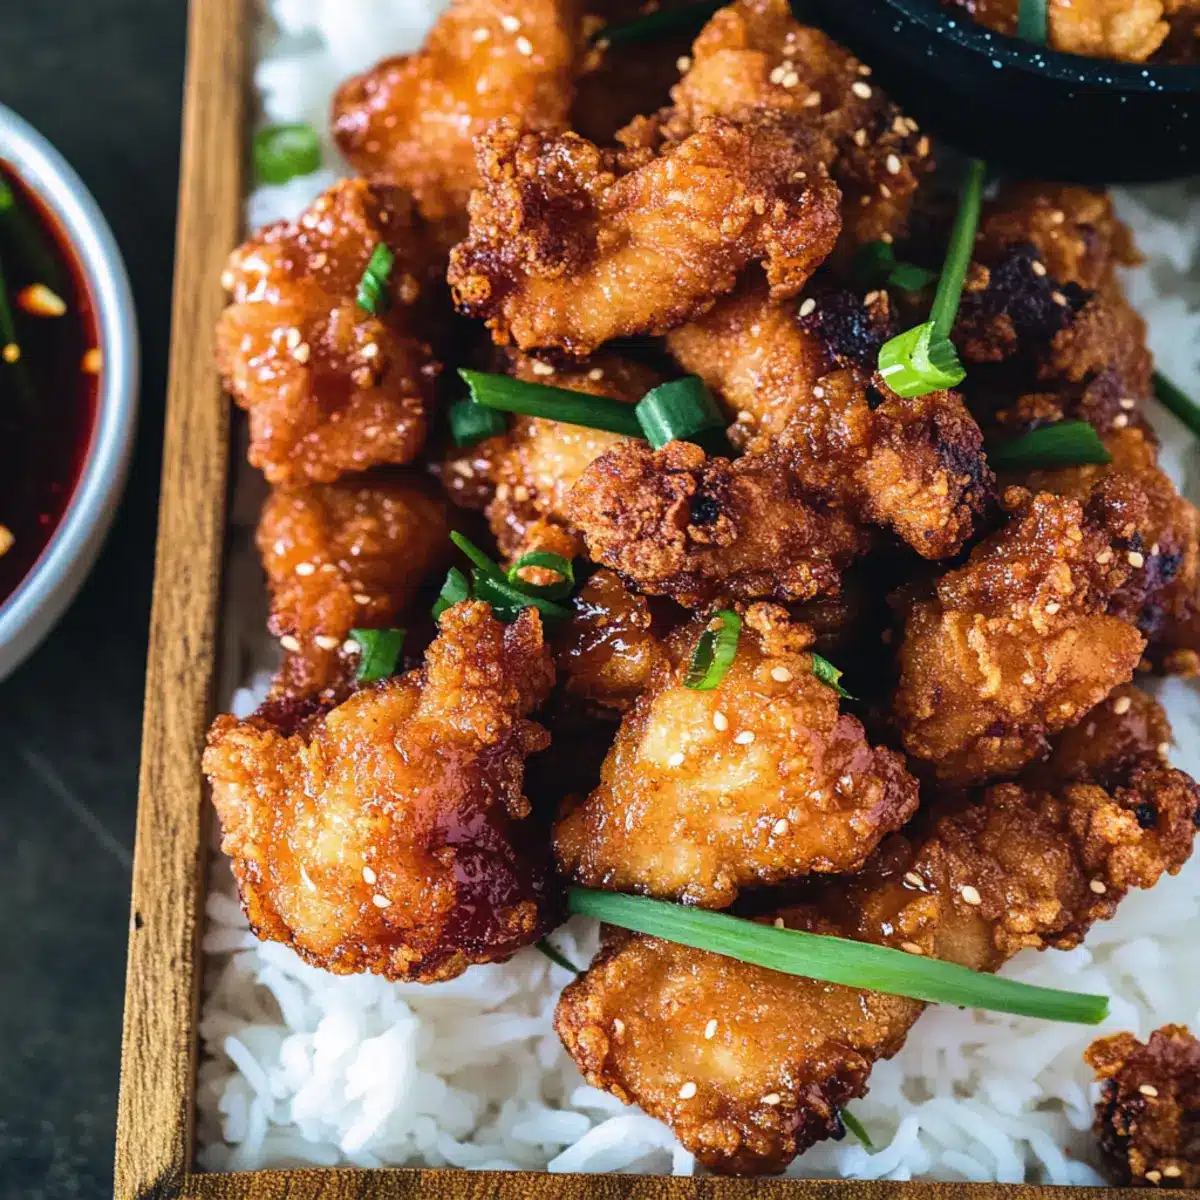
Crowd-Pleasing Appeal: Its crispy exterior and sticky sauce will appeal to both kids and adults, ensuring it becomes a family favorite in no time!
Cultural Whimsy: This recipe celebrates the essence of Hawaiian cooking, making it a unique twist on traditional fried chicken that brings a taste of the islands right to your home kitchen!
Hawaiian Fried Garlic Chicken Ingredients
For the Chicken
• Chicken – 2 pounds, cubed; use breast or thigh as preferred for tenderness.
• Cornstarch – 1 tablespoon (for chicken coating) and 1/2 cup (for the dry mix); helps achieve that desired crispy texture.
• Vegetable Oil – 1 tablespoon (for marinating) and for frying; essential for frying, can also use canola or peanut oil.
For the Sauce
• Soy Sauce – 3/4 cup; provides saltiness and umami flavor, substitute with tamari for a gluten-free option.
• Sugar – 3/4 cup; balances the flavors and adds sweetness, brown sugar provides a richer taste.
• Garlic – 1/2 cup, crushed; essential for a robust garlic flavor, adjust according to your love for garlic!
• Green Onion – 1/4 cup, chopped; adds a fresh, mild onion flavor, chives can work as a substitute.
• Sesame Oil – 1 tablespoon; enhances depth of flavor, but use regular oil for a milder profile.
• Red Chili Flakes – 1 teaspoon; introduces a touch of heat, omit or decrease for milder flavor.
• White Pepper – 1/2 teaspoon; adds warmth without overpowering, swap with black pepper if preferred.
For the Coating
• Flour – 1 1/2 cups; forms the dry coating for the chicken, use a gluten-free flour blend if necessary.
• Cornstarch – 1/2 cup (for the dry mix); contributes to that crispy exterior, potato starch is a viable substitute.
• Salt – 1/2 teaspoon; enhances all flavors, adjust based on sauce saltiness.
Each ingredient plays a crucial role in crafting your Hawaiian Fried Garlic Chicken, adding layers of flavor and texture that will have your taste buds dancing! Enjoy the bliss of recreating this beloved dish right in your own kitchen.
Step‑by‑Step Instructions for Hawaiian Fried Garlic Chicken
Step 1: Make the Garlic Sauce
In a saucepan over medium heat, combine 3/4 cup of soy sauce and 3/4 cup of sugar. Stir until the sugar dissolves, then bring to a boil. Let it simmer for 2-3 minutes until slightly thickened, then add 1/2 cup of crushed garlic, 1/4 cup of chopped green onion, 1 tablespoon of sesame oil, 1 teaspoon of chili flakes, and 1/2 teaspoon of white pepper. Boil for an additional minute before removing from heat.
Step 2: Marinate the Chicken
In a mixing bowl, coat 2 pounds of cubed chicken with about 4-5 tablespoons of the prepared garlic sauce, 1 tablespoon of cornstarch, and 1 tablespoon of vegetable oil. Make sure the chicken is evenly coated. Cover the bowl with plastic wrap and let it marinate for at least 30 minutes at room temperature, or refrigerate overnight for even deeper flavor.
Step 3: Prepare the Dry Coating
While the chicken marinates, in a separate bowl, whisk together 1 1/2 cups of flour, 1/2 cup of cornstarch, and 1/2 teaspoon of salt. Gradually mix in 3 tablespoons of the reserved garlic sauce until small clumps form. This mixture will provide a crispy coating that complements the flavors of your Hawaiian Fried Garlic Chicken.
Step 4: Fry the Chicken
Heat vegetable oil in a large frying pan over medium-high heat until shimmering but not smoking, around 350°F. Take the marinated chicken pieces, dredge them in the dry coating, pressing gently to ensure the mixture adheres. Fry the chicken in batches, being careful not to overcrowd the pan. Cook for 5-7 minutes, turning occasionally, until the chicken is golden brown and crispy. Transfer the fried pieces to a paper towel-lined plate to drain excess oil.
Step 5: Finish and Serve
In the same saucepan used for the sauce, heat the remaining garlic sauce over low heat until warm. Once the chicken is fried, toss the crispy pieces in the warm sauce to coat them or serve separately with the sauce on the side. This delightful Hawaiian Fried Garlic Chicken pairs beautifully with fluffy jasmine rice or fried rice for a delicious meal any night of the week.
What to Serve with Crispy Hawaiian Fried Garlic Chicken?
To elevate your meal and capture the essence of Aloha, consider these delightful pairings that complement the flavors and textures of this crispy treat.
- Fluffy Jasmine Rice: This fragrant rice provides a perfect base for soaking up the sweet garlic sauce, balancing out its richness.
- Fried Rice with Furikake: A colorful fried rice topped with furikake seasoning adds an umami twist, making every bite a taste of Hawaii.
- Grilled Pineapple Skewers: The caramelized sweetness of pineapple complements the savory profile of the chicken, bringing a refreshing finish to your plate.
- Coconut Slaw: A crunchy slaw with shredded cabbage and a sweet coconut dressing brings bright, crisp textures that contrast beautifully with the chicken.
- Garlic Green Beans: Sautéed with a touch of garlic and sesame oil, these vibrant beans harmonize the meal while adding a delightful crunch.
- Tropical Fruit Salad: A mix of mango, papaya, and kiwi creates a zesty, refreshing side that enhances the flavors of the dish.
- Mango Lime Salsa: The tartness of mango salsa adds a vibrant pop and balances the richness of the chicken, making every bite exciting.
- Hawaiian Beer or Mai Tai: For drinks, a local Hawaiian beer or a refreshing Mai Tai cocktail rounds out your meal, transporting you to the islands with every sip.
- Coconut Milk Pudding: For dessert, this creamy, subtly sweet treat is the perfect finale, reminiscent of tropical flavors that linger on your palate.
- Lime Sorbet: A light and zesty sorbet cleanses the palate and refreshes after the savory delights of your meal, making it a lovely finish.
Expert Tips for Hawaiian Fried Garlic Chicken
- Hot Oil is Key: Ensure the frying oil is hot enough before adding chicken—around 350°F—to achieve that golden, crispy texture.
- Don’t Overcook Garlic: When making the sauce, avoid overcooking the garlic to keep its vibrant flavor intact.
- Marination Time Matters: Marinating the chicken longer, ideally overnight, allows flavors to deepen, enhancing the taste of your Hawaiian Fried Garlic Chicken.
- Drain Properly: Let fried chicken rest on paper towels for a few minutes to absorb excess oil, ensuring maximum crunchiness.
- Adjust for Heat: Feel free to customize the amount of red chili flakes based on your heat preference—omit entirely for a milder dish.
How to Store and Freeze Hawaiian Fried Garlic Chicken
Fridge: Store any leftover Hawaiian Fried Garlic Chicken in an airtight container for up to 3 days to maintain flavor and moisture.
Freezer: For longer storage, freeze the chicken in a single layer on a baking sheet before transferring it to a freezer-safe bag. Enjoy within 2-3 months for the best quality.
Reheating: When you’re ready to enjoy your leftovers, reheat the chicken in the oven at 350°F for about 10-15 minutes, ensuring it stays crispy and delicious.
Thawing: If frozen, thaw it overnight in the refrigerator before reheating to preserve the texture and flavor.
Hawaiian Fried Garlic Chicken Variations
Feel free to customize your Hawaiian Fried Garlic Chicken and make it your own with these exciting twists!
-
Gluten-Free: Use tamari instead of soy sauce and a gluten-free flour blend for the coating to cater to dietary needs.
-
Pineapple Bliss: Add chunks of pineapple to the marinade for a tropical sweetness that complements the savory flavors beautifully. Not only does this enhance the taste, but it also adds a refreshing burst with every bite.
-
Boneless Thighs: Swap chicken breasts for boneless thighs or chicken drumettes for a richer flavor and a juicier texture. Boneless pieces are also easier for kids to enjoy.
-
Veggie Delight: Serve with a side of grilled veggies or toss some bell peppers in the frying pan while the chicken cooks for added freshness and color on your plate.
-
Spicy Kick: Increase the red chili flakes or add a dash of hot sauce to the marinade for those who love to turn up the heat! This little addition will transform the dish into a spicy sensation that’ll ignite your taste buds.
-
Asian Fusion: Incorporate a teaspoon of ginger in your garlic sauce for an additional layer of warmth and flavor. The zest of ginger pairs remarkably well with the garlic and soy for a fusion twist.
-
Crispy Coating Variation: Try substituting half of the flour with crushed cornflakes or panko breadcrumbs for an extra crispy texture that adds delightful crunch and visual appeal.
-
Garlic Overload: If you’re like me and can’t get enough garlic, consider upping the crushed garlic to three-quarters of a cup. It’ll definitely satisfy garlic enthusiasts!
If you’re looking for more delicious chicken recipes, check out my Sweet Chili Chicken or the zesty Chipotle Chicken Avocado. There’s a world of flavor waiting for you!
Make Ahead Options
These Crispy Hawaiian Fried Garlic Chicken pieces are perfect for meal prep enthusiasts looking to save time on busy weeknights! You can marinate the chicken up to 24 hours in advance, allowing the flavors to develop fully. Simply coat the cubed chicken with the garlic sauce, cornstarch, and vegetable oil, then cover and refrigerate. Additionally, the dry coating can be prepared up to 3 days ahead; just store it in an airtight container to maintain its crispness. When you’re ready to serve, fry the chicken straight from the fridge for crispy, restaurant-quality results, making your weeknight dinner both easy and delicious!
Hawaiian Fried Garlic Chicken Recipe FAQs
What kind of chicken should I use for Hawaiian Fried Garlic Chicken?
Absolutely! You can choose between boneless chicken breasts or thighs based on your preference for tenderness. Thighs tend to be juicier, while breasts offer a leaner cut. Either option will work beautifully in this flavorful dish.
How should I store leftover Hawaiian Fried Garlic Chicken?
Store any leftover chicken in an airtight container in the fridge for up to 3 days. Make sure it cools down to room temperature before sealing it to preserve flavor and moisture. For the best reheating results, pop it in the oven!
Can I freeze Hawaiian Fried Garlic Chicken?
Very! To freeze, lay cooked chicken pieces on a baking sheet in a single layer, then place them in the freezer until solid—about an hour. Transfer the frozen pieces to a freezer-safe bag and consume within 2-3 months for the best quality. Don’t forget to label the bag with the date!
What should I do if the chicken coating isn’t crispy?
If your chicken isn’t achieving that desired crispiness, ensure the oil is hot enough—around 350°F—before frying. Overcrowding the pan can also lower the temperature, resulting in soggy chicken. Fry in smaller batches for a perfect golden-brown finish every time.
Are there any dietary concerns with Hawaiian Fried Garlic Chicken?
For gluten-free diets, simply substitute soy sauce with tamari and use a gluten-free flour blend for the coating. If you’re watching sugar intake, opt for low-carb sweeteners or adjust the sugar according to your dietary needs. Always check for allergens if you’re serving to guests!
How can I enhance the flavor profile of Hawaiian Fried Garlic Chicken?
You can amp up the flavors by marinating the chicken overnight! Additionally, feel free to make the sauce sweeter by increasing the sugar or adding a touch of pineapple for that tropical zing. Serve with a sprinkle of sesame seeds and extra green onions for a burst of freshness.
Irresistible Hawaiian Fried Garlic Chicken You'll Crave Daily
Ingredients
Equipment
Method
- In a saucepan over medium heat, combine soy sauce and sugar. Stir until dissolved, then bring to a boil. Let it simmer for 2-3 minutes until slightly thickened, then add crushed garlic, chopped green onion, sesame oil, chili flakes, and white pepper. Boil for an additional minute before removing from heat.
- In a mixing bowl, coat cubed chicken with 4-5 tablespoons of the prepared garlic sauce, cornstarch, and vegetable oil. Ensure chicken is evenly coated. Cover and marinate for at least 30 minutes.
- In a separate bowl, whisk together flour, cornstarch, and salt. Gradually mix in reserved garlic sauce until small clumps form, creating a crispy coating.
- Heat vegetable oil in a large frying pan over medium-high heat until shimmering. Dredge marinated chicken in the dry coating and fry in batches for 5-7 minutes until golden brown and crispy. Drain on paper towels.
- Return the sauce to low heat until warm. Toss the fried chicken in the warm sauce or serve separately.
Leave a Reply