
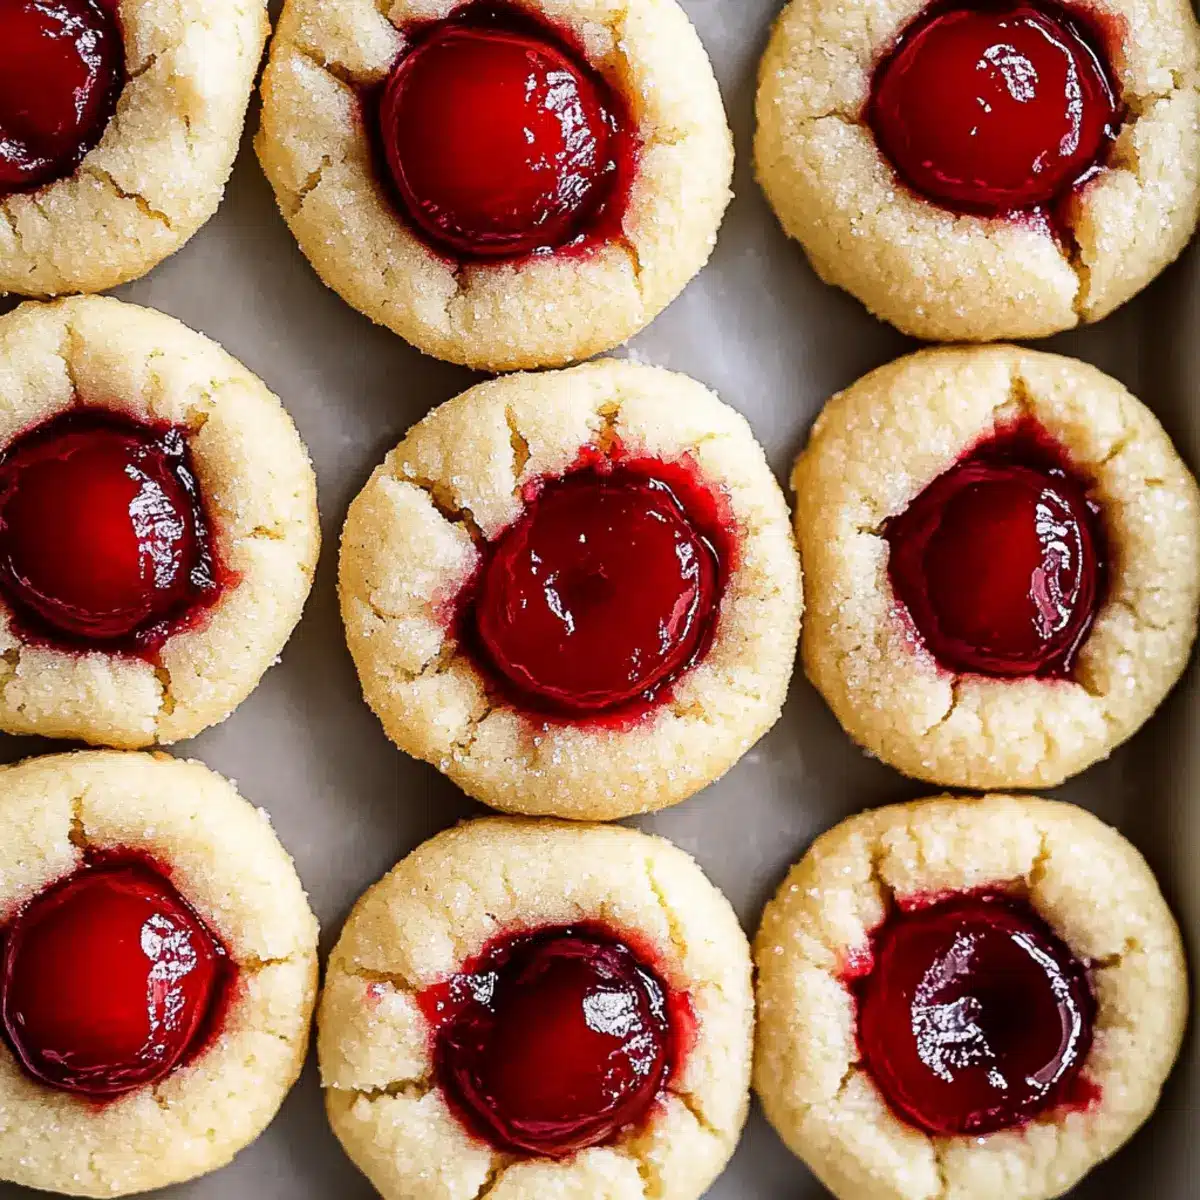
As I stood in my kitchen, the sweet aroma of cherries simmering filled the air, instantly transporting me to warm summer days and family gatherings. Today, I’m thrilled to share a recipe for Gluten-Free Cherry Pie Cookies that captures all the nostalgia of a traditional cherry pie, but in a delightful, bite-sized treat! These thumbprint cookies are not only easy to whip up but also perfect for any occasion, whether it’s a festive celebration or a cozy afternoon snack. With a tender texture and a delicious cherry filling, they’re sure to become a crowd-pleaser—making them an ideal choice for anyone tired of fast food. Ready to bake a little joy into your day? Let’s dive into the recipe!
What Makes These Cookies So Special?
Irresistible Flavor: Each bite bursts with the classic taste of cherry pie, making these cookies a nostalgic treat that everyone will love.
Gluten-Free Goodness: Made with almond and tapioca flours, these cookies not only avoid gluten but also deliver a deliciously moist texture.
Super Easy to Make: With just a few simple steps, you can whip up a batch in no time, perfect for any busy home cook.
Versatile Options: Want to mix it up? Substitute the cherry filling with other fruit options like raspberry for a new twist.
Ideal for Any Occasion: These cookies shine at holiday gatherings, cookie swaps, or even as a sweet snack at home—guaranteed to impress your guests!
Whether you’re looking to satisfy a sweet tooth or surprise your friends, these Festive Gluten-Free Cherry Pie Thumbprint Cookies deliver everything you need, and more!
Gluten-Free Cherry Pie Cookies Ingredients
• For the Cookie Dough
- Bob’s Red Mill Super-Fine Blanched Almond Flour – Provides moisture and a hint of nuttiness; essential for a gluten-free base.
- Bob’s Red Mill Tapioca Flour – Adds chewiness and fluffiness to the texture, preventing the cookies from being too dense.
- Kosher Salt – Enhances the overall flavor profile of the cookies.
- Unsalted Butter – Contributes richness and a soft texture; must be at room temperature for easier mixing.
- Granulated Sugar – Provides sweetness; additional sugar is needed for rolling to create a crisp exterior.
- Pure Vanilla Extract – Adds depth and enhances the sweetness of the cookies.
- Almond Extract – Imparts a subtle almond flavor, complementing the cherry filling.
• For the Cherry Filling
- Cherry Pie Filling (Canned or Homemade) – The star of the cookie, giving it the hallmark cherry pie flavor; opting for canned saves time, while homemade allows for fresher, less sweet flavor.
- Fresh or Frozen Pitted Cherries (for homemade filling) – Essential for making your own cherry pie filling; fresh cherries yield a classic taste.
- Cornstarch – Used to thicken the homemade cherry pie filling.
- Freshly Squeezed Lemon Juice – Provides acidity to balance sweetness in the filling.
These Gluten-Free Cherry Pie Cookies are not just indulgent treats—they are memories baked into every bite! Enjoy the process and share these sweet delights with friends and family!
Step‑by‑Step Instructions for Gluten-Free Cherry Pie Cookies
Step 1: Prepare the Cherry Filling (if homemade)
In a medium saucepan, combine fresh or frozen pitted cherries, sugar, water, and freshly squeezed lemon juice. Heat on medium until the mixture reaches a gentle boil, stirring occasionally. Once boiling, whisk together cornstarch with a bit of water to create a slurry and add it to the saucepan. Cook for an additional 2-3 minutes until thickened, then remove from heat and let it cool completely.
Step 2: Preheat the Oven and Prepare Baking Sheet
Preheat your oven to 350°F (175°C) and line a baking sheet with parchment paper to prevent sticking. This crucial step ensures your Gluten-Free Cherry Pie Cookies bake evenly and maintain their shape. While the oven heats, take a moment to gather all your ingredients and equipment, including mixing bowls and a hand mixer.
Step 3: Mix the Dry Ingredients
In a medium bowl, sift together the almond flour, tapioca flour, and kosher salt until well combined. This step is crucial for achieving a light and fluffy cookie texture, helping to prevent any clumps in your dry ingredients. Set this mixture aside as you prepare the wet ingredients, knowing that it will soon become part of your delightful cookie dough.
Step 4: Cream Butter and Sugar
In a stand mixer or mixing bowl, beat the softened unsalted butter and granulated sugar together on medium speed until the mixture becomes light and fluffy, about 2-3 minutes. Add in the pure vanilla extract and almond extract, mixing until they’re fully incorporated. The airy texture you’re aiming for here sets the foundation for your tender Gluten-Free Cherry Pie Cookies.
Step 5: Combine Wet and Dry Ingredients
Gradually add the dry ingredient mixture into the creamed butter and sugar, mixing on low speed until a soft dough forms. Scrape down the sides of the bowl as needed to ensure everything is well blended. It’s essential to stop mixing once the dough comes together to keep your cookies tender and avoid over-mixing.
Step 6: Form the Cookies
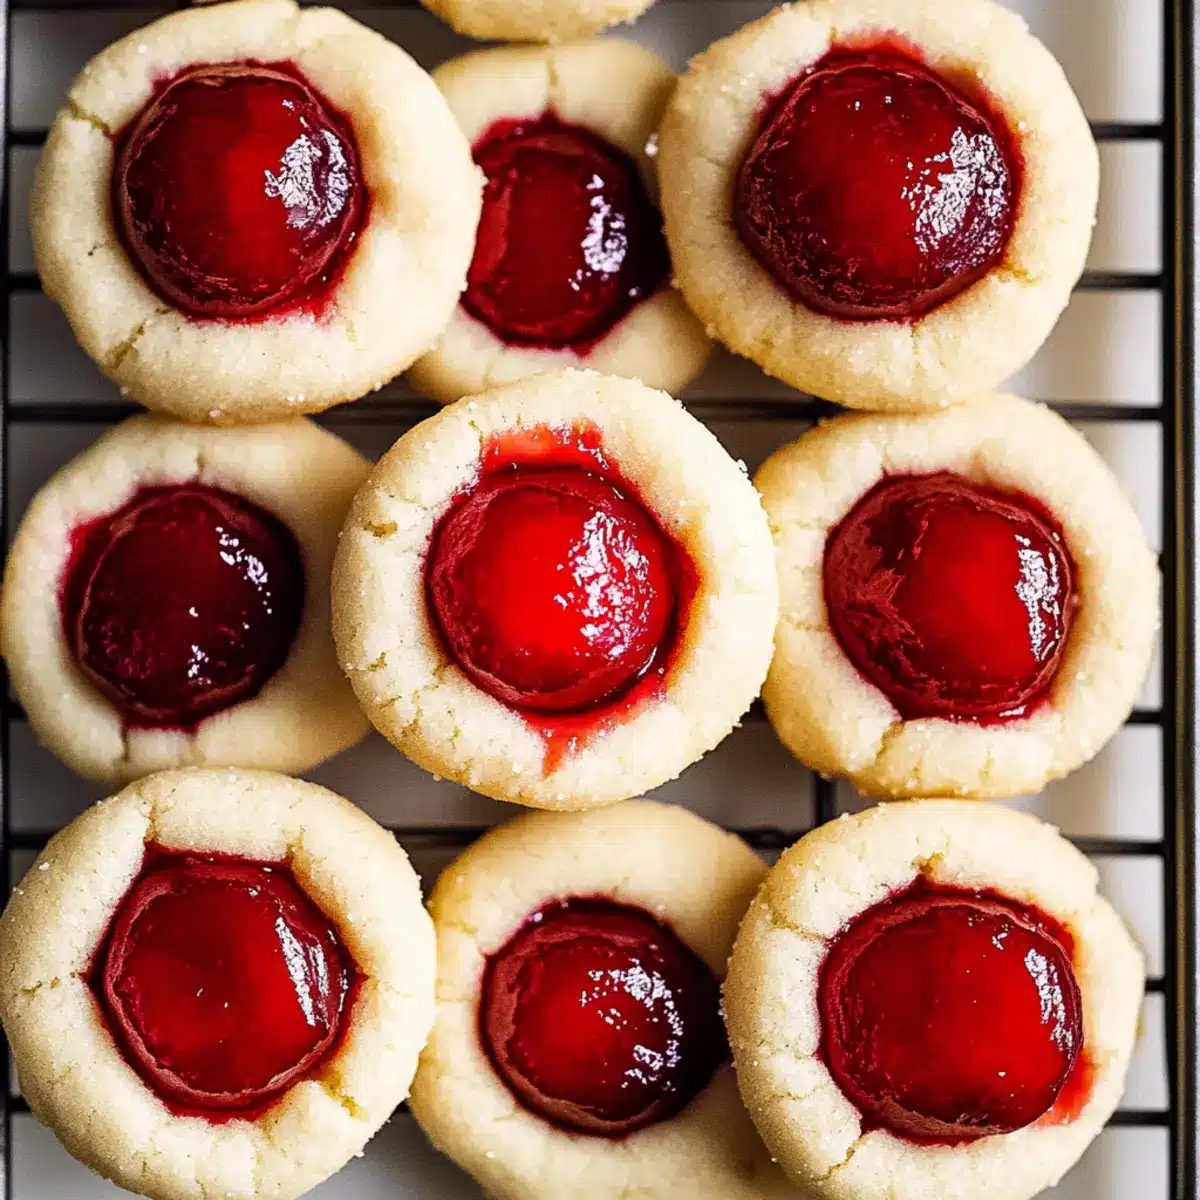
Using your hands, roll the dough into 1-inch balls. After rolling each ball, generously coat it in granulated sugar to create a delightful crunch. Then, using your thumb or a measuring spoon, press deep thumbprints into the center of each dough ball, preparing them to hold the luscious cherry filling.
Step 7: Fill and Bake
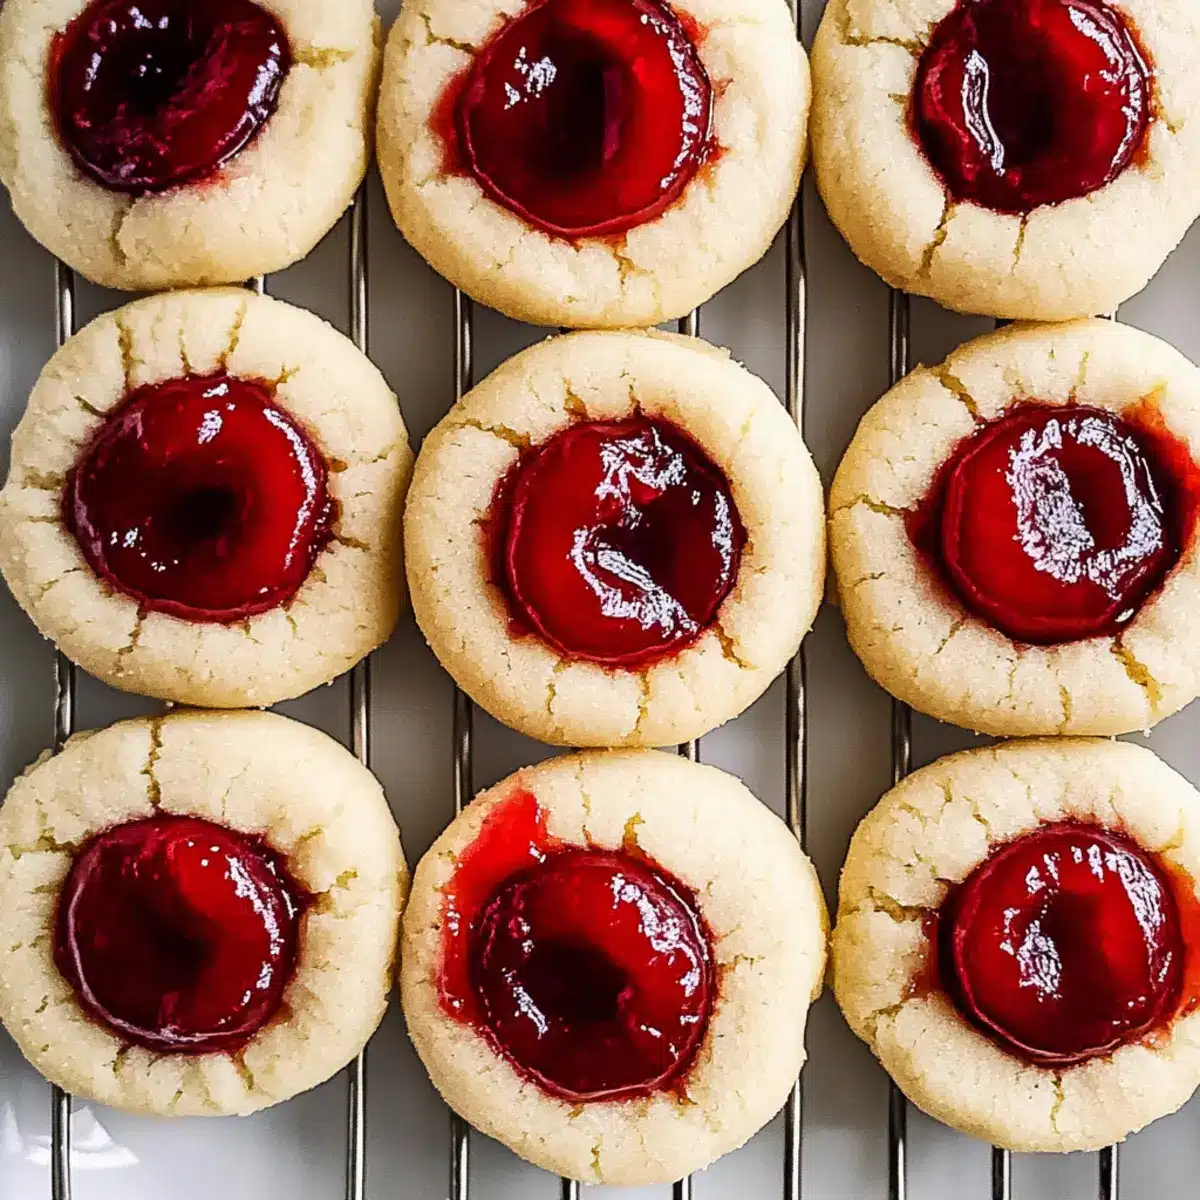
Carefully overfill each thumbprint in the cookies with your cooled cherry filling. The overflowing filling creates an irresistible jammy center! Place the filled cookies onto your prepared baking sheet, leaving enough space between each to allow for spreading. Bake in the preheated oven for 14-15 minutes, until the cookies are set and the bottoms turn a light golden brown.
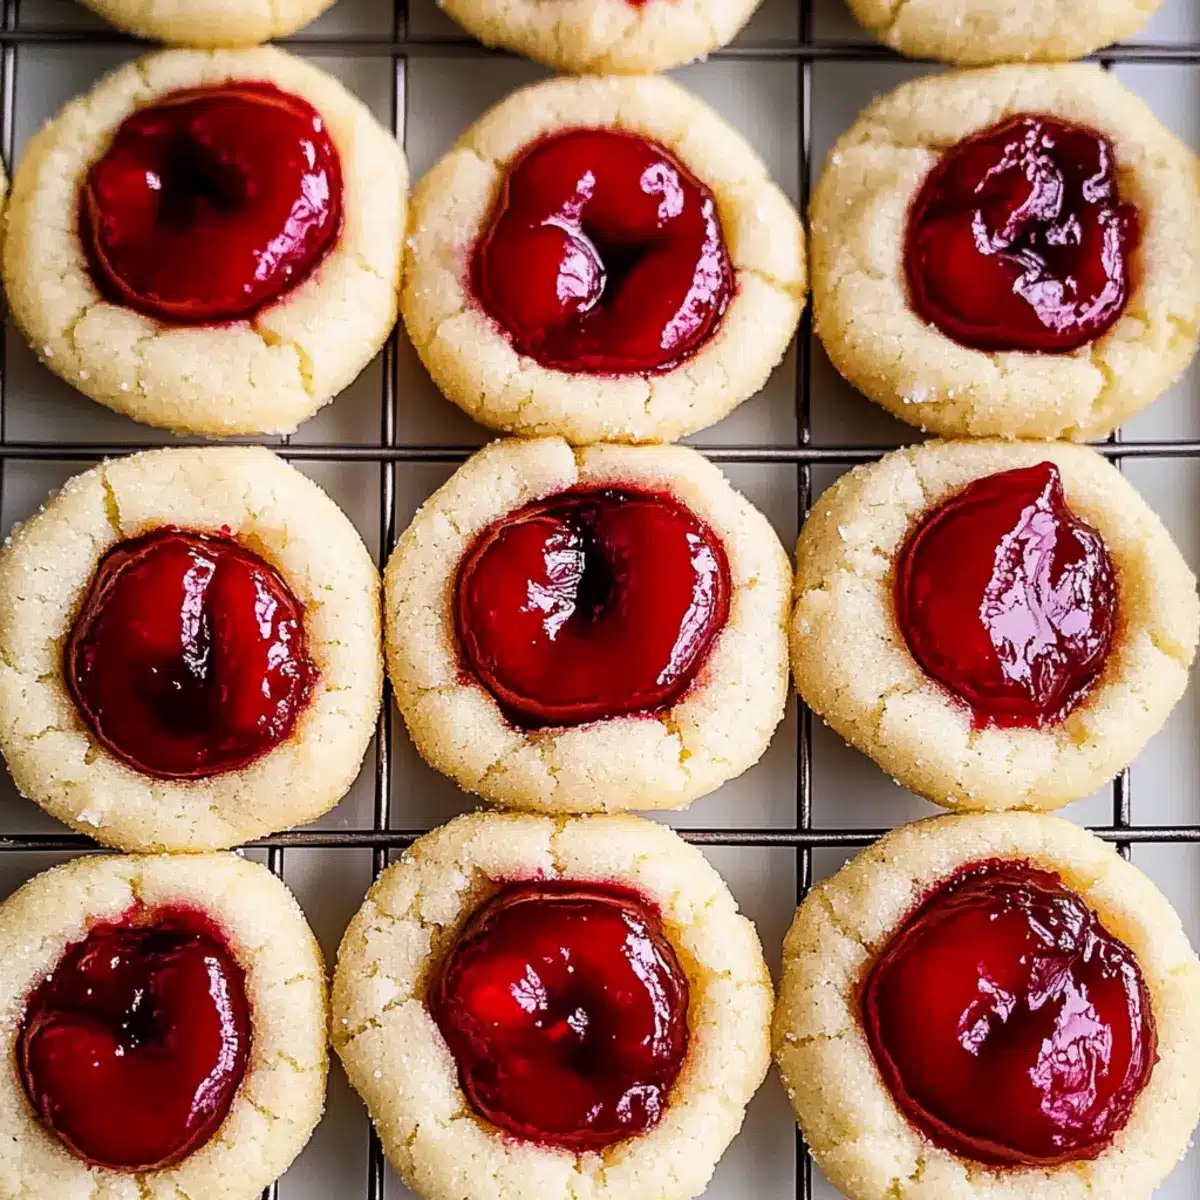
Step 8: Cool the Cookies
Once out of the oven, let your Gluten-Free Cherry Pie Cookies cool on the baking sheet for about 5 minutes. This step allows them to firm up slightly, making them easier to transfer. Then, gently move the cookies to a wire rack to cool completely. As they cool, the aroma of cherry and almond will fill your kitchen, creating a delightful atmosphere!
Storage Tips for Gluten-Free Cherry Pie Cookies
-
Room Temperature: Store cookies in an airtight container at room temperature for up to 1 week, keeping them fresh and tasty for everyday snacking.
-
Fridge: If you prefer a softer texture, refrigerate the cookies in a container, where they’ll stay good for up to 10 days. Just allow them to come to room temperature before serving.
-
Freezer: For longer storage, freeze the cookies in a single layer on a baking sheet, then transfer to an airtight container. They can last in the freezer for up to 3 months.
-
Reheating: To enjoy warm cookies, reheat in the oven at 350°F for about 5-7 minutes until they’re warmed through. These Gluten-Free Cherry Pie Cookies are best enjoyed fresh!
Gluten-Free Cherry Pie Cookies Variations
Feel free to make these cherry pie cookies your own with delightful twists and substitutions that will surely elevate your baking experience.
-
Berry Bliss: Swap the cherry filling for raspberry or blackberry for a vibrant and tangy flavor burst. The beautiful hues will add a pop of color to your treats—perfect for brightening up any dessert table!
-
Nutty Flavor: Substitute almond extract with hazelnut or coconut extract for a fun twist. This switch brings a unique aroma that adds depth to your cookies, giving a whole new twist to the classic cherry pie essence.
-
Dairy-Free Delight: Use a plant-based butter alternative to make these cookies entirely dairy-free. They will still be rich and delicious while accommodating those with dairy sensitivities.
-
Sweet Spice: Add a pinch of cinnamon or nutmeg to the cookie dough for a warm, spiced flavor. This enhances the nostalgic vibes and makes your kitchen smell heavenly while baking.
-
Choco-Cherry: Toss in some dairy-free chocolate chips into the dough for a hidden surprise! The chocolate complements the cherry filling perfectly and creates an indulgent treat that pleases chocolate lovers.
-
Zesty Lemon: Incorporate lemon zest into the dough for an extra brightness that pairs beautifully with the cherry. It’s like a stroll through a citrus orchard while keeping that cherry pie nostalgia alive!
-
Extra Crunch: For a bit of texture, sprinkle some finely chopped nuts (like pecans or walnuts) into the dough. This adds a delightful crunch that contrasts perfectly with the soft cookie and sweet filling.
-
Warmth of Fall: Add dried cranberries or chopped dried apricots for a fruity twist that echoes the flavors of a warm summer orchard. These morsels will create a delightful medley in each cookie, charming your guests during any occasion.
These gluten-free cherry pie cookies can quickly become your go-to dessert, and if you want to explore more sweet treats, check out my recipes for Black Forest Cookies or try the comforting flavors of Cherry Amaretto Tiramisu. Enjoy the journey of baking, and let your creativity shine!
Make Ahead Options
These Gluten-Free Cherry Pie Cookies are perfect for meal prep enthusiasts seeking time-saving solutions! You can prepare the cookie dough up to 24 hours in advance by rolling it into balls, coating them in sugar, and refrigerating them. The cherry filling can also be made a day ahead, as it stores beautifully in the fridge for up to 3 days, just be sure to keep it in an airtight container to preserve its freshness. When you’re ready to bake, simply fill the thumbprints with your cooled cherry filling and pop them in the oven according to the recipe instructions. This way, you’ll have delicious, freshly baked cookies ready in no time, making your busy weeknights a whole lot sweeter!
What to Serve with Gluten-Free Cherry Pie Cookies
Pair these delightful cookies with flavors that evoke memories and enhance your sweet experience.
-
Vanilla Ice Cream: A classic pairing that adds creaminess, balancing the tart cherry filling with its rich, smooth texture.
-
Fresh Berries: A mix of strawberries or blueberries introduces a juicy burst of freshness, complementing the sweetness of the cherry cookies.
-
Whipped Cream: Light and airy, whipped cream ups the indulgence factor, creating a delightful contrast to the soft cookies.
-
Almond Milk: This subtle nutty drink pairs beautifully, reinforcing the almond flavor in the cookies and providing a light, refreshing option.
-
Coffee: A warm cup of coffee adds a cozy touch, with its robust flavor enhancing the sweet cherry notes.
-
Chocolate Dipping Sauce: For those who love a sweet twist, drizzling warm chocolate over the cookies adds an extra level of decadence.
These pairings will elevate your dessert experience, making the festive flavors of your gluten-free cherry pie cookies shine even brighter!
Expert Tips for Gluten-Free Cherry Pie Cookies
- Tightly Rolled Dough: Roll cookie dough balls tightly to minimize cracking during baking. This ensures your cookies stay beautiful and intact.
- Deep Thumbprints: Use a measuring spoon to create uniform, deep thumbprints. This will hold more cherry filling, making each bite deliciously jam-packed.
- Quality Cherry Filling: Opt for canned cherry pie filling labeled “more cherries” for optimal flavor. If making homemade, ensure the filling is thickened correctly with cornstarch.
- Adjust Baking Time: Keep an eye on the cookies as they bake—overbaking can lead to a dry texture. Checking them around the 12-minute mark is a good practice.
- Make Ahead Options: These Gluten-Free Cherry Pie Cookies can be made ahead of time. Freeze them before or after baking for easy treats later on!
Gluten-Free Cherry Pie Cookies Recipe FAQs
How do I choose ripe cherries for the filling?
Absolutely! For homemade cherry filling, choose fresh cherries that are dark red in color, plump, and firm to the touch. Avoid any with dark spots or soft spots, as this indicates overripeness. If you’re using frozen cherries, ensure they’re pitted and free of ice crystals for the best consistency in your filling.
How should I store the cookies after baking?
I recommend storing your Gluten-Free Cherry Pie Cookies in an airtight container at room temperature for up to 1 week. This keeps them fresh and delightful for snacking. If you prefer a softer texture, you can refrigerate them, where they’ll stay good for up to 10 days. Just let them sit at room temperature before serving for the best flavor.
Can I freeze these cookies?
Absolutely! To freeze your Gluten-Free Cherry Pie Cookies, place them in a single layer on a baking sheet and freeze until solid. Then transfer them to an airtight container or freezer bag. They can be stored frozen for up to 3 months! When you’re ready to enjoy them, let them thaw in the refrigerator or at room temperature, and they can be gently reheated in the oven to restore that fresh-baked flavor.
What should I do if my cookie dough is too crumbly?
If you find that your dough is too crumbly, don’t worry! This can happen sometimes with gluten-free flours. Try adding a teaspoon of milk or water at a time until the dough comes together. You can also ensure that your butter is at room temperature for easier mixing. Remember, the dough only needs to come together without overmixing, so mix gently!
Are there any dietary considerations for these cookies?
Very! These Gluten-Free Cherry Pie Cookies are perfect for those with gluten sensitivities or celiac disease due to their gluten-free ingredients. However, always check the labels on almond and tapioca flours to confirm they are certified gluten-free. If you’re concerned about allergies, keep in mind that this recipe contains nuts (almond flour) and dairy (butter), making it unsuitable for those with related allergies.
Gluten-Free Cherry Pie Cookies for Sweet Nostalgia
Ingredients
Equipment
Method
- Prepare the cherry filling by combining cherries, sugar, water, and lemon juice in a saucepan. Heat until boiling, then add cornstarch slurry and cook until thickened.
- Preheat the oven to 350°F and line a baking sheet with parchment paper.
- Sift together almond flour, tapioca flour, and kosher salt in a medium bowl. Set aside.
- Cream butter and sugar in a mixer until light and fluffy. Mix in vanilla and almond extract.
- Gradually incorporate the dry ingredients into the wet mixture until a soft dough forms.
- Roll dough into 1-inch balls, coat in granulated sugar, and press deep thumbprints into each ball.
- Fill each thumbprint with cooled cherry filling. Bake for 14-15 minutes until lightly golden.
- Cool on baking sheet for 5 minutes, then transfer to a wire rack to cool completely.
Leave a Reply