
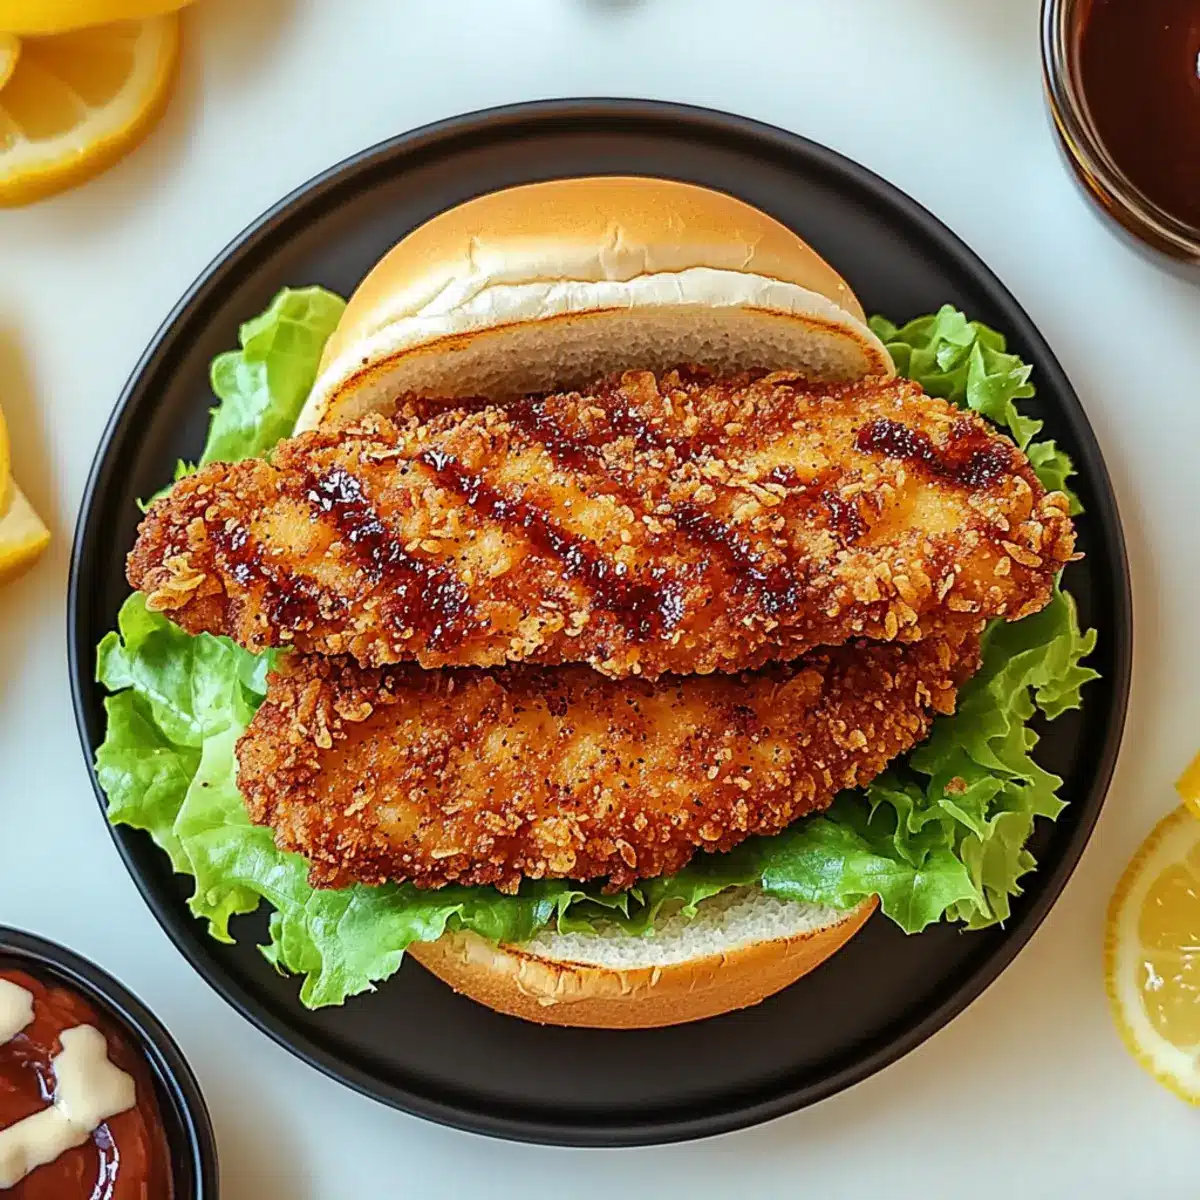
The sound of sizzling chicken filling the kitchen brings a sense of anticipation that is hard to beat. I’ve crafted this Crispy Lemon Pepper Chicken Sandwich to not only be a feast for your taste buds but also a celebration of homemade goodness. With its crunchy, golden coating and juicy chicken drenched in zesty lemon pepper seasoning, this sandwich is perfect for those who crave something more than fast food. Plus, it’s customizable! Feel free to swap sauces or toppings to suit your mood. Whether you’re looking for a quick and satisfying weeknight dinner or impressing guests at a weekend gathering, this recipe is sure to deliver. What’s your favorite way to elevate a classic sandwich?
Why is this sandwich a must-try?
Crispy Texture: The golden coating shatters perfectly with each bite, revealing juicy chicken underneath.
Zesty Flavor: Bright lemon pepper seasoning enhances the chicken’s natural taste, providing a refreshing twist.
Customizable Delight: Swap ingredients as you like—try a zesty aioli or different toppings to suit your cravings!
Easy to Make: Ideal for home cooks at any level, this sandwich comes together without fuss.
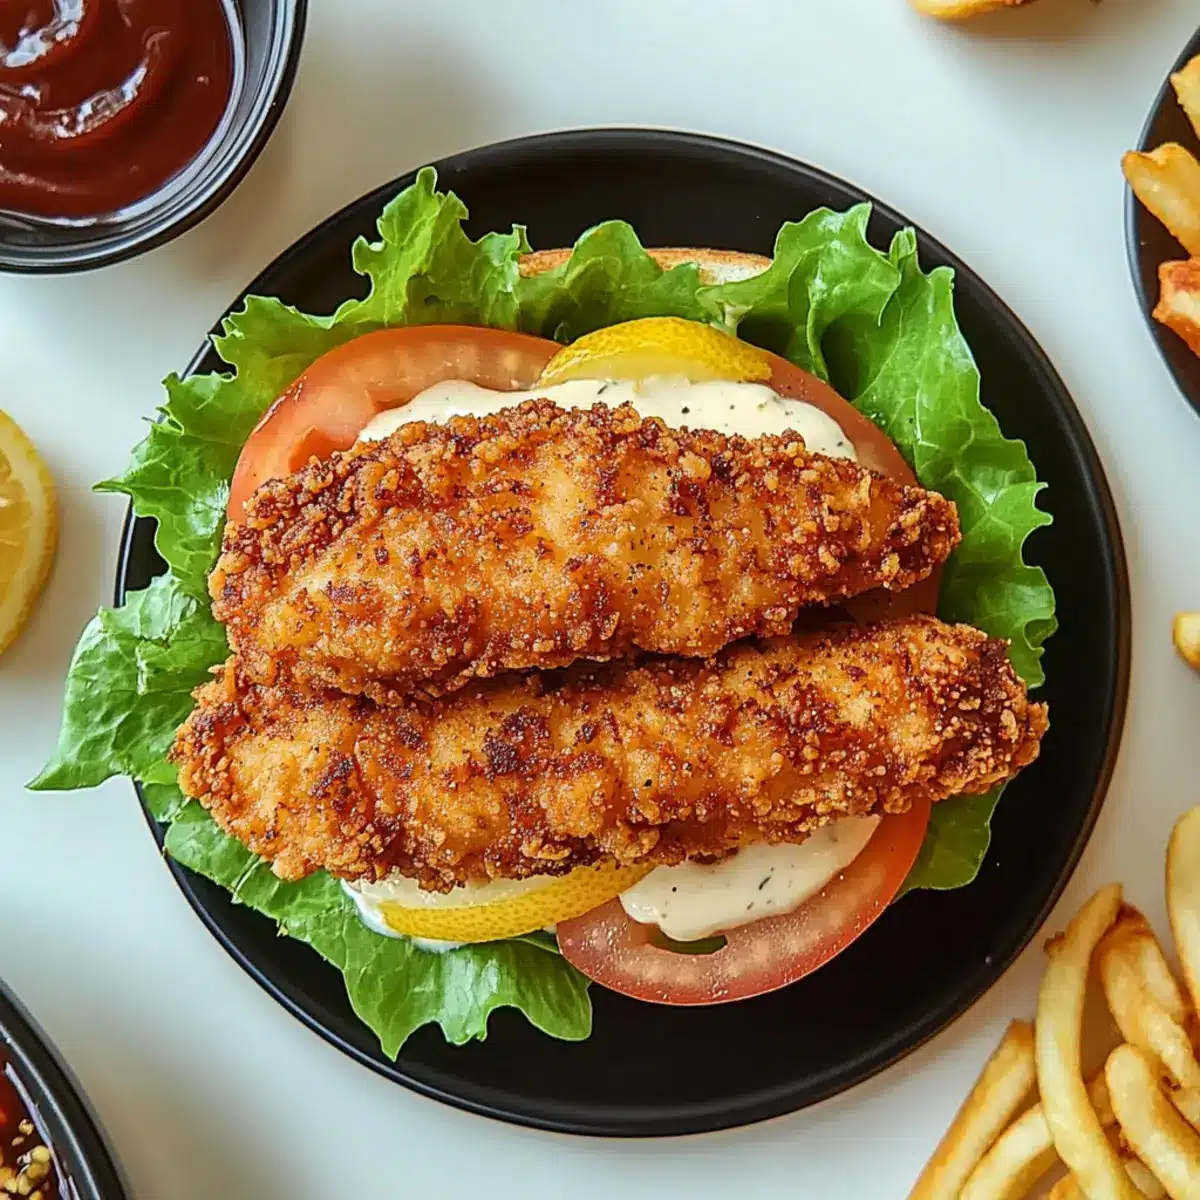
Crowd-Pleaser: Perfect for gatherings, serve it alongside crispy fries or a fresh salad for a winning meal. If you enjoyed this, you might also like my Garlic Butter Chicken or Sweet Chili Chicken.
Crispy Lemon Pepper Chicken Sandwich Ingredients
Get ready to create a mouthwatering masterpiece!
For the Chicken
• Chicken Breasts – Use boneless, skinless for a leaner option, or substitute with chicken thighs for a juicier bite.
• All-Purpose Flour – Provides a coating for frying, ensuring the perfect crispiness.
• Salt – Essential for enhancing all flavor profiles.
• Black Pepper – Adds a touch of spice to the chicken coating.
• Garlic Powder – Elevates the savory notes of the chicken.
• Onion Powder – Deepens the flavor beautifully.
• Paprika – Offers subtle smokiness and a lovely color.
• Cayenne Pepper – Introduces a delightful hint of heat.
• Egg – Binds the coating ingredients; substitute with a flax egg for a vegan option.
• Breadcrumbs – Creates a crunchy exterior; use panko for extra crunch.
• Buttermilk – Adds moisture and flavor; can be substituted with a milk and vinegar mixture (½ cup milk + 1 tbsp vinegar).
• Vegetable Oil – Ensures crispiness when frying the chicken.
For the Sandwich
• Hamburger Buns – Holds everything together; opt for whole wheat for a healthier twist.
• Mayonnaise – Provides creaminess that balances the spices; swap for Greek yogurt if you prefer a tangier touch.
• Dijon Mustard – Brightens up the sauce with that much-needed tang.
• Lemon Juice and Zest – Infuses a burst of freshness and zestiness.
For the Toppings
• Fresh Parsley – A pops of color and flavor to finish your sandwich beautifully.
• Lettuce and Tomato – Adds freshness and a satisfying crunch.
Dive into crafting your own Crispy Lemon Pepper Chicken Sandwich that’s not just tasty but also bursting with personality!
Step‑by‑Step Instructions for Crispy Lemon Pepper Chicken Sandwich
Step 1: Prepare Chicken
Begin by slicing the chicken breasts horizontally to create thin fillets, ensuring even cooking. This helps the chicken cook through in just 4-5 minutes. Pat the slices dry with paper towels for a crispier finish.
Step 2: Mix Coatings
In three separate bowls, create a coating station: mix all-purpose flour with salt, black pepper, garlic powder, onion powder, paprika, and cayenne in one bowl. In another, whisk the egg with a splash of water. Finally, place the breadcrumbs in the third bowl, ready for coating the chicken.
Step 3: Coat Chicken
Take each chicken fillet and coat it first in the seasoned flour, shaking off the excess, then dip into the egg mixture. Finally, thoroughly coat each piece with breadcrumbs, ensuring a generous layer for that perfect crispy texture.
Step 4: Heat Oil
In a large skillet, pour in enough vegetable oil to cover the bottom completely and heat it over medium-high heat. Monitor the oil until it shimmers, indicating it’s ready for frying. This step is crucial for a golden, crispy exterior on your chicken.
Step 5: Cook Chicken
Carefully add the coated chicken fillets to the hot oil without crowding the pan. Fry each piece for about 4-5 minutes on one side until golden brown, then flip and cook for another 4-5 minutes. The chicken should reach an internal temperature of 165°F before removing from the skillet.
Step 6: Toast Buns
As the chicken cooks, slice the hamburger buns in half and lightly toast them in a separate pan or toaster. Aim for a golden brown color that adds a delightful crunch and warmth to your Crispy Lemon Pepper Chicken Sandwich.
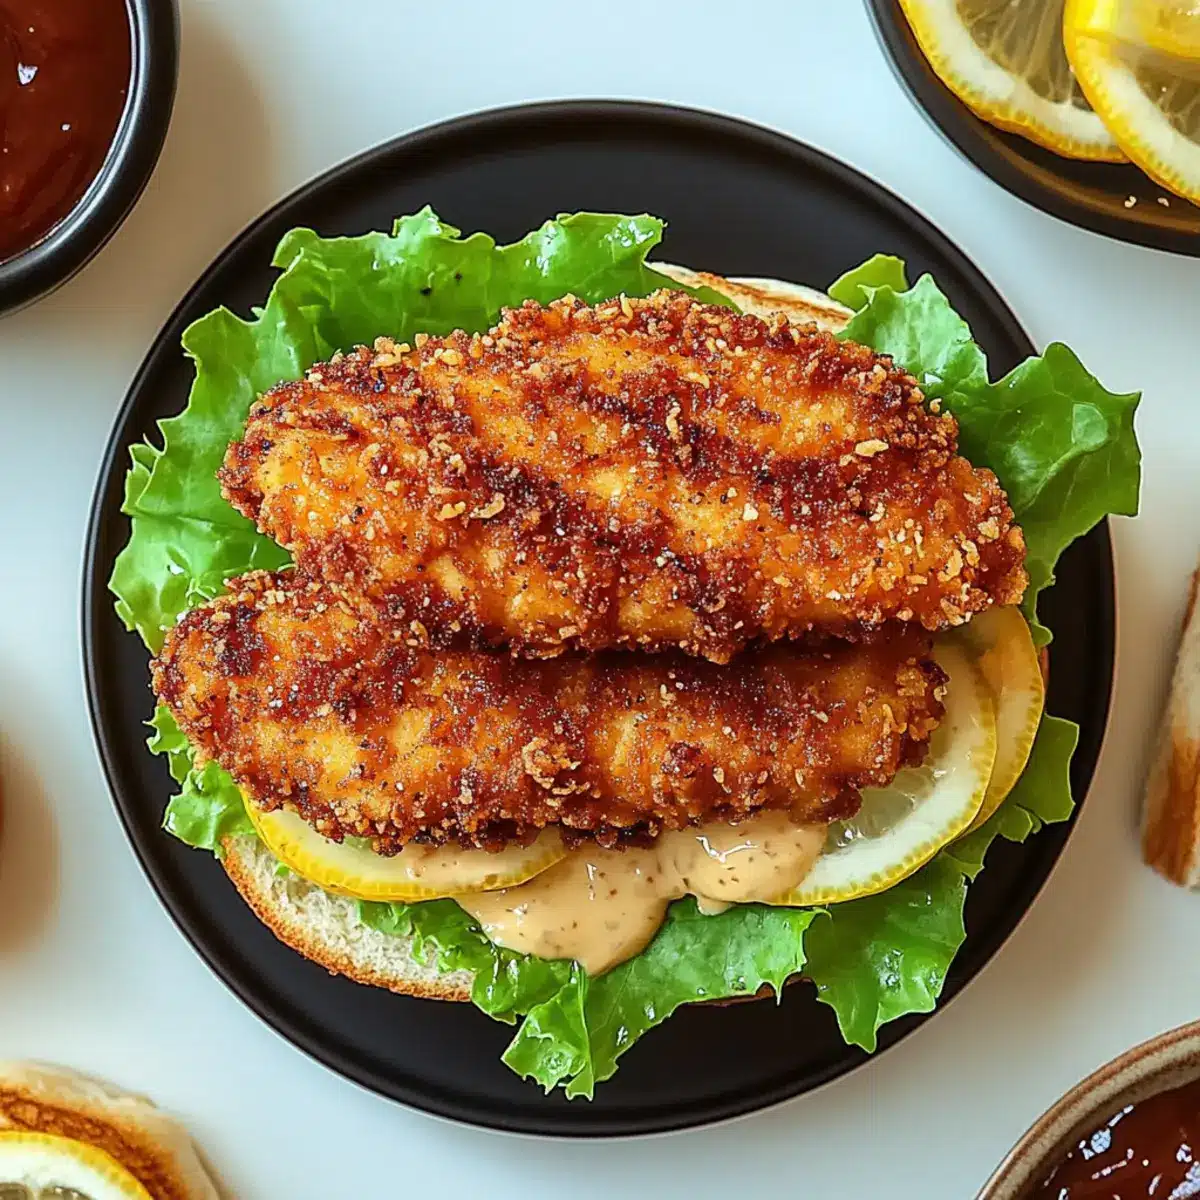
Step 7: Mix Sauce
In a small bowl, combine mayonnaise, Dijon mustard, lemon juice, and lemon zest. Stir until smooth to create a creamy sauce that will complement the sandwich’s zesty flavor. This sauce adds a delicious layer to the overall taste of the chicken sandwich.
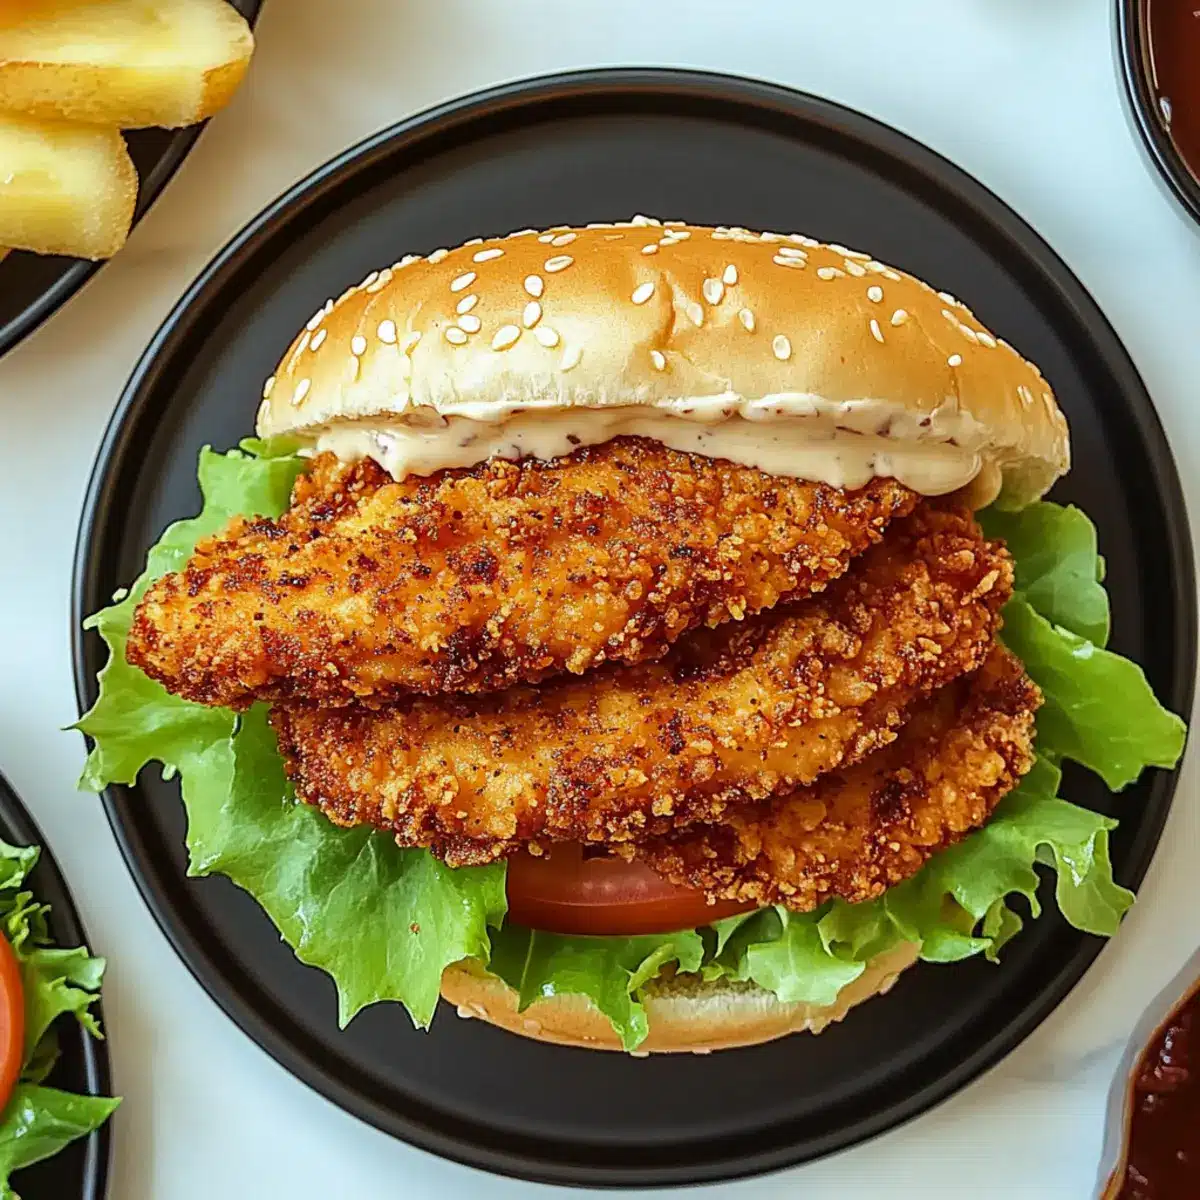
Step 8: Assemble Sandwich
Spread a generous layer of the sauce on the bottom half of each toasted bun. Place one crispy chicken fillet on top, followed by fresh lettuce and tomato slices. Add a sprinkle of parsley for an elegant touch and then crown with the top half of the bun.
Step 9: Serve Immediately
Your Crispy Lemon Pepper Chicken Sandwich is now ready! Serve it hot for the best texture contrast, and revel in the satisfying crunch as you enjoy this delicious homemade alternative to fast food.
How to Store and Freeze Crispy Lemon Pepper Chicken Sandwich
Fridge: Store leftover chicken and buns separately in airtight containers for up to 3 days. This ensures the crispiness and freshness of each component.
Freezer: For longer storage, freeze the cooked chicken fillets in a single layer in an airtight container or freezer bag for up to 3 months. Reheating properly will help maintain their crunchy texture.
Reheating: To reheat, place chicken in a preheated skillet over medium heat for about 5-7 minutes until crispy again. Avoid using the microwave as it may make the chicken soggy.
Assembling: Only assemble the sandwich when ready to eat for the best texture. Keep toppings like lettuce and tomato stored separately until assembly for ultimate freshness.
Expert Tips for Crispy Lemon Pepper Chicken Sandwich
- Oil Temperature: Ensure the oil is hot before frying. This avoids soggy chicken and helps achieve that perfect crispy texture.
- Don’t Overcrowd: Fry in batches to prevent temperature drop; overcrowding leads to uneven cooking and less crunch.
- Storage Savvy: Keep leftover chicken and buns stored separately. This preserves the crunch of the crispy lemon pepper chicken for later meals.
- Ingredient Substitution: Feel free to mix and match sauces or toppings to adapt your sandwich. Use Greek yogurt instead of mayonnaise for a tangier note.
- Healthier Option: For a lighter take, try baking the chicken at 400°F for about 20 minutes without sacrificing flavor.
What to Serve with Crispy Lemon Pepper Chicken Sandwich
Whether you’re enjoying it for lunch or dinner, this creamy and crunchy delight deserves the perfect companions to elevate your meal.
-
Crispy Fries: These golden beauties provide a satisfying crunch that pairs perfectly with the sandwich’s texture, delighting your taste buds.
-
Fresh Coleslaw: The tangy crunch of cabbage and carrots cuts through the richness, offering a refreshing contrast to the sandwich.
-
Garlic Butter Corn on the Cob: Sweet, juicy corn slathered in garlic butter adds seasonal flair and a burst of flavor beside your sandwich.
-
Sweet Potato Wedges: Soft and sweet, these provide a delightful contrast to the savory chicken while adding a hint of sweetness.
-
Mediterranean Quinoa Salad: This bright and colorful salad offers wholesome grains and fresh vegetables, balancing the meal with freshness.
-
Lemonade or Iced Tea: A chilled glass of refreshing lemonade or iced tea can cleanse your palate, complementing the zesty lemon pepper flavor beautifully.
Make Ahead Options
These Crispy Lemon Pepper Chicken Sandwiches are perfect for busy weeknights! You can prep the chicken by coating it with flour, egg, and breadcrumbs up to 24 hours in advance; just store the coated pieces in the refrigerator to keep them fresh. The sauce can also be prepared ahead of time and kept in an airtight container for up to 3 days in the fridge. When you’re ready to serve, simply heat the oil and fry the chicken until golden and crispy. For the perfect finish, assemble the sandwiches with fresh toppings and enjoy the same deliciousness without the last-minute rush!
Crispy Lemon Pepper Chicken Sandwich Variations
Feel free to get creative and customize your sandwich experience with these delightful variations!
- Vegan Swap: Replace chicken with crispy tofu, marinated in lemon juice and coated in seasoned breadcrumbs for a hearty bite.
- Spicy Kick: Add a dash of hot sauce to the mayo or opt for spicy seasoning in the flour mix for an extra zing.
- Creamy Avocado: Layer in fresh avocado slices between the chicken and vegetables for a creamy texture and added nutrition.
- Mediterranean Flair: Swap the mayo for tzatziki sauce and top with cucumbers and feta for a refreshing twist.
- Herb Explosion: Mix fresh herbs like dill or cilantro into the mayo for an aromatic sauce that elevates the flavors.
- Crunchy Pickles: Add dill pickles or fried jalapeños for an extra crunch and a tangy pop that brightens the sandwich.
- Whole Wheat Upgrade: Choose whole wheat or gluten-free buns to fit your dietary preferences without sacrificing taste.
- Zesty Aioli: Replace mayonnaise with a lemon aioli for a rich, tangy flavor that perfectly complements the crispy chicken.
Let your tastebuds guide you in crafting the perfect Crispy Lemon Pepper Chicken Sandwich! You might also enjoy a flavorful twist with my Chipotle Chicken Avocado or a sweet touch from the Chocolate Oat Cookies for dessert.
Crispy Lemon Pepper Chicken Sandwich Recipe FAQs
What is the best way to choose chicken for this sandwich?
Absolutely! For the best results, opt for boneless, skinless chicken breasts as they cook evenly and stay juicy. If you prefer a richer flavor, chicken thighs are a great substitute; just make sure to adjust your cooking time as they may take slightly longer to cook through.
How should I store leftover Crispy Lemon Pepper Chicken Sandwich?
For optimal freshness, store leftover chicken and buns separately in airtight containers. The chicken can be stored in the fridge for up to 3 days, while the buns will keep fresh for 2-3 days. This separation helps maintain the crunchy texture of the chicken.
Can I freeze the chicken sandwiches?
Yes, you can! To freeze the cooked chicken, place the fully cooled fillets in a single layer in an airtight container or freezer bag. They can be kept for up to 3 months. To reheat, preheat your skillet over medium heat and fry the chicken again for about 5-7 minutes until it’s hot and crispy. This method helps retain that delightful crunch.
What should I do if my chicken isn’t crispy enough?
Very! If you find that your chicken isn’t achieving the crispy texture you desire, ensure that the oil is hot enough before frying—aim for around 350°F. Also, avoid overcrowding the pan; this can cause the temperature to drop and result in sogginess. Fry in batches if necessary for the best results!
Are there any dietary considerations for this recipe?
Definitely! If you or a loved one has dietary restrictions, you can easily modify this recipe. For a gluten-free option, swap all-purpose flour and breadcrumbs for gluten-free alternatives. If you’re looking for a dairy-free version, use a flax egg in place of the regular egg and opt for non-dairy milk mixed with vinegar instead of buttermilk.
How long will the chicken stay fresh in the fridge?
Your crispy chicken can stay fresh in the fridge for about 3 to 4 days. Just be sure to keep it in an airtight container to lock in that delicious flavor, and remember to reheat it as mentioned to bring back that crispy texture!
Crispy Lemon Pepper Chicken Sandwich You’ll Crave Again and Again
Ingredients
Equipment
Method
- Begin by slicing the chicken breasts horizontally to create thin fillets, ensuring even cooking. This helps the chicken cook through in just 4-5 minutes. Pat the slices dry with paper towels for a crispier finish.
- In three separate bowls, create a coating station: mix all-purpose flour with salt, black pepper, garlic powder, onion powder, paprika, and cayenne in one bowl. In another, whisk the egg with a splash of water. Finally, place the breadcrumbs in the third bowl, ready for coating the chicken.
- Take each chicken fillet and coat it first in the seasoned flour, shaking off the excess, then dip into the egg mixture. Finally, thoroughly coat each piece with breadcrumbs, ensuring a generous layer for that perfect crispy texture.
- In a large skillet, pour in enough vegetable oil to cover the bottom completely and heat it over medium-high heat. Monitor the oil until it shimmers, indicating it’s ready for frying.
- Carefully add the coated chicken fillets to the hot oil without crowding the pan. Fry each piece for about 4-5 minutes on one side until golden brown, then flip and cook for another 4-5 minutes.
- As the chicken cooks, slice the hamburger buns in half and lightly toast them in a separate pan or toaster until golden brown.
- In a small bowl, combine mayonnaise, Dijon mustard, lemon juice, and lemon zest. Stir until smooth.
- Spread a generous layer of the sauce on the bottom half of each toasted bun. Place one crispy chicken fillet on top, followed by fresh lettuce and tomato slices. Add parsley for garnish and crown with the top half of the bun.
- Serve immediately while hot.
Leave a Reply