
Amid the hustle and bustle of holiday preparations, I stumbled upon a true gem in my kitchen: the Christmas Red Velvet Cheesecake Recipe. This festive masterpiece brings together the luscious flavors of red velvet cake and rich, creamy cheesecake, creating a dessert that’s as indulgent as it is visually stunning. What I love most about this recipe is how effortlessly it elevates any gathering—guests are instantly enchanted before they even take a bite! Plus, it’s surprisingly straightforward to whip up, making it perfect for both seasoned bakers and new kitchen adventurers. Whether you’re hosting a festive party or simply looking to treat yourself, this cheesecake is sure to become a beloved holiday tradition. So, are you ready to dive into this delightful combination of flavors and create a holiday masterpiece that’ll leave everyone craving more?
Why is this cheesecake a holiday must?
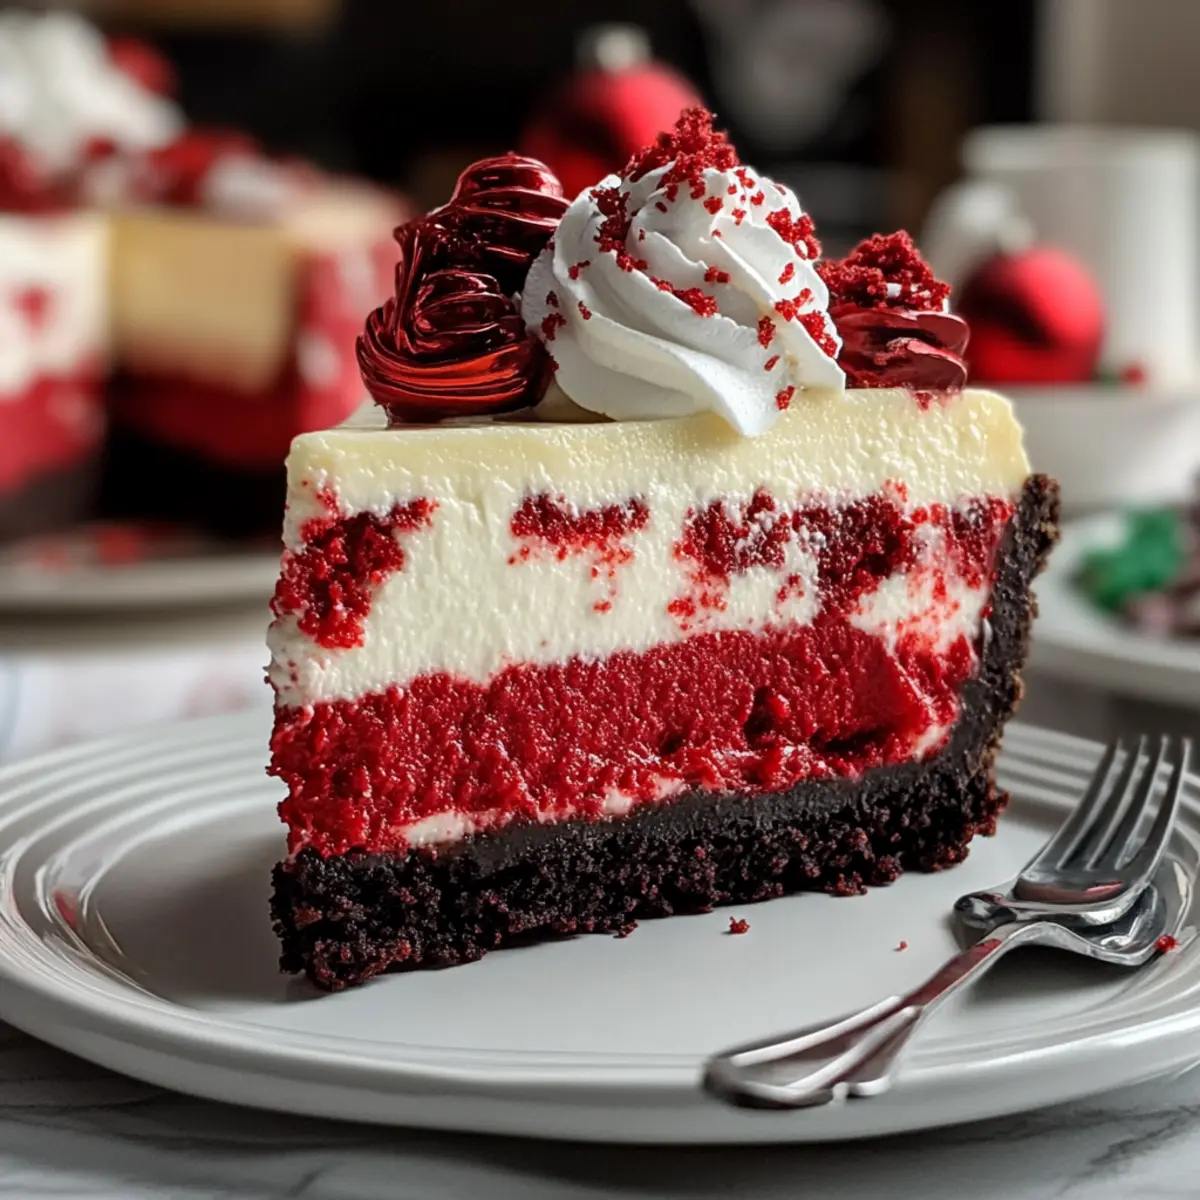
Irresistible Fusion: This Christmas Red Velvet Cheesecake beautifully merges the beloved flavors of red velvet and creamy cheesecake, resulting in a dessert that’s both festive and indulgent.
Visual Delight: With its vibrant red hue and creamy layers, it’s a showstopper that captures the spirit of the season.
Easy to Make: Even novice bakers will find joy in the simple steps, ensuring everyone can create this stunning dessert.
Crowd Pleaser: Perfect for holiday gatherings, it’s bound to impress guests and make every occasion memorable.
Versatile Options: Whether you want to experiment with a ginger snap crust or serve mini versions, this recipe invites creativity and personalization!
And if you’re looking for more festive inspiration, don’t forget to check out the delightful Red Velvet Hot drink to warm the season.
Christmas Red Velvet Cheesecake Ingredients
For the Crust
• Oreo Cookies – These provide a rich, chocolatey flavor foundation for your cheesecake crust, but feel free to substitute with gluten-free cookies for a gluten-free option.
• Butter – Essential for binding the crust ingredients together; you can opt for coconut oil for a dairy-free version.
For the Cheesecake Filling
• Cream Cheese – The star of the filling, delivering smoothness and a delightful tang; ensure it’s softened for easier mixing.
• White Sugar – Adds the sweetness that harmonizes the flavors; consider replacing it with a sugar substitute if desired.
• Heavy Whipping Cream – Provides lightness to the filling when whipped; half-and-half can be used but will result in a less rich dessert.
• Vanilla Extract – A flavor enhancer that boosts the overall taste; opting for pure vanilla will elevate the quality.
• Cocoa Powder – Offers a subtle chocolate flavor that beautifully complements the red velvet; make sure it’s unsweetened for best results.
• Red Food Coloring – Creates that vibrant red hue essential for a Christmas vibe; consider looking into natural alternatives for coloring.
For Decoration
• Christmas Sprinkles – Adds a festive touch on both the filling and topping; you can swap them for crushed nuts for a different texture.
• Whipped Cream – A luscious topping option; homemade is always best, but store-bought can work in a pinch.
• Mini Oreos – Ideal for garnishing and enhancing visual appeal; these are optional, and any festive cookie can work as a substitute.
Get ready to indulge in this Christmas Red Velvet Cheesecake Recipe that’s as delightful to look at as it is to eat!
Step‑by‑Step Instructions for Christmas Red Velvet Cheesecake Recipe
Step 1: Prepare Pan & Oven
Start by preheating your oven to 350°F (175°C). While it warms up, wrap the outside of a 9-inch springform pan with aluminum foil to prevent water from seeping in during baking. This will help create a moisture-rich environment, ensuring your cheesecake stays perfectly creamy.
Step 2: Make the Red Velvet Crust
In a mixing bowl, crush the Oreo cookies until they form fine crumbs. Combine these crumbs with melted butter and mix until evenly moistened. Press this mixture firmly into the bottom of the prepared springform pan. Bake in the preheated oven for 8-10 minutes, then remove and let it cool completely.
Step 3: Prepare Cheesecake Filling
In a large bowl, beat the softened cream cheese with an electric mixer until smooth and creamy, about 2-3 minutes. Gradually add in the white sugar while continuing to mix. Incorporate the vanilla extract, cocoa powder, and red food coloring until the mixture is fully blended and vibrant.
Step 4: Incorporate Whipped Cream
Once your cheesecake batter is ready, gently fold in the heavy whipping cream that you’ve previously whipped to soft peaks. This step is crucial for achieving that light and airy texture in your Christmas Red Velvet Cheesecake. Add in any festive sprinkles at this point for some extra cheer.
Step 5: Bake the Cheesecake
Reduce the oven temperature to 325°F (160°C). Prepare a water bath by placing the springform pan inside a larger baking dish filled with hot water. Bake the cheesecake for about 1 hour to 1 hour and 15 minutes, or until the edges are set and the center still has a slight jiggle.
Step 6: Cool & Chill
After baking, turn off the oven and leave the cheesecake inside with the door ajar for about 1 hour. This gradual cooling helps prevent cracking. Once the time is up, transfer the cheesecake to the counter and let it cool for an additional 2-3 hours before moving it to the refrigerator. Chill for a minimum of 6-8 hours, allowing the flavors to meld beautifully.
Step 7: Decorate & Serve
When you’re ready to serve this beautiful Christmas Red Velvet Cheesecake, carefully remove the sides of the springform pan. Top generously with whipped cream and add any festive garnishes like mini Oreos or crushed nuts for an attractive finish. For clean slices, use a hot knife to cut through the cheesecake, and enjoy!
How to Store and Freeze Christmas Red Velvet Cheesecake
Fridge: Store leftovers in an airtight container for up to 3-4 days to maintain freshness. Allow it to sit at room temperature for 15-20 minutes before serving for optimal flavor and texture.
Freezer: If you want to keep the cheesecake longer, freeze it for up to 3 months. Wrap slices individually in plastic wrap, then place in a freezer-safe container. Thaw in the fridge before serving.
Reheating: There’s no need to bake again! Serve chilled straight from the fridge, or let it rest at room temperature before serving to enhance the creamy texture.
Sharing: If you’re planning to share this indulgent Christmas Red Velvet Cheesecake, consider cutting it into portions before freezing for easy serving later.
Christmas Red Velvet Cheesecake Variations
Feel free to personalize your cheesecake with these delightful twists that will enhance its flavor and texture!
-
Gluten-Free Crust: Substitute traditional Oreos for gluten-free cookies to make this decadent dessert accessible for everyone.
-
Dairy-Free Indulgence: Replace butter with coconut oil and cream cheese with a non-dairy variety to whip up a dairy-free version.
-
Citrus Zing: Add a tablespoon of orange or lemon zest to the cheesecake batter for a refreshing citrus twist against the richness.
-
Mini Cheesecakes: For individual servings, pour the cheesecake batter into ramekins for charming mini cheesecakes—perfect for holiday gatherings.
-
Nutty Crunch: Swap out the sprinkles for crushed nuts on top to introduce a delightful crunch alongside the creamy layers.
-
Chocolate Drizzle: Elevate your presentation with a drizzle of chocolate ganache before serving; it pairs beautifully with the red velvet flavor.
-
Spicy Kick: Incorporate a dash of cinnamon or nutmeg into the batter to give it a warm, spicy flavor that dances on your palate.
And if you find yourself craving other festive treats, don’t forget to explore the festive Churro Cheesecake Indulge or the wonderfully unique Red Velvet Hot for more holiday inspiration!
What to Serve with Christmas Red Velvet Cheesecake
Delight your guests with a full meal that beautifully complements this festive indulgence, making every bite an experience.
-
Rich Coffee: The bold flavor of freshly brewed coffee balances the cheesecake’s sweetness, enhancing its rich, creamy texture.
-
Hot Chocolate: A warm, comforting drink that’s extra special during the holidays; top with whipped cream and a sprinkle of cinnamon for a cozy touch.
-
Fruit Salad: Bright, fresh fruit adds a refreshing contrast to the creamy cheesecake, providing a light element that cuts through the richness.
-
Chocolate Mint Cookies: The minty chocolate flavor echoes the indulgence of your cheesecake, creating a harmonious taste profile and adding festive flair.
-
Creamy Mashed Potatoes: If serving as part of a larger meal, their silky texture beautifully complements the richness of the cheesecake, making for a satisfying contrast.
-
Sparkling Wine: Celebrate the occasion with a glass of bubbly; its effervescence enhances the indulgent flavors of the cheesecake, making every bite feel special.
-
Christmas Cookie Platter: A collection of assorted festive cookies can add whimsy and charm to the table, providing delightful variety alongside the cheesecake.
-
Mini Cheesecakes: For an elegant touch, serve mini versions of your cheesecake, allowing guests to indulge in this decadence while adding a visual appeal to your dessert spread.
Make Ahead Options
This Christmas Red Velvet Cheesecake Recipe is perfect for busy hosts who want to save time during the holiday rush! You can prepare the crust and cheesecake filling up to 24 hours in advance. Simply make the Oreo crust and freeze it in the springform pan, covering it tightly with foil to preserve freshness. For the cheesecake filling, mix everything and store it in an airtight container in the refrigerator. When you’re ready to bake, pour the filling over the chilled crust and proceed with the baking instructions. This way, you’ll ensure your cheesecake is just as delicious and festive when it’s time to serve!
Expert Tips for Christmas Red Velvet Cheesecake
Ingredients at Room Temperature: Ensure all your ingredients, especially cream cheese and eggs, are at room temperature for a smooth filling without lumps.
Water Bath Essential: Using a water bath during baking prevents cracking and ensures an even texture in your Christmas Red Velvet Cheesecake.
Cooling Patience: After baking, allow the cheesecake to cool gradually in the oven with the door ajar to avoid sudden temperature changes that cause cracks.
Whipped Cream Technique: When folding in whipped cream, do it gently to maintain that light and airy texture that makes the cheesecake creamy and indulgent.
Slice with Care: For clean edges, use a hot knife when slicing your cheesecake. This will give a beautiful presentation for your festive gatherings.
Christmas Red Velvet Cheesecake Recipe FAQs
How do I select the best ingredients for the Christmas Red Velvet Cheesecake?
Choosing ripe and high-quality ingredients can significantly enhance the flavor of your cheesecake. For the best results, select fresh cream cheese that’s smooth and creamy, and check your heavy whipping cream is not close to its expiration date. When it comes to fresh ingredients like eggs, always opt for those with the latest expiration date. The red food coloring should be vibrant, and if you prefer natural alternatives, look for beet juice options which can also provide a lovely color.
What’s the best way to store leftover Christmas Red Velvet Cheesecake?
Absolutely! To keep your cheesecake fresh, store any leftovers in an airtight container in the refrigerator for up to 3-4 days. This will help preserve the creamy texture and rich flavor. If you want to serve leftovers later, it’s a good idea to allow the cheesecake to sit at room temperature for about 15-20 minutes before slicing – this will enhance the creaminess and flavor.
Can I freeze Christmas Red Velvet Cheesecake?
Yes, you can! Freezing is a great way to prolong the life of your cheesecake. Start by wrapping individual slices tightly in plastic wrap, then place them in a freezer-safe container. Ideally, consume them within 3 months for the best quality. To thaw, simply move the cheesecake to your refrigerator for several hours or overnight, allowing it to defrost gradually.
What should I do if my cheesecake cracks during baking?
If you notice cracks forming on your cheesecake, don’t worry—it happens! To prevent this in the future, always use a water bath while baking. This technique helps distribute heat evenly. If your cheesecake has cracked, simply cover it with whipped cream or festive decorations after cooling to hide the imperfections, turning it into a charming detail of your beautiful dessert!
Are there any dietary considerations for the Christmas Red Velvet Cheesecake?
Yes! If you’re conscious about dietary restrictions, make sure to check the ingredients used. For a gluten-free option, substitute the Oreo crust with gluten-free cookies or a nut-based crust. If anyone has dairy allergies, you can substitute the cream cheese with a dairy-free alternative and use coconut oil instead of butter in the crust. Always inquire about personal preferences or allergies from your guests before preparing!
What’s the best way to decorate my cheesecake for the holidays?
Very! You can take your Christmas Red Velvet Cheesecake to the next level by decorating it with whipped cream, Christmas sprinkles, or even edible glitter for a festive flair. For a charming touch, add mini Oreos or crushed nuts on top, or arrange slices of fresh fruit for color and taste. Your creativity knows no bounds!
Decadent Christmas Red Velvet Cheesecake Recipe for Holidays
Ingredients
Equipment
Method
- Preheat your oven to 350°F (175°C) and wrap a 9-inch springform pan with aluminum foil.
- Crush the Oreo cookies into fine crumbs, mix with melted butter, and press into the bottom of the pan. Bake for 8-10 minutes and let cool.
- Beat the cream cheese until smooth, then gradually add sugar, vanilla, cocoa powder, and red food coloring until fully blended.
- Gently fold in the whipped cream, and mix in any festive sprinkles.
- Reduce oven to 325°F (160°C), prepare a water bath, and bake the cheesecake for 1 to 1.25 hours.
- Cool gradually in the oven for 1 hour, then let cool on the counter for 2-3 hours before refrigerating for at least 6-8 hours.
- Remove the sides of the springform pan, top with whipped cream and garnishes, then slice and serve.
Leave a Reply