
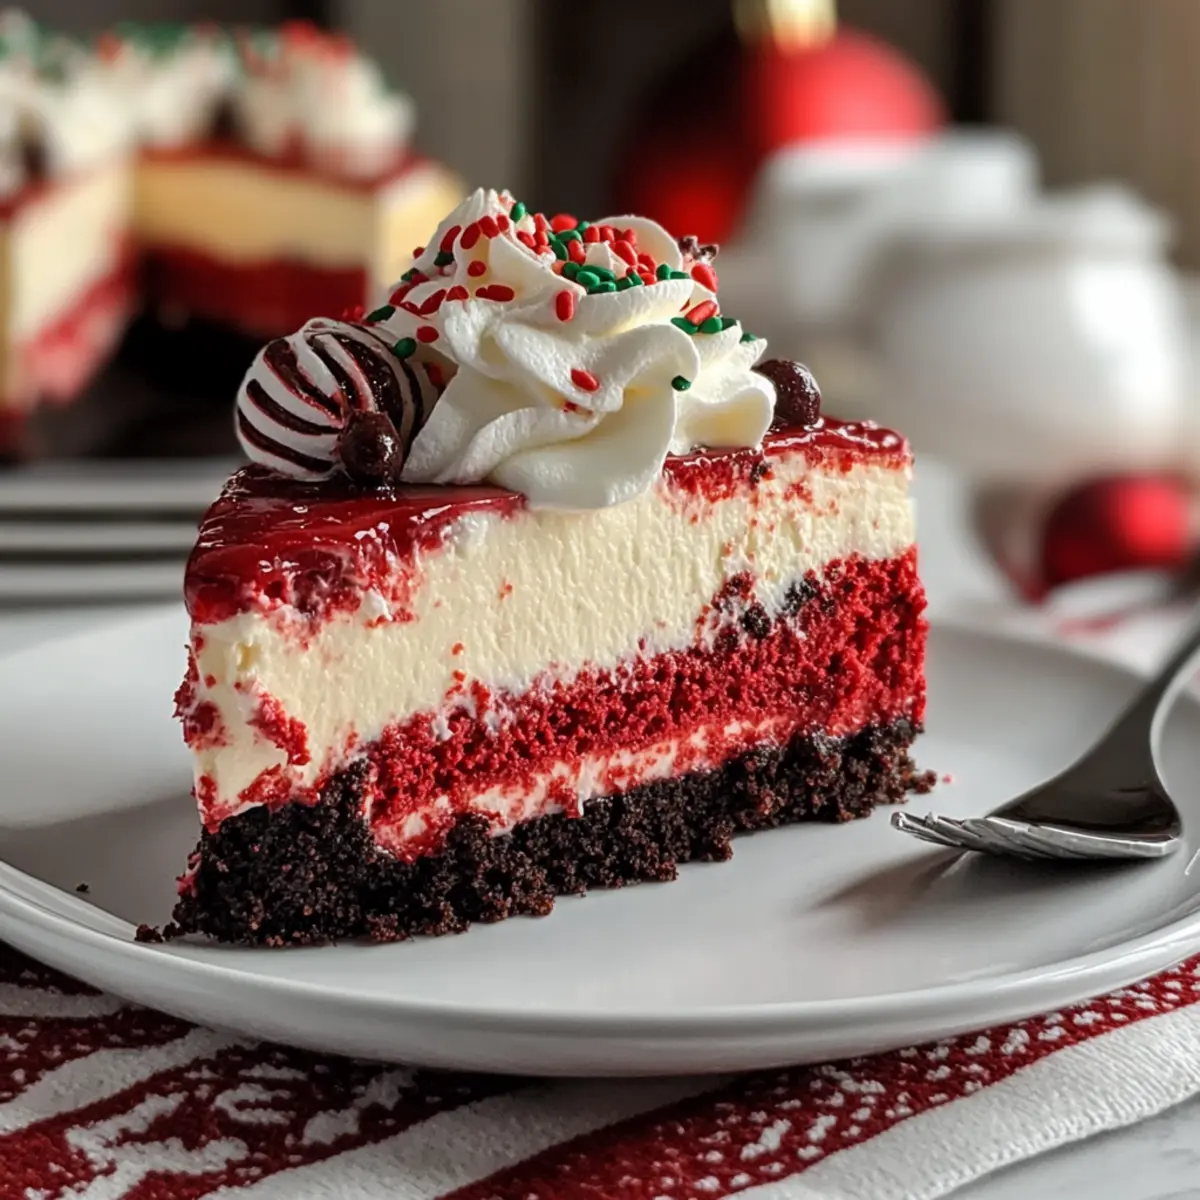
As the holidays approach, the sight of vibrant red desserts brings an instant wave of cheer. With its stunning hue and creamy topping, this Festive Christmas Red Velvet Cheesecake captures the spirit of celebration in every slice. Combining the beloved flavors of red velvet cake and rich cheesecake, this dessert is the perfect centerpiece for your holiday gatherings. Not only is it a visual showstopper that impresses guests, but it’s also surprisingly easy to whip up, allowing you more time to enjoy the festivities. Plus, it’s the kind of indulgence that makes any occasion feel a little more special. Are you ready to create a festive masterpiece that will have everyone asking for seconds? Let’s dive into this delicious holiday treat!
Why is this cheesecake a must-try?
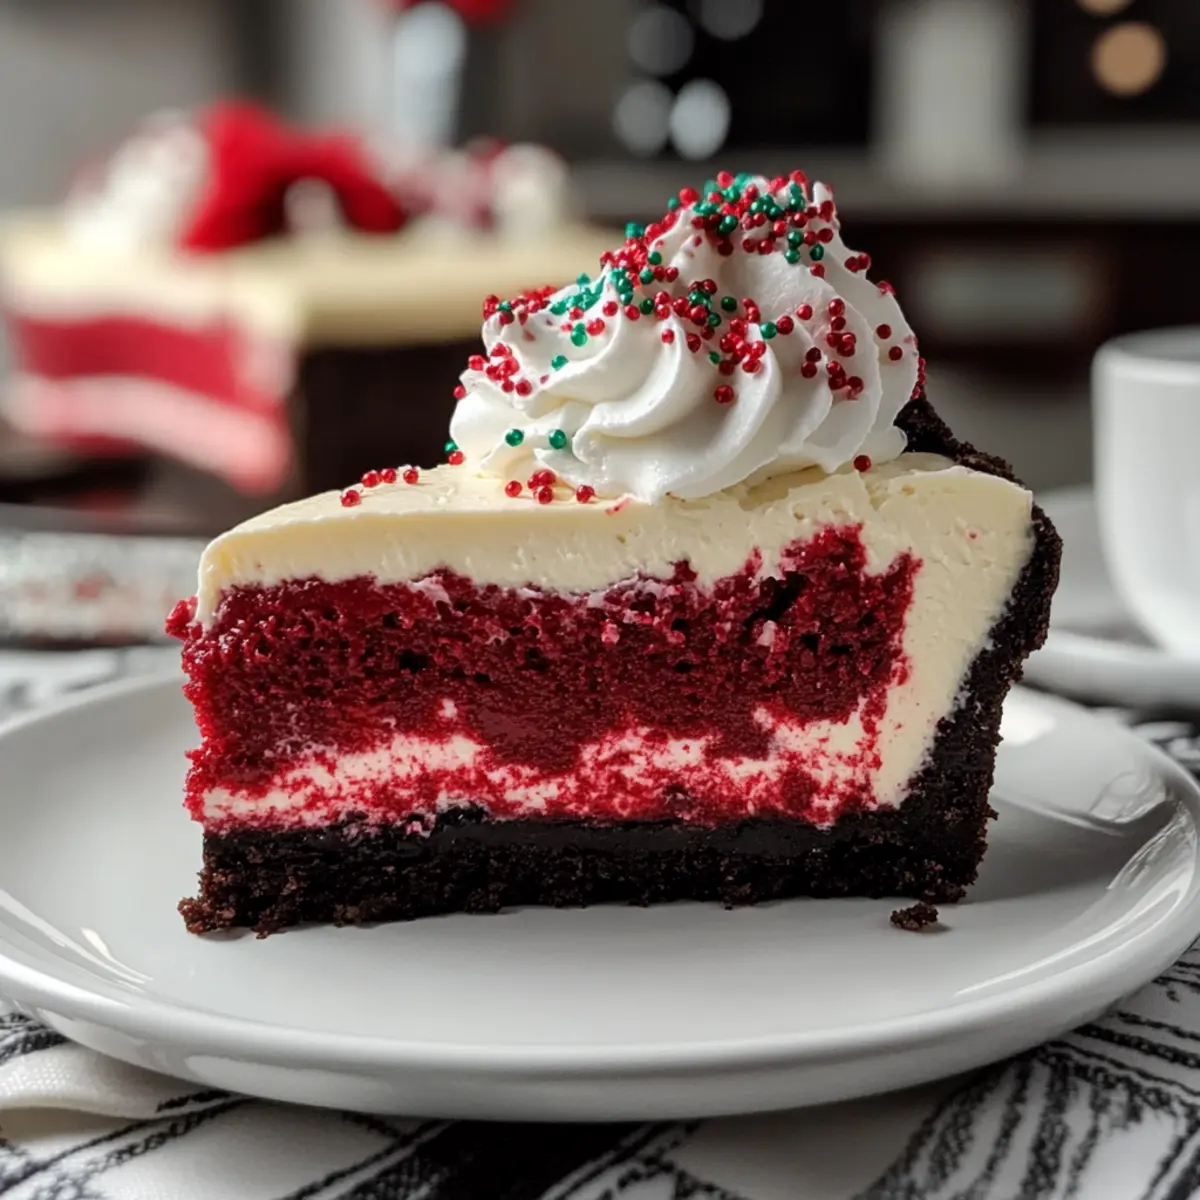
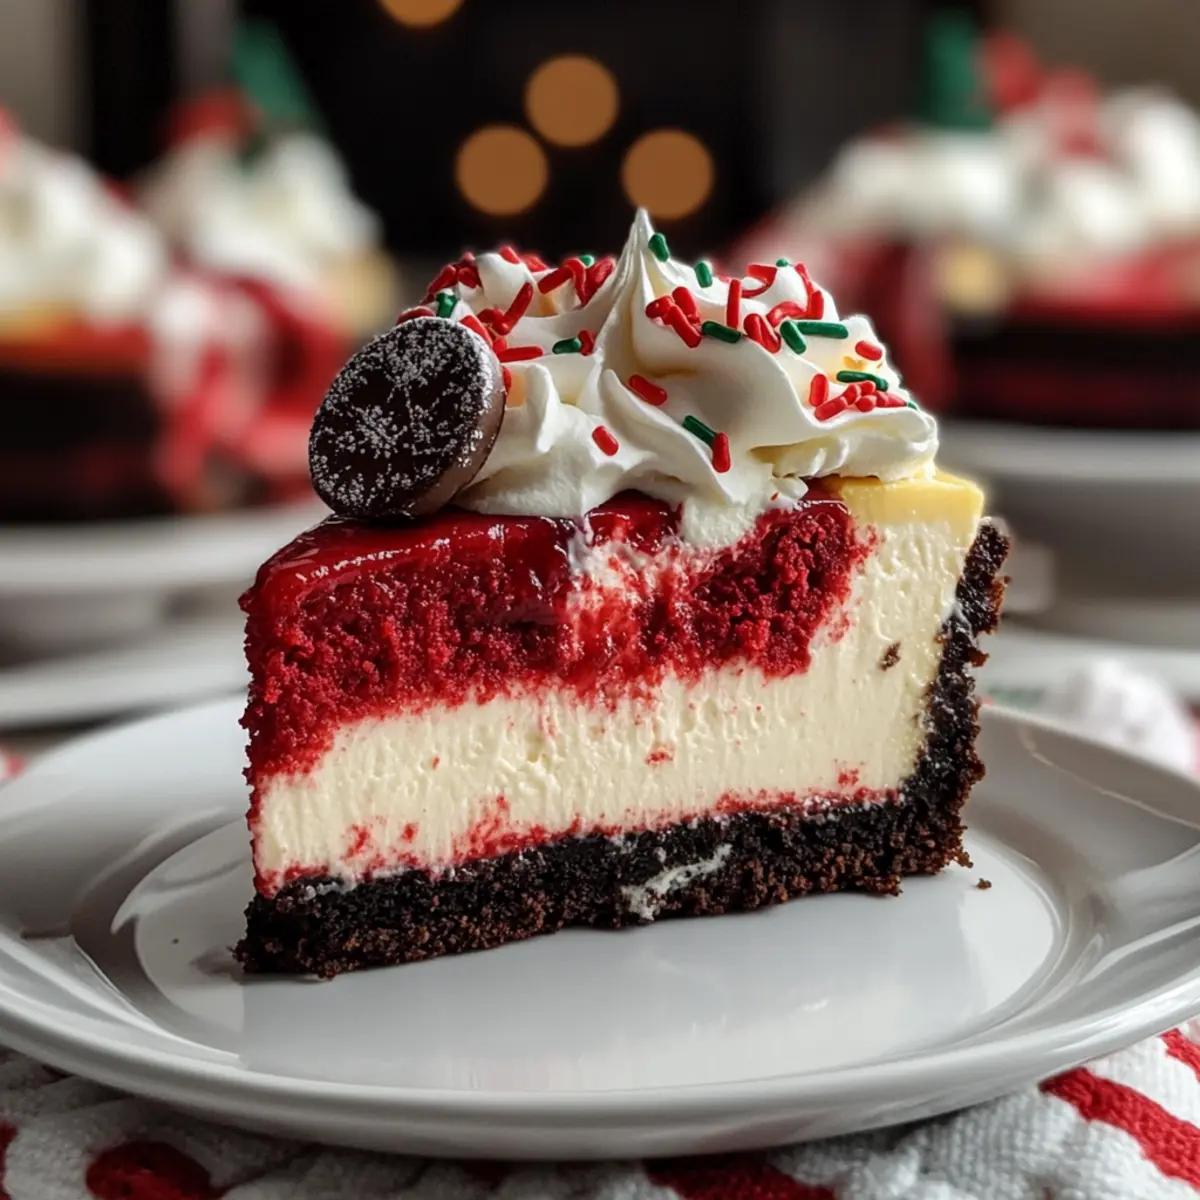
Simplicity, this festive Christmas Red Velvet Cheesecake is easy to make, even for beginner bakers. Rich, the combination of tangy cream cheese and sweet red velvet creates a harmonious blend that delights every palate. Versatile, whether it’s for holiday parties or cozy family gatherings, this cheesecake fits perfectly on any dessert table. Visual appeal is undeniable, with its striking red and white layers that impress guests and family alike. Time-saving, you can prepare it in advance, ensuring you can focus on holiday cheer rather than kitchen chaos. Ready to impress everyone? Pair it with a cozy cup of Red Velvet Hot for a complete festive experience!
Christmas Red Velvet Cheesecake Ingredients
-
For the Crust
• Oreo cookies (24 cookies) – Ideal for a rich chocolatey crust; you can substitute any chocolate wafer cookies if needed.
• Butter (⅓ cup, melted) – This binds the crust ingredients; coconut oil offers a perfect dairy-free alternative. -
For the Cheesecake Filling
• Cream cheese (4 blocks – 8 oz each) – The creamy filling star; ensure it’s room temperature for smooth blending.
• White sugar (½ cup) – Adds sweetness to the cheesecake; granulated erythritol works well for a lighter option.
• Heavy whipping cream (2 cups) – Creates a light texture in the filling; swap it with coconut whipped cream for a lower-fat choice.
• Vanilla extract (1 tsp) – Enhances flavor depth; almond extract provides an exciting twist.
• Cocoa powder (2 tbsp) – Infuses a subtle chocolate flavor; consider carob powder for a caffeine-free alternative.
• Red food coloring (as needed) – Essential for that striking red color; beet juice serves as a natural substitute. -
For Toppings and Decorations
• Christmas sprinkles (¼ cup) – Adds a festive touch; feel free to use any decorative sprinkles that catch your eye.
• Whipped cream (for topping) – Perfect for that finishing touch; whipped coconut cream is great if you prefer dairy-free.
• Mini Oreos (for garnish) – Fun and cute; mix it up with chocolate decorations as desired.
• Extra Christmas sprinkles (for garnish) – Optional but adds even more festive fun!
This Christmas Red Velvet Cheesecake is sure to be the star of your holiday celebrations!
Step‑by‑Step Instructions for Christmas Red Velvet Cheesecake
Step 1: Prepare Pan
Preheat your oven to 350°F (175°C). While the oven heats, wrap a 9-inch springform pan with aluminum foil to ensure no water seeps in during baking. This step is crucial for creating a perfect environment for your Christmas Red Velvet Cheesecake, setting the stage for a creamy texture.
Step 2: Make Crust
Crush 24 Oreo cookies finely and combine them with ⅓ cup melted butter in a mixing bowl. Press this mixture evenly into the bottom of the prepared springform pan and bake for 8–10 minutes. Once baked, allow the crust to cool completely; this will provide a solid foundation for the cheesecake filling.
Step 3: Prepare Filling
In a large mixing bowl, beat 4 blocks of room-temperature cream cheese until smooth and creamy. Gradually add ½ cup of white sugar, then mix in 1 teaspoon of vanilla extract, 2 tablespoons of cocoa powder, and red food coloring until you achieve your desired shade. Gently fold in 2 cups of heavy whipping cream until just combined, ensuring a light and airy filling.
Step 4: Bake
Lower the oven temperature to 325°F (160°C). Place the springform pan in a larger baking pan filled with hot water to create a water bath, which helps prevent cracking. Bake the cheesecake for 1 to 1.25 hours, until the edges are set but the center has a slight jiggle; this is the perfect consistency for your Christmas Red Velvet Cheesecake.
Step 5: Cool & Chill
Once baked, turn off the oven and leave the cheesecake inside with the door ajar for about 1 hour. This gradual cooling allows it to set more evenly. Afterward, cool the cheesecake on a wire rack for 2–3 hours before refrigerating for at least 6–8 hours, or preferably overnight, to achieve the perfect texture.
Step 6: Decorate & Serve
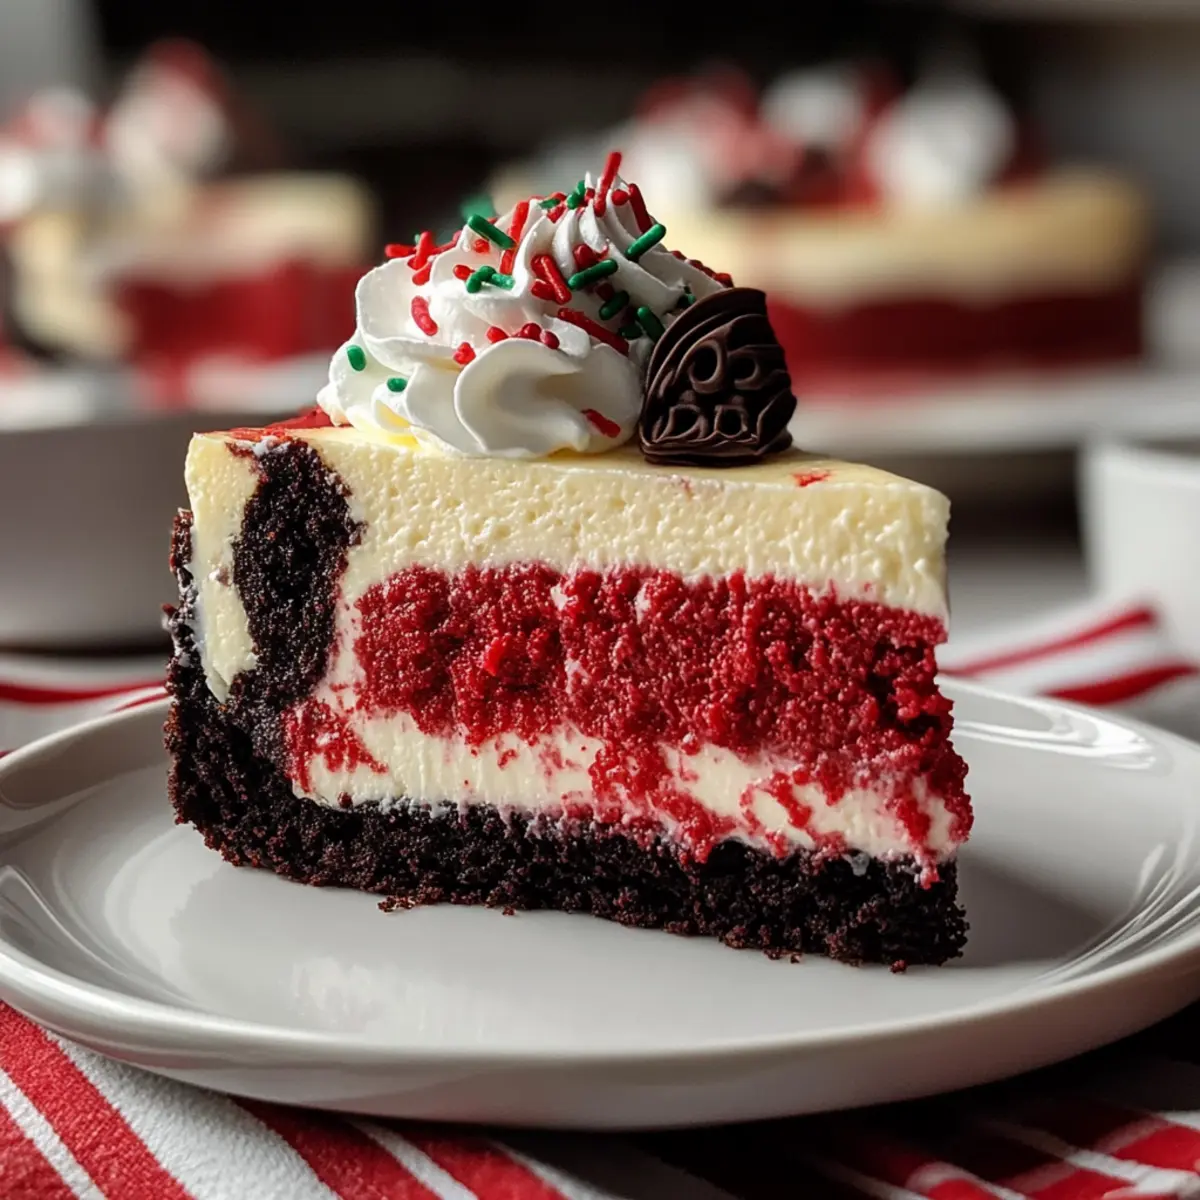
Carefully remove the sides of the springform pan. To finish your Christmas Red Velvet Cheesecake, top it generously with whipped cream, and garnish with mini Oreos and festive sprinkles for a delightful presentation. Slice into pieces and serve, bringing joy and cheer to your holiday gatherings!
Expert Tips for Christmas Red Velvet Cheesecake
-
Room Temperature Cream Cheese: Ensure your cream cheese is at room temperature before mixing for a smooth, lump-free filling. Cold cream cheese can lead to a gritty texture.
-
Water Bath Magic: Always use a water bath during baking. This technique helps maintain moisture in the oven, preventing your cheesecake from cracking on top.
-
Cooling Time: Be patient with the cooling process. Allow the cheesecake to sit in the turned-off oven to prevent sudden temperature changes, which can cause cracks.
-
Chill to Perfection: For the best slicing results, refrigerate your Christmas Red Velvet Cheesecake overnight. This helps the flavors meld and the cheesecake firm up for clean, beautiful slices.
-
Sharp Knife for Slices: When cutting your cheesecake, dip a sharp knife in hot water and wipe it clean between cuts. This will yield perfect, tidy slices without any mess.
-
Decorative Appeal: Don’t skip the garnishes! A generous topping of whipped cream and festive sprinkles adds a delightful touch of joy and visual appeal to your cheesecake presentation.
What to Serve with Christmas Red Velvet Cheesecake
As the holidays unfold, a slice of this rich cheesecake pairs beautifully with festive accompaniments to elevate your dessert experience.
-
Decadent Hot Chocolate: Perfectly rich and warm, hot chocolate brings a comforting sweetness that complements the cheesecake’s velvety texture. A hint of peppermint can add a festive twist!
-
Spiced Mulled Wine: Infused with warm spices, this drink enhances the holiday spirit and balances the sweetness of the cheesecake with its complex flavors. The aroma alone can entice your guests.
-
Cranberry Sauce: The tartness from cranberries cuts through the richness of the cheesecake, adding a bright flavor contrast that makes each bite memorable. Homemade is best, but store-bought works in a pinch!
-
Buttery Pecan Pie: Both indulgent desserts, pairing these two creates a delightful balance of textures—creamy cheesecake with nutty, crunchy pie. This duo is a true holiday treat!
-
Gingerbread Cookies: Adding festive gingerbread cookies on the side introduces spicy notes and a crunchy texture, creating an inviting dessert platter that screams holiday cheer.
-
Pumpkin Spice Latte: Celebrate the flavors of the season by serving a cozy pumpkin spice latte alongside. The warm spices harmonize perfectly with the rich tastes of the cheesecake.
-
Creamy Eggnog: This traditional holiday drink enriches the experience, as its creamy, spiced flavors blend beautifully with the cheesecake’s rich creaminess, making for a festive pairing.
-
Whipped Cream: A dollop of fresh whipped cream on top enhances the luscious nature of the cheesecake, bringing additional creamy delight to each delicious bite.
-
Chocolate-Covered Strawberries: The freshness of strawberries dipped in chocolate offers a light, fruity contrast that complements the rich flavors of the Christmas Red Velvet Cheesecake perfectly.
-
Caramel Sauce: Drizzling warm caramel sauce over the cheesecake adds a sweet, buttery element, making it even more delectable and visually enticing for your holiday table!
Christmas Red Velvet Cheesecake Variations
Feel free to unleash your creativity with these delightful variations and substitutions that will elevate your Christmas Red Velvet Cheesecake!
-
Ginger Snap Crust: Swap out the Oreo crust for a ginger snap cookie base for a warm, spiced flavor. This adds a delightful twist that complements the cheesecake beautifully.
-
Citrus Zest: Add a teaspoon of orange or lemon zest to your filling for a refreshing zing. This brightens the flavors, making each bite feel extra festive.
-
Mini Cheesecakes: For a fun twist, pour the batter into individual ramekins, creating adorable mini cheesecakes perfect for holiday parties. They’re delightful, eye-catching, and easy to serve!
-
Whipped Cream Swap: Substitute regular whipped cream with coconut whipped cream for a lighter take that’s still wonderfully indulgent. It’s perfect for those following a dairy-free lifestyle.
-
Chocolate Swirl: Marble in additional melted chocolate or chocolate ganache into the filling before baking for intensified chocolatey goodness. This twist adds depth and richness to your dessert.
-
Seasoned Sprinkles: Instead of traditional Christmas sprinkles, incorporate a mix of edible glitter and toasted coconut for a unique and vibrant look. Your cheesecake will sparkle with holiday cheer!
-
Nutty Crunch: Add crushed pecans or walnuts to the crust for a delightful crunch. This adds an interesting texture and a lovely nutty flavor that pairs wonderfully with cheesecake.
-
Spicy Warmth: Sprinkle some cinnamon or nutmeg in the filling for a warm spice kick, transporting your taste buds straight to a cozy holiday gathering. It’s festive and comforting!
Excited to try these variations? You can even pair your cheesecake with a steaming cup of Red Velvet Hot for a truly seasonal experience!
Make Ahead Options
These Christmas Red Velvet Cheesecake preparations are perfect for busy holiday schedules! You can make the crust and filling up to 24 hours in advance. Start by preparing the crust and allowing it to cool completely before placing it in an airtight container in the refrigerator. For the filling, beat all ingredients together, but reserve the whipped cream and sprinkles for the final decorating touch right before serving, as this maintains their lightness and visual appeal. Once ready to serve, simply pour the filling into the prepared crust, bake, and cool as directed. You’ll have a delicious, festive dessert with minimal effort on the day of your gathering!
How to Store and Freeze Christmas Red Velvet Cheesecake
Fridge: Store your Christmas Red Velvet Cheesecake in an airtight container for up to 3-4 days. Allow it to come to room temperature for the best flavor when serving.
Freezer: If you want to keep it longer, wrap the cheesecake tightly in plastic wrap and then foil; it can last in the freezer for up to 2 months. Thaw overnight in the fridge before enjoying.
Reheating: While cheesecake is best served cold, if you prefer it slightly warm, you can pop it in the oven at a low temperature (around 200°F/93°C) for about 10-15 minutes.
Leftovers: Any leftover cheesecake can also be sliced and stored separately in the fridge. Enjoy a slice anytime you crave that festive flavor throughout the season!
Christmas Red Velvet Cheesecake Recipe FAQs
How do I know if my cream cheese is at the right temperature?
Your cream cheese should be softened but not melted, ideally reaching around room temperature (about 70°F or 21°C). It should feel soft to the touch and easily blend without lumps. If it’s still cold, set it out for about 30 minutes before you start mixing, and you’ll have a wonderfully smooth filling.
What’s the best way to store my cheesecake?
Absolutely! To keep your Christmas Red Velvet Cheesecake fresh, store it in an airtight container in the refrigerator for up to 3-4 days. If you want the flavor to shine, allow it to come to room temperature for about 20-30 minutes before serving.
Can I freeze cheesecake, and how do I do it properly?
Yes, you can freeze your cheesecake! First, wrap it tightly in plastic wrap, ensuring it’s sealed against air to prevent freezer burn. Then, cover it with aluminum foil. It can stay frozen for up to 2 months. To enjoy it, thaw overnight in the fridge before serving for the best taste and texture.
What if my cheesecake cracks during baking?
Very! If you notice cracks forming, don’t worry too much. You can cover the cracks with whipped cream or festive sprinkles when serving, and it will still taste amazing! To prevent cracks next time, ensure your oven temperature is accurate and avoid sudden temperature changes when cooling.
Are there any allergies I should consider?
Definitely! If you’re serving this Christmas Red Velvet Cheesecake at a gathering, check for common allergens. The recipe contains dairy (cream cheese, butter, and heavy whipping cream) and gluten (Oreo cookies). For a gluten-free version, use gluten-free cookies for the crust, and consider dairy-free alternatives like coconut cream for a deliciously inclusive treat.
Can I make mini versions of this cheesecake?
Absolutely! You can bake the cheesecake in ramekins or muffin tins for adorable mini portions. Just adjust the baking time, checking for doneness after about 20-25 minutes. These bite-sized delights are perfect for holiday parties and easy to serve!
Indulge in Festive Christmas Red Velvet Cheesecake Delight
Ingredients
Equipment
Method
- Preheat your oven to 350°F (175°C) and wrap a 9-inch springform pan with aluminum foil to prevent water seepage.
- Crush 24 Oreo cookies finely and combine them with ⅓ cup melted butter. Press the mixture into the bottom of the springform pan and bake for 8–10 minutes. Cool completely.
- In a large mixing bowl, beat 4 blocks of room-temperature cream cheese until smooth. Gradually mix in ½ cup white sugar, 1 tsp vanilla extract, 2 tbsp cocoa powder, and red food coloring. Fold in 2 cups heavy whipping cream.
- Lower oven temperature to 325°F (160°C). Place the springform pan in a larger baking pan filled with hot water. Bake for 1 to 1.25 hours until the edges are set.
- Turn off the oven and leave the cheesecake inside with the door ajar for 1 hour. Cool on a wire rack for 2–3 hours, then refrigerate for at least 6–8 hours, preferably overnight.
- Remove the sides of the springform pan. Top with whipped cream and garnish with mini Oreos and festive sprinkles. Slice and serve.
Leave a Reply