
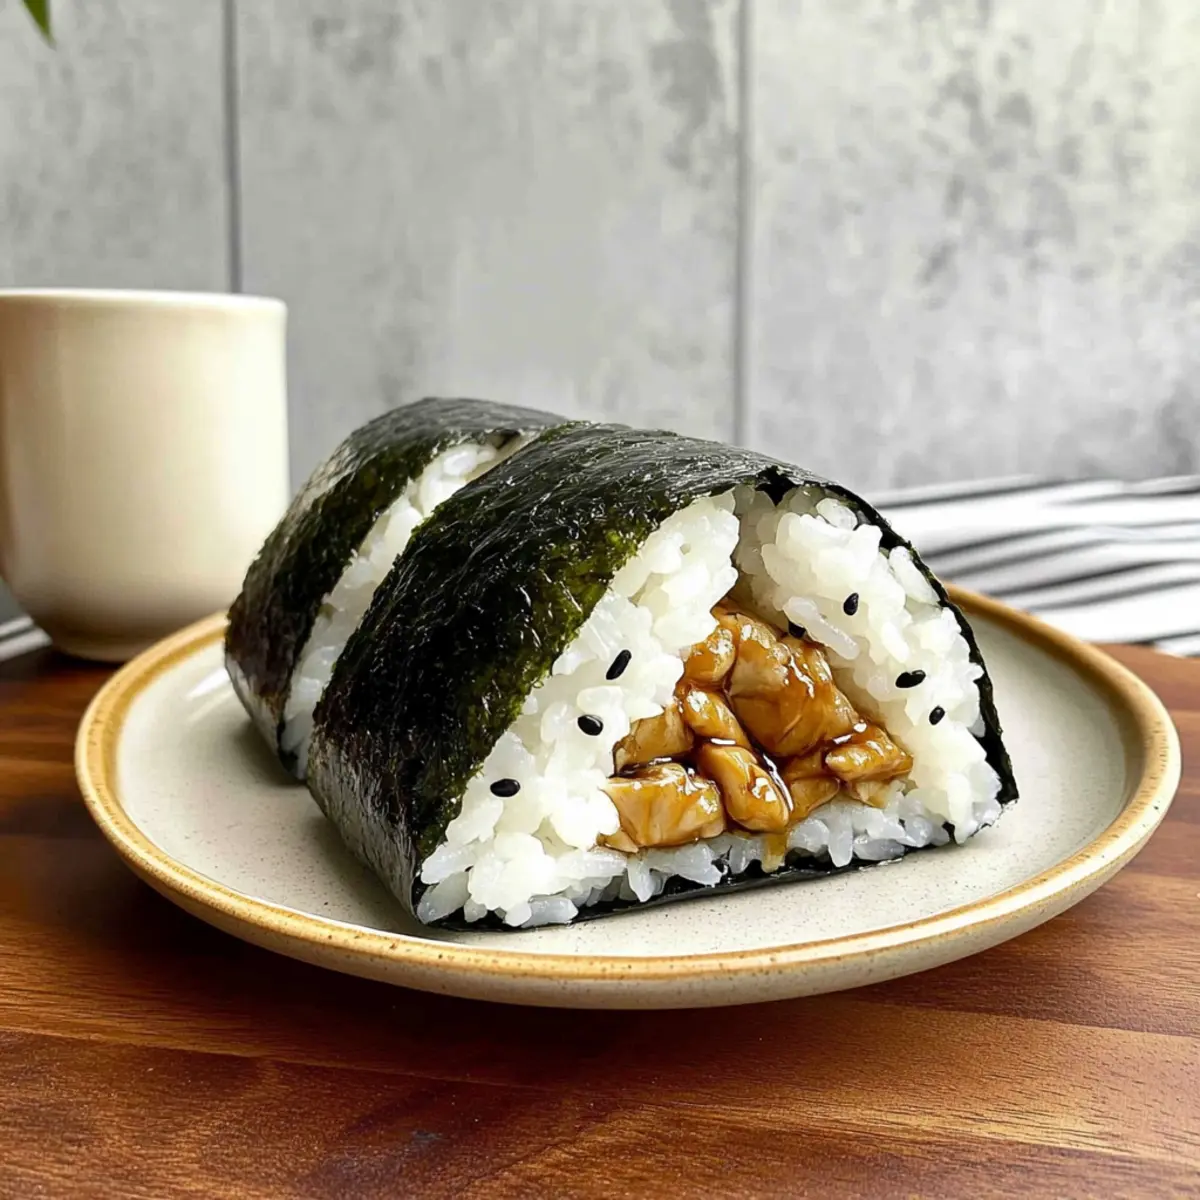
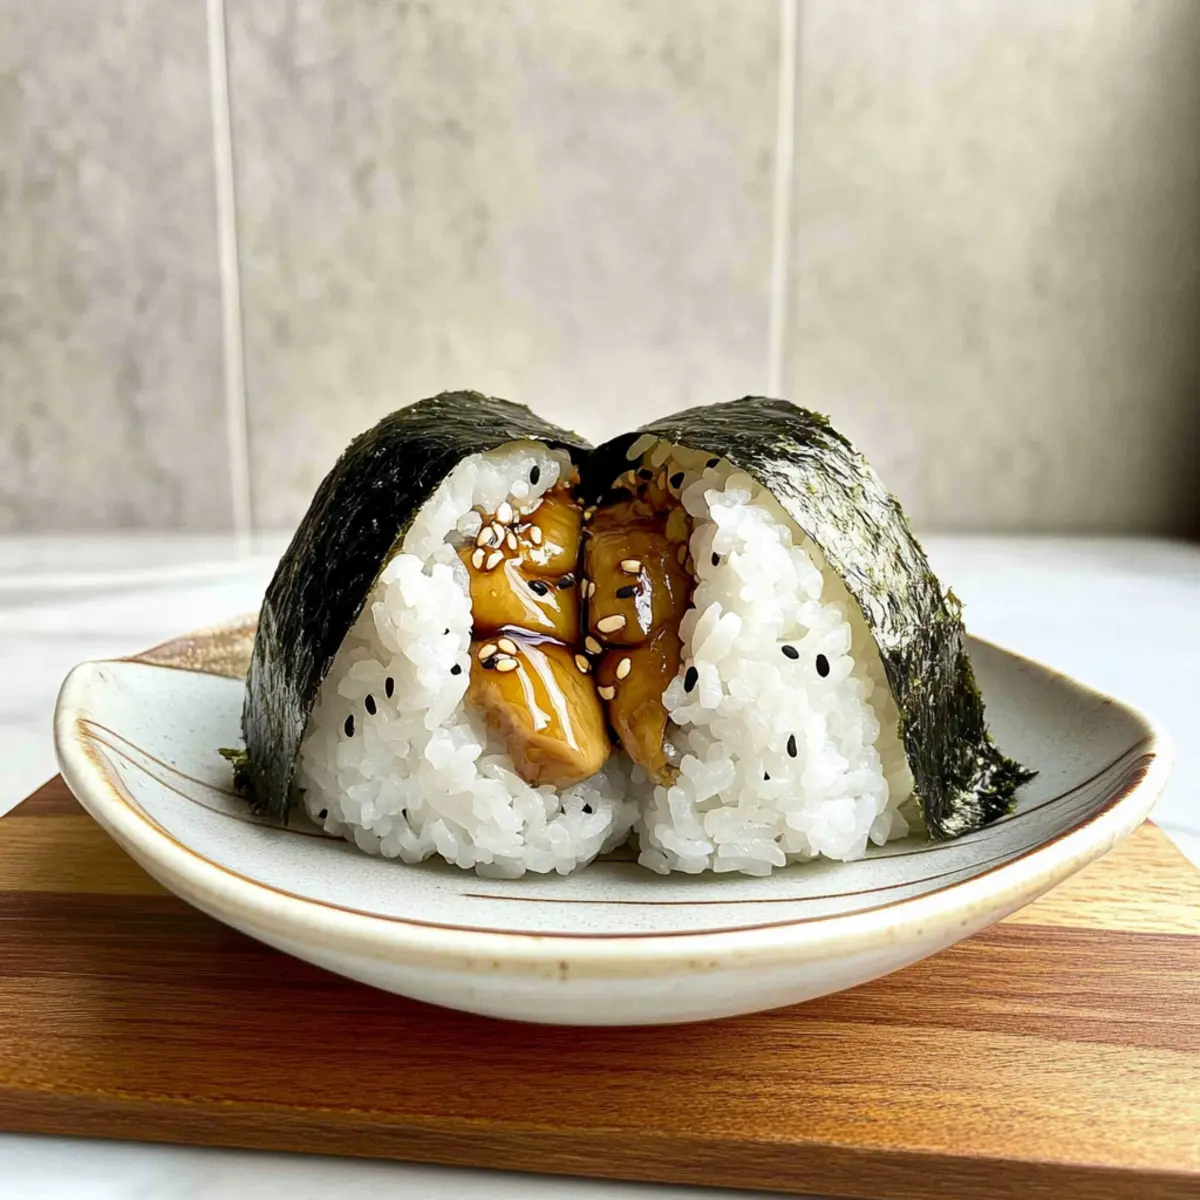
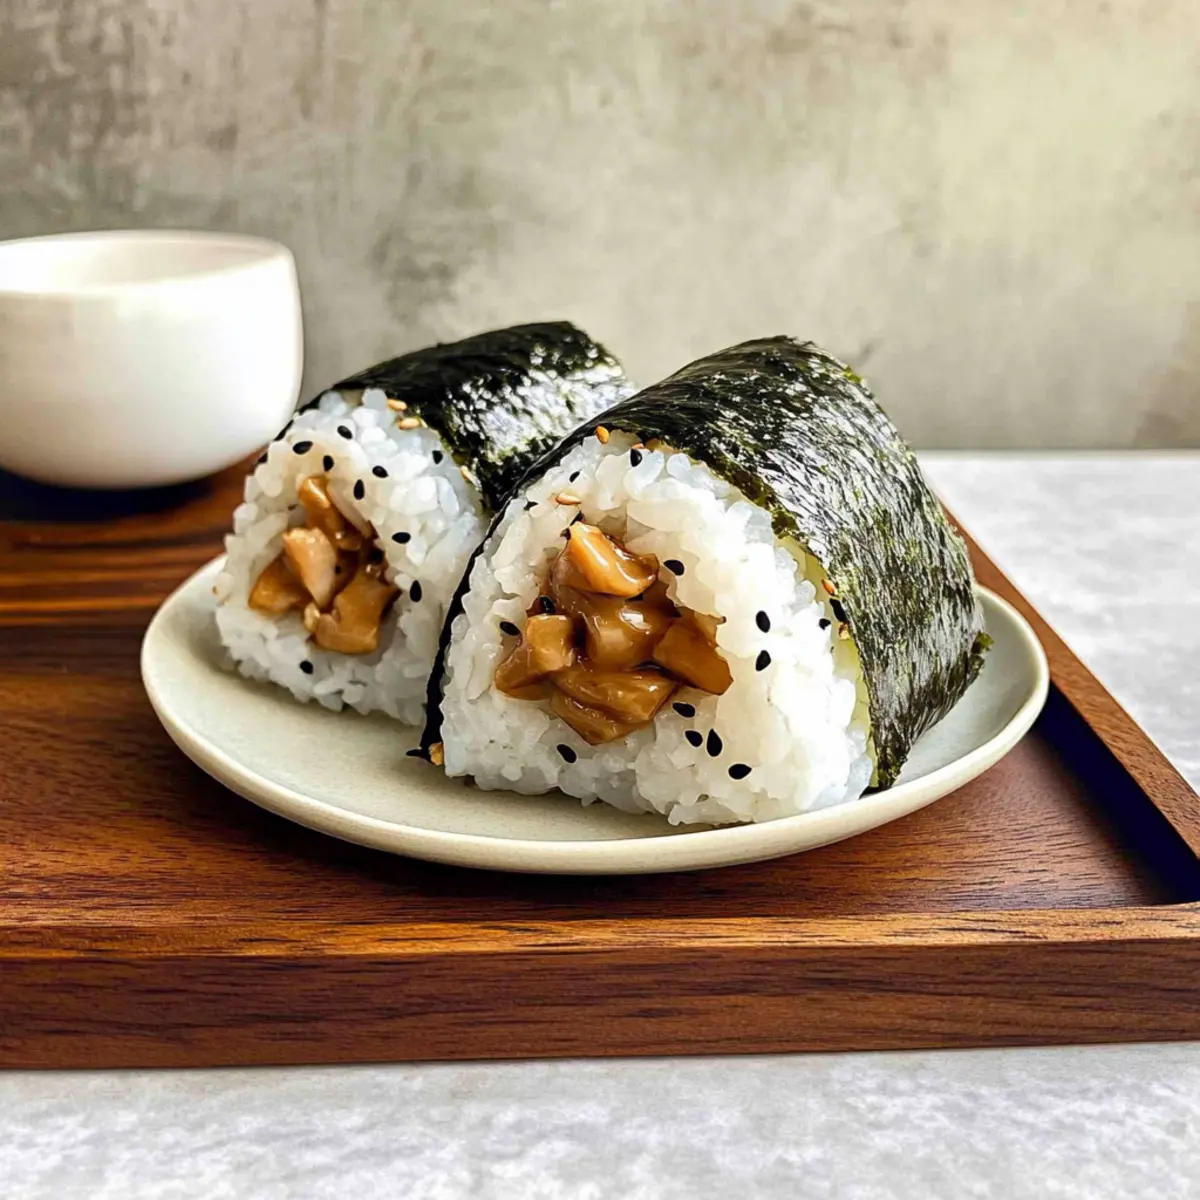
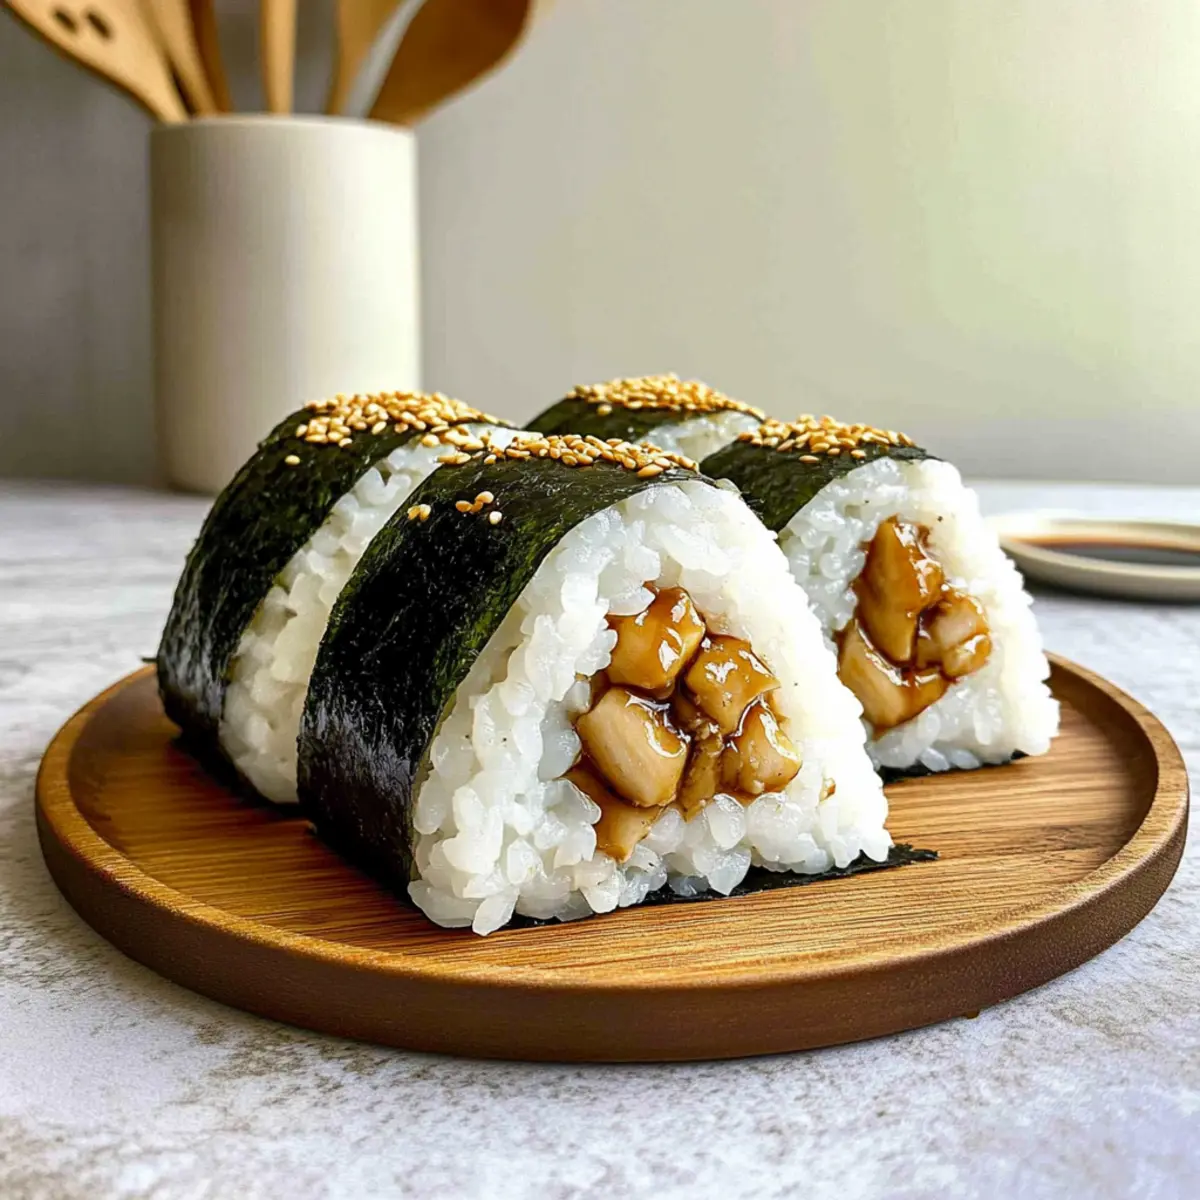
The aroma of sizzling chicken fills the kitchen, transporting me straight to the heart of Japan. These Teriyaki Chicken Onigiri are not just a delightful snack; they’re a wonderful way to indulge in homemade comfort. With sticky sushi rice enveloping juicy teriyaki chicken and a crispy nori wrap, this easy-to-make recipe is a perfect bite-sized appetizer that will impress at any gathering or serve as a quick, satisfying meal on busy days. Plus, they make for fantastic meal prep—you can whip up a batch and enjoy them throughout the week! Are you ready to roll up your sleeves and dive into this flavorful adventure?
Why is Chicken Onigiri a must-try?
Flavors of Japan: Enjoy the authentic taste of teriyaki chicken wrapped in delightful sushi rice, delivering a true taste experience from the comfort of your kitchen.
Quick and Easy: With just a few simple steps, you can create a delicious snack or appetizer that dazzles.
Versatile Options: Feeling creative? Try variations like vegetarian fillings or flavored rice for a unique twist.
Meal Prep Friendly: Make a batch ahead and enjoy as on-the-go meals throughout your busy week! If you’re interested in more inspiration, check out these Sweet Chili Chicken wraps or Cranberry Orange Chicken for a delightful change in flavors.
Crowd-Pleaser: Perfect for gatherings, these savory onigiri are sure to impress family and friends alike!
Chicken Onigiri Ingredients
For the Rice
• Cooked Sushi Rice – Essential for shaping; short-grain rice gives the best stickiness.
• Fine Salt – Enhances flavor in rice; finer granules dissolve more completely.
• Furikake (optional) – Sprinkle on for added umami and visual appeal.
For the Chicken Filling
• Boneless Skinless Chicken – The star ingredient; you can use thighs or ground chicken for extra tenderness.
• Soy Sauce – Adds depth and umami; integral for marinating the chicken.
• Sake (or Water) – Helps tenderize the chicken; rice vinegar is a good substitute for an alternative flavor.
• Baking Soda – Use sparingly to ensure the chicken tenderizes without affecting texture.
• Cornstarch – Aids in creating a crispy exterior during cooking.
• Minced Garlic – Infuses aromatic flavor into the chicken mixture.
For the Teriyaki Sauce
• Mirin – Adds authentic sweetness; crucial for a classic teriyaki flavor.
• Brown Sugar – Sweetens the sauce and balances flavors; substitute with honey if desired.
• Oil – Use nonstick for stir-frying the chicken and achieving crispy edges.
For the Wrap
• Nori – Provides the perfect texture and umami flavor when wrapping the onigiri; fresh sheets yield the best taste!
Get ready to enjoy amazing Chicken Onigiri that’s not just easy to make but absolutely packed with flavor. Happy cooking!
Step‑by‑Step Instructions for Chicken Onigiri
Step 1: Prepare the Sushi Rice
Begin by rinsing 2 cups of sushi rice under cold water until the water runs clear. Cook the rice in a rice cooker with 2.3 cups of water for perfect stickiness. Once cooked, let it cool slightly, then gently fold in 1 teaspoon of fine salt and 1 tablespoon of furikake (if using), mixing carefully to avoid breaking the grains.
Step 2: Marinate the Chicken
While the rice is cooling, cut 1 pound of boneless skinless chicken into small, bite-sized pieces. In a bowl, combine the chicken with 2 tablespoons of soy sauce, 1 tablespoon of sake (or water), 1 teaspoon of baking soda, and 1 tablespoon of cornstarch. Mix well to coat the chicken, then cover and refrigerate for 30 minutes to let the flavors meld.
Step 3: Make the Teriyaki Sauce
In a small bowl, whisk together 3 tablespoons of soy sauce, 1 tablespoon of mirin, and 2 tablespoons of brown sugar until combined. Set this teriyaki sauce aside for later—its sweetness will perfectly complement the savory chicken in your Chicken Onigiri.
Step 4: Cook the Chicken
Heat 2 tablespoons of oil in a nonstick skillet over medium-high heat. Once hot, add the marinated chicken and stir-fry for about 2-3 minutes until it turns golden brown and is fully cooked. Ensure the internal temperature reaches 165°F for safe eating, and the chicken should have a lovely, crispy exterior.
Step 5: Add Garlic and Teriyaki Sauce
Lower the heat to medium, then add 2 cloves of minced garlic to the skillet, sautéing for about 30 seconds until fragrant. Pour in the teriyaki sauce and stir well, allowing it to simmer for another 1-2 minutes until it thickens slightly, coating the chicken in a glossy glaze.
Step 6: Form the Onigiri
Prepare for shaping the Chicken Onigiri by wetting your hands to prevent sticking. Scoop about ⅓ cup of the sushi rice into one hand and create a small well in the center. Add 1 tablespoon of the teriyaki chicken filling into the well, then carefully mold the rice around it, pressing firmly to form a compact triangle.
Step 7: Wrap with Nori
Take a sheet of nori and cut it into strips. Wrap a strip around the base of each teriyaki Chicken Onigiri, letting it stick to the rice. The nori will add texture and a delightful umami flavor, completing your delicious homemade snack. Enjoy your Chicken Onigiri right away or keep them for later!
How to Store and Freeze Chicken Onigiri
Fridge: Store Chicken Onigiri wrapped tightly in plastic wrap or in an airtight container for up to 2 days. For the best taste, enjoy them on the same day they are made.
Freezer: If you want to keep them longer, freeze the Chicken Onigiri in a single layer on a baking sheet until solid, then transfer to a zip-top bag. They’ll last up to 1 month.
Reheating: When ready to enjoy, thaw in the fridge overnight, then reheat in the microwave for about 30 seconds or until warmed through. Avoid using the oven to preserve the texture.
Keep Nori Separate: If possible, store nori separately and wrap it just before serving to maintain its crispiness.
Expert Tips for the Best Chicken Onigiri
-
Perfectly Sticky Rice: Always use short-grain sushi rice with 15% more water than usual for the best shape and texture when making Chicken Onigiri.
-
Wetting Hands: To prevent rice from sticking to your fingers, wet your hands before shaping each onigiri. This little trick makes the process smoother!
-
Avoid Overcooking: Keep an eye on your chicken; it should only be cooked until it reaches 165°F to maintain juiciness.
-
Taste Adjustments: Feel free to tweak teriyaki sauce ingredients to your liking—adding a touch of ginger or sesame oil can elevate the flavor of your Chicken Onigiri!
-
Try Different Fillings: Don’t hesitate to experiment; swap chicken for tofu or veggies in your onigiri for fun variations.
Chicken Onigiri Variations & Substitutions
Get creative with your Chicken Onigiri! There are so many delicious ways to customize these rice balls to suit your tastes and dietary needs.
-
Vegetarian: Substitute chicken with tofu or your favorite vegetables for a plant-based version. Try marinating mushrooms or bell peppers in soy sauce for added flavor.
-
Spicy Kick: Add 1 teaspoon of sriracha or chili paste to the teriyaki sauce for a nice heat that complements the sweetness beautifully. This will bring an exciting zing to every bite!
-
Flavored Rice: Switch things up by infusing your sushi rice with matcha or turmeric. This adds not only a vibrant color but also a delightful taste twist that surprises the palate.
-
Unique Fillings: Expand on traditional fillings and try incorporating savory ingredients like pickled plum or even shredded kimchi. These alternative fillings can transform your onigiri into new, exciting delights.
-
Furikake Variety: Experiment with different types of furikake toppings, such as wasabi or sesame seed varieties, for an extra layer of flavor that adds depth to your onigiri.
-
Meal-Prep Friendly: Prepare a batch of onigiri without the filling before adding favorites later in the week. It allows for versatile meal prepping with fresh ingredients whenever you desire!
-
Crispy Texture: For an extra crispy onigiri, lightly pan-fry them in a tablespoon of oil after shaping. Each bite will feature a satisfying crunch in contrast to the chewy sushi rice.
-
Low-Sodium: Opt for low-sodium soy sauce and omit the baking soda for a healthier version without sacrificing taste.
If you love experimenting, consider also making some Garlic Butter Chicken bites or a zesty Chipotle Chicken Avocado dish for delightful meals beyond onigiri. Happy cooking!
What to Serve with Teriyaki Chicken Onigiri?
Creating a delicious and memorable meal goes beyond the main dish; it’s about perfect pairings that elevate the flavor experience.
- Miso Soup: A warm bowl of miso soup complements the onigiri’s flavors, enhancing your Japanese dining experience with rich umami.
- Pickled Vegetables: Adding tangy pickled veggies provides a refreshing contrast to the savory teriyaki chicken, bringing brightness to each bite.
- Edamame: These lightly salted soybeans offer a fun texture and healthy option, making for a delightful appetizer to start your meal.
- Seaweed Salad: The crisp, refreshing elements of seaweed salad will balance the richness of the onigiri and add a delightful crunch.
- Japanese Pickles (Tsukemono): These traditional sides are perfect for adding a tangy bite, cutting through the richness of the teriyaki filling beautifully.
- Green Tea: Enjoy a soothing cup of green tea alongside your meal; it’s not only refreshing, but its earthy notes complement the flavors of the onigiri.
- Sushi Rolls: If you’re feeling indulgent, a few sushi rolls can make a fabulous complement, echoing the Japanese theme of your meal.
- Fruit Salad: For a light and sweet finish, a simple fruit salad with seasonal fruits can cleanse the palate and add a vibrant touch.
Make Ahead Options
These Teriyaki Chicken Onigiri are perfect for meal prep enthusiasts! You can prepare the sushi rice and store it in the refrigerator for up to 3 days. Additionally, the teriyaki chicken filling can be cooked in advance and kept in an airtight container for up to 2 days to lock in the flavors. When ready to serve, simply form the onigiri by wetting your hands and shaping the prepared rice around the chicken filling. Wrap each triangle in nori just before serving to ensure the seaweed stays crisp. By prepping ahead, you’ll save time on busy weeknights while still enjoying fresh, flavorful Chicken Onigiri!
Chicken Onigiri Recipe FAQs
What type of rice should I use for Chicken Onigiri?
Absolutely! For the best Chicken Onigiri, use short-grain sushi rice. This type of rice has the ideal stickiness needed to hold the rice shape while providing a delightful texture. I recommend using 15% more water than usual for optimal cooking results.
How long can I store Chicken Onigiri in the fridge?
You can store Chicken Onigiri wrapped tightly in plastic wrap or in an airtight container for up to 2 days in the fridge. For the best taste and quality, it’s best to enjoy them on the same day they are made.
Can I freeze Chicken Onigiri? How do I do it?
Yes, you can freeze Chicken Onigiri! To do this, place them in a single layer on a baking sheet and freeze until solid. Then, transfer them to a zip-top bag. They will keep well for up to 1 month. Thaw the onigiri in the fridge overnight, then microwave for about 30 seconds or until warmed through to enjoy your homemade snack!
What if my rice is too sticky or falls apart when shaping?
If the rice is too sticky, it might be due to too much water during cooking. Make sure you’re using the correct rice-to-water ratio. If it’s falling apart, ensure that you are using sushi rice specifically designed for onigiri. Also, wetting your hands before shaping helps the rice hold together better.
Are there any allergy considerations for Chicken Onigiri?
Very! If you or guests have allergies, be careful with the soy sauce, as it contains wheat. You can use gluten-free tamari sauce as a substitute. Similarly, be cautious about using mirin, as some brands contain sulfites. For vegan options, you can replace chicken with tofu or vegetables, making it safe and enjoyable for those with dietary restrictions.
Is the nori necessary for Chicken Onigiri?
While it’s not strictly necessary, using nori adds a delightful umami flavor and texture. If you prefer not to use it, Chicken Onigiri is still delicious on its own; enjoy it as is or try wrapping it in edible paper or thin slices of cucumber for a fresh twist!
Delicious Chicken Onigiri You Can Make in Minutes
Ingredients
Equipment
Method
- Rinse sushi rice under cold water until clear, then cook with 2.3 cups water. Let cool slightly and fold in salt and furikake.
- Cut chicken into small pieces, combine with soy sauce, sake, baking soda, and cornstarch. Marinate for 30 minutes.
- Whisk soy sauce, mirin, and brown sugar together for teriyaki sauce.
- Heat oil in skillet, stir-fry chicken for 2-3 minutes until golden and internal temperature reaches 165°F.
- Add garlic and teriyaki sauce, simmer for 1-2 minutes until sauce thickens.
- Wet hands and scoop sushi rice into palm, create a well, add chicken filling, and mold into a triangle.
- Wrap nori around the base of each onigiri.
Leave a Reply