
As I stood in my kitchen, the aroma of sizzling chicken mixed with the sweetness of teriyaki sauce transported me straight to the streets of Japan. This savory Chicken Onigiri with Teriyaki Glaze will not just become a recipe you whip up; it’s a delightful experience waiting to happen. These portable rice balls are the epitome of quick and easy snacks, perfect for busy days or evenings when you want something homemade instead of fast food. With adaptable chicken options like drumsticks, thighs, or even ground chicken, you can cater this dish to any preference or pantry item. Whether you’re packing them for lunch or serving them as an enticing appetizer, these onigiri offer satisfying flavor and can easily become a favorite treat to share. Curious about how to bring this deliciousness to your table? Let’s dive into the recipe!
Why are Chicken Onigiri so beloved?
Unique Flavors: The combination of savory marinated chicken and sweet teriyaki glaze creates a mouthwatering experience that’s hard to resist. Portable and easy-to-make, these bite-sized delights can be enjoyed anywhere – whether as a snack at home or on-the-go. Versatile fillings mean you can customize them with your favorite proteins like ground chicken, making them a family-friendly dish. Plus, they are a delicious alternative to fast food, giving you the satisfaction of a home-cooked meal without the hassle. Perfect for quick lunches, or served at gatherings alongside other Japanese treats like Chicken Teriyaki Noodles, these savory rice balls are sure to impress!
Chicken Onigiri Ingredients
• To create the perfect Chicken Onigiri, you’ll want to ensure you have the right ingredients for that irresistible taste and texture!
For the Rice
- Sushi Rice – This short-grain rice provides the necessary stickiness to shape your onigiri perfectly. Add about 15% more water than regular rice for optimal results.
- Salt – Enhances the flavor of the rice. Use fine salt to distribute evenly.
- Furikake – A delightful optional seasoning that adds an extra layer of flavor and texture to the rice.
For the Chicken Filling
- Boneless Skinless Chicken – Choose from drumsticks, thighs, or ground chicken for a tender, flavorful filling.
- Soy Sauce – Adds a rich umami flavor to both the marinade and the glaze.
- Sake – Adds depth to the marinade; substitute with water if needed.
- Baking Soda – Tenderizes the chicken during marination, ensuring it’s juicy.
- Cornstarch – Creates a beautifully crispy texture when you cook the chicken.
- Minced Garlic – Infuses aromatic flavor, enhancing the overall taste of the filling.
For the Teriyaki Sauce
- Mirin – This sweet rice wine contributes sweetness and a glossy finish to the teriyaki glaze.
- Brown Sugar – Provides necessary sweetness, balancing the savory flavors.
- Oil – Essential for frying the chicken and achieving that golden-brown color.
Wrapping and Finishing Touch
- Nori – Used to wrap the rice balls, adding umami flavor and a satisfying crunch.
Gather these key ingredients, and you’re on your way to making delectable Chicken Onigiri that’s bursting with teriyaki flavor!
Step‑by‑Step Instructions for Chicken Onigiri
Step 1: Prepare the Rice
Begin by rinsing 4 cups of sushi rice under cold water until the water runs clear, removing excess starch. Cook the rice in a rice cooker with 15% more water than usual, and season with ½ teaspoon of salt and, if desired, 2 tablespoons of furikake after it’s finished cooking. Allow the rice to cool slightly until it’s manageable for shaping.
Step 2: Marinate the Chicken
While the rice is cooling, cut ½ pound of boneless skinless chicken into small bite-sized pieces. In a mixing bowl, combine the chicken with soy sauce, sake, baking soda, and cornstarch. Ensure the pieces are well-coated, then cover and refrigerate for 30 minutes to let the flavors meld and the chicken become tender.
Step 3: Make the Teriyaki Sauce
In a small bowl, whisk together 1½ tablespoons of soy sauce, 1 tablespoon of mirin, and 1 tablespoon of brown sugar. Stir until the sugar is dissolved completely. This sweet and savory teriyaki sauce is what will bring your Chicken Onigiri to life, so set it aside until you’re ready to cook the chicken.
Step 4: Cook the Chicken
Heat 1 tablespoon of oil in a nonstick pan over medium-high heat. Once the oil shimmers, add the marinated chicken, spreading it evenly. Cook for 2-3 minutes until the chicken is thoroughly cooked and no longer pink, stirring occasionally to ensure even cooking and that it develops a nice golden color.
Step 5: Add Garlic and Sauce
Lower the heat to medium, then add 2 cloves of minced garlic to the pan, stirring for 30 seconds until fragrant. Pour in the prepared teriyaki sauce and let it simmer for a couple of minutes until it thickens and clings to the chicken. Remove from heat and allow the filling to cool slightly.
Step 6: Form the Onigiri
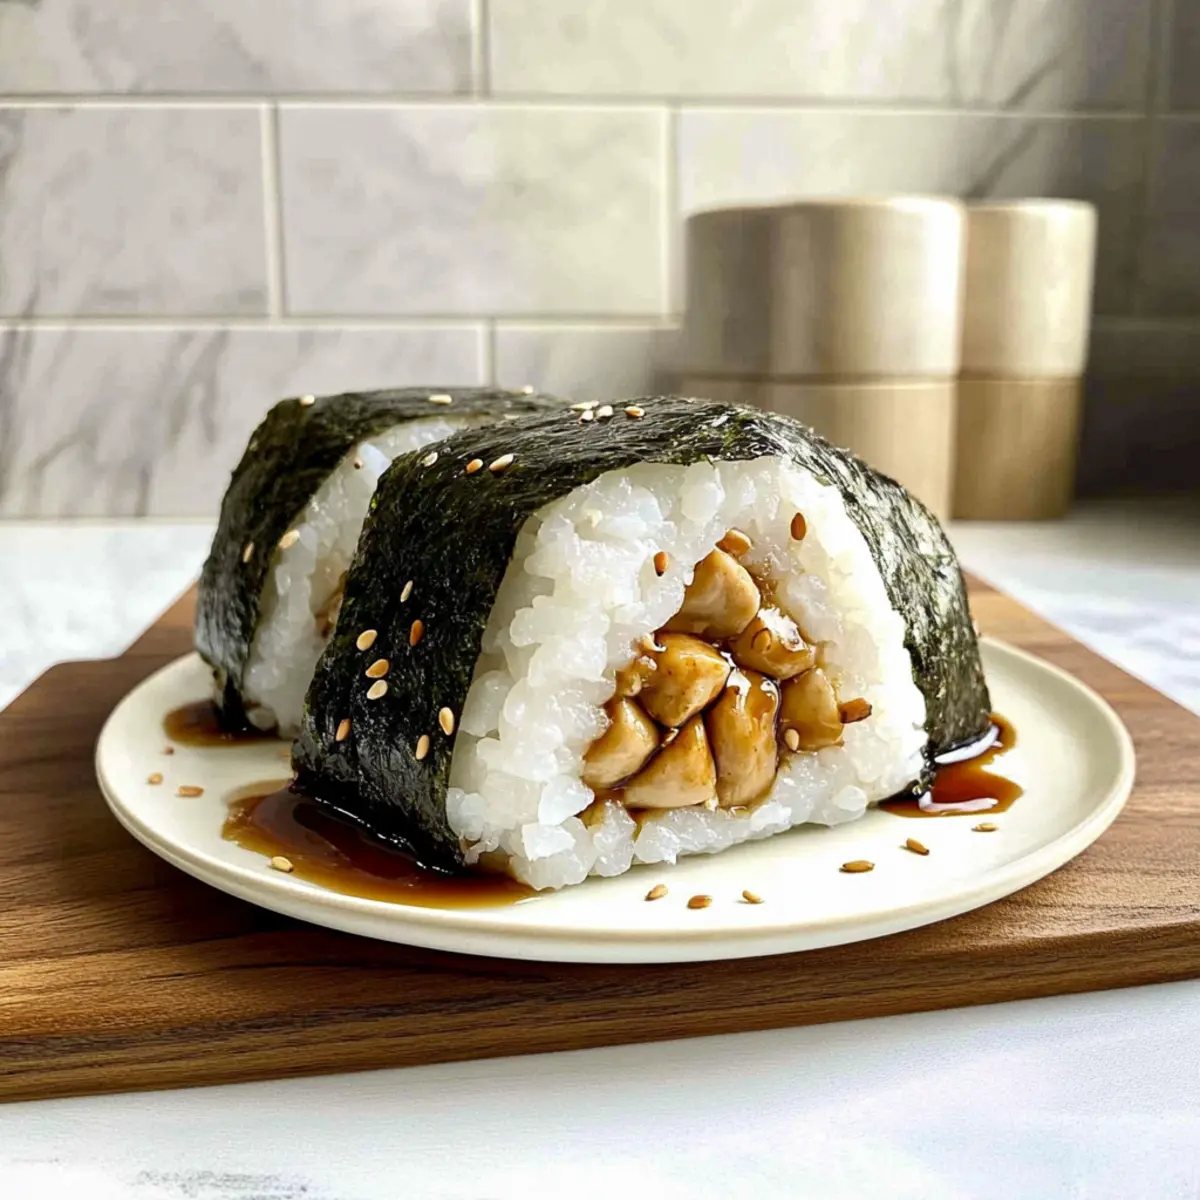
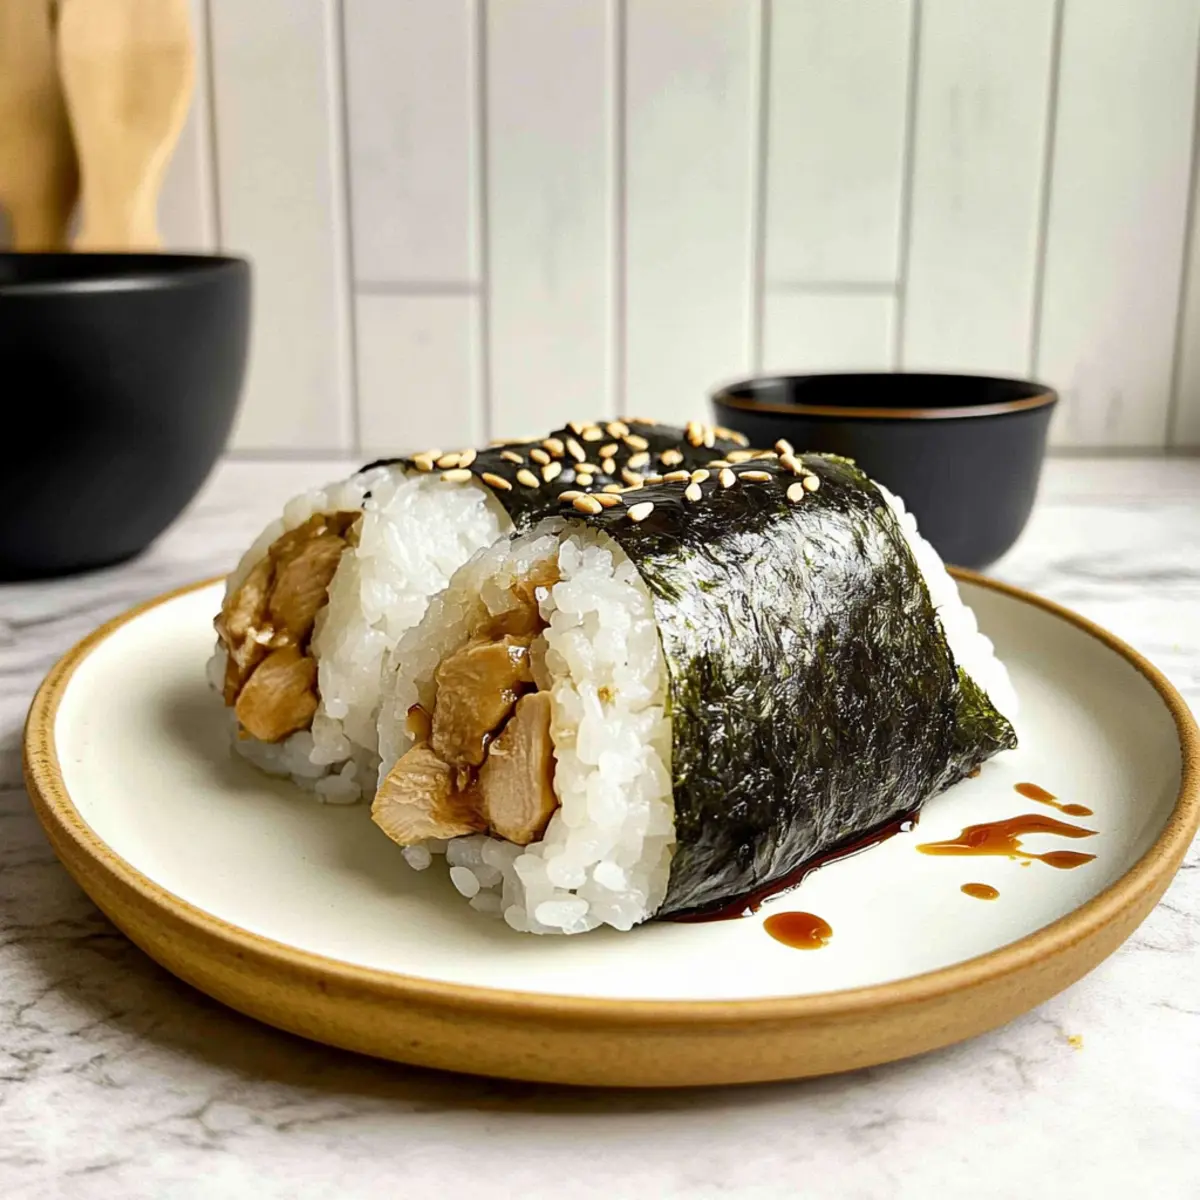
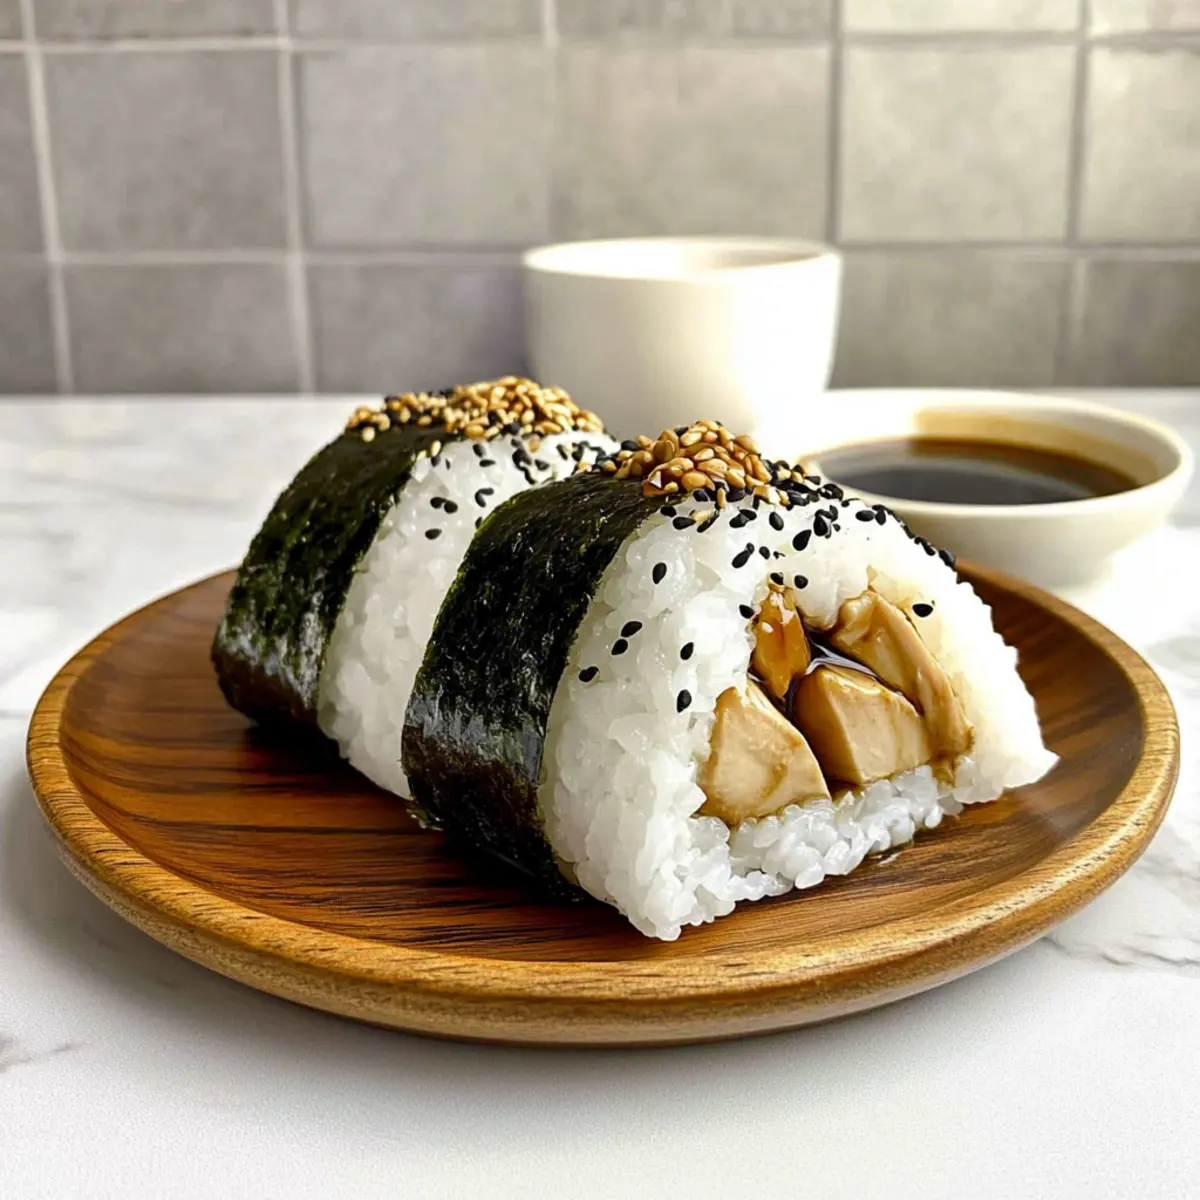
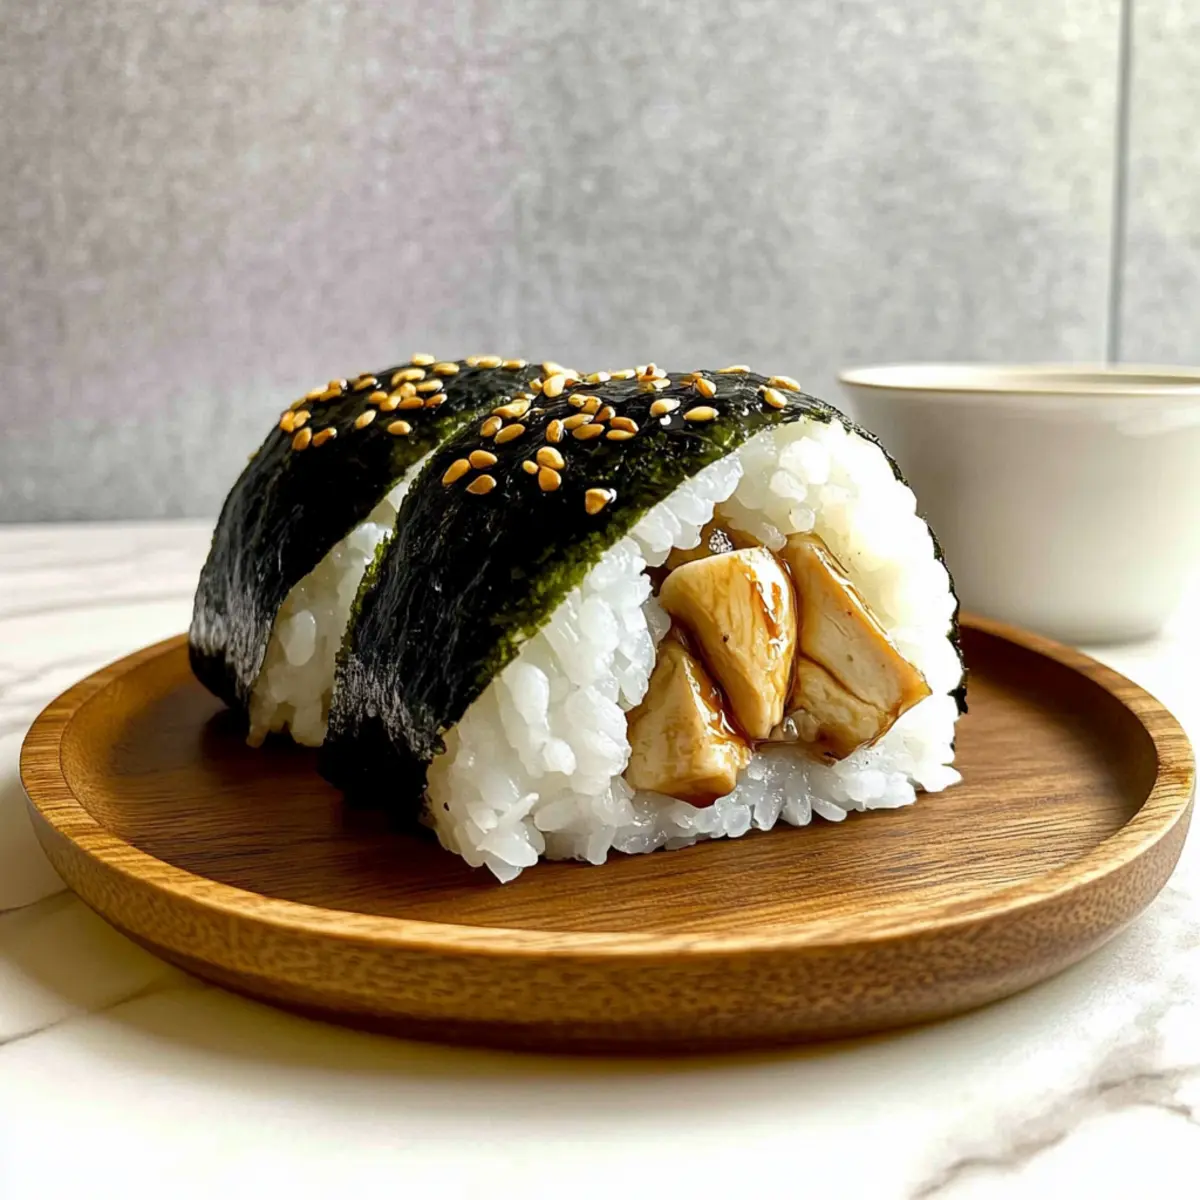
Wet your hands to prevent sticking and scoop ⅓ cup of cooled rice into your palm. Create a small well in the rice, add 1 tablespoon of the cooked chicken filling, then cover with another ⅓ cup of rice. Gently shape the rice into a triangle, ensuring the filling is enclosed, and wrap with a strip of nori for added flavor and texture.
Step 7: Serve Your Chicken Onigiri
Arrange the Chicken Onigiri on a platter and serve them warm or at room temperature. These flavorful rice balls are perfect as snacks or appetizers and can even be packed into lunchboxes. Feel free to garnish with extra furikake or sesame seeds for an enticing finish!
What to Serve with Savory Chicken Onigiri with Teriyaki Glaze
The perfect meal is all about harmony, and these delightful rice balls are ready to shine alongside various scrumptious sides and beverages.
- Crispy Edamame: These lightly salted soybeans add a textural contrast and a fresh taste that balances the savory onigiri.
- Miso Soup: A warm, umami-rich miso soup complements the flavors perfectly and offers a soothing broth between bites.
- Pickled Vegetables: Iconic in Japanese cuisine, tangy pickles provide a lively kick and fresh notes to brighten each mouthful.
- Seaweed Salad: This dish delivers a refreshing crunch while enhancing the overall meal with vibrant, ocean-inspired flavors.
- Sushi Rolls: A platter of assorted sushi rolls makes for an exciting pairing, offering varied textures and tastes that continue the Japanese theme.
- Ginger Tea: A warm cup of ginger tea can be a soothing beverage, providing earthiness that perfectly contrasts the sweetness of teriyaki.
- Fruit Mochi: For a delightful dessert, the chewy texture and fruity sweetness of mochi serve as a lovely finale to the meal.
Each of these pairings not only enhances the flavor of the Chicken Onigiri but also creates a feast that celebrates the essence of Japanese comfort food.
Expert Tips for Chicken Onigiri
- Perfect Rice: Use a rice cooker to achieve perfectly sticky sushi rice, essential for shaping your Chicken Onigiri with ease.
- Avoid Sticking: Wet your hands before shaping the onigiri to prevent the rice from sticking and maintain a smooth, clean finish.
- Flavor Boost: Incorporate furikake into the rice mixture for added flavor, rather than sprinkling it on top after shaping your onigiri.
- Marination Time: Allowing the chicken to marinate for at least 30 minutes ensures it’s tender and infused with flavors, making your onigiri a hit.
- Crispy Perfection: Use cornstarch in your chicken marinade for a beautifully crispy texture—just be sure to fry over medium-high heat for best results.
How to Store and Freeze Chicken Onigiri
Fridge: Store leftover Chicken Onigiri in an airtight container for up to 2 days. While they can be enjoyed cold, they taste best when warmed slightly.
Freezer: Wrap each onigiri tightly in plastic wrap and store in a freezer-safe bag for up to 3 months. Thaw in the fridge overnight before reheating.
Reheating: To reheat, microwave on medium power for 30-40 seconds until warmed through. Alternatively, warm them in a skillet over low heat for an added crisp.
Serving Tip: Enjoy Chicken Onigiri fresh for the best flavor, as the rice texture may change when stored for too long.
Chicken Onigiri Variations & Substitutions
Feel free to tweak this delightful recipe and let your creativity shine through!
- Vegetarian Option: Swap the chicken for firm tofu, marinating and preparing it the same way for a delicious plant-based alternative.
- Spicy Twist: Add Sriracha or your favorite spicy mayo to the teriyaki sauce for an exciting kick of heat.
- Savory Mushrooms: Use sautéed shiitake or button mushrooms as a filling for a rich, umami-packed vegetarian onigiri.
- Quinoa Substitute: For a gluten-free option, use quinoa instead of sushi rice, giving your onigiri a unique texture and flavor.
- Sushi-Style Fillings: Experiment with traditional fillings like pickled plum (umeboshi) or avocado for a fresh twist on the classic rice ball.
- Herb-Infused Rice: Mix fresh herbs like chives or cilantro into the rice for an aromatic and vibrant flavor boost.
- Baked Version: Instead of frying, bake your chicken with the teriyaki glaze for a healthier take that retains moisture and flavor.
These variations make your Chicken Onigiri experience exciting, whether paired with Sweet Chili Chicken in a bento box or enjoyed next to a warm bowl of Chicken Teriyaki Noodles. Keep exploring the flavors, and you’ll discover endless possibilities!
Make Ahead Options
These Chicken Onigiri are a fantastic choice for meal prep, making those hectic weeknights a breeze! You can prepare the sushi rice and marinate the chicken up to 24 hours in advance. Simply cook the rice, season it, and cool it before placing it in an airtight container in the fridge. For the chicken, marinate it and refrigerate it to allow the flavors to develop. When you’re ready to serve, cook the chicken and proceed with shaping the onigiri. To maintain quality, wrap the onigiri in nori just before serving to keep it crisp. With these make-ahead tips, enjoy homemade Chicken Onigiri with minimal effort whenever you want!
Chicken Onigiri Recipe FAQs
What type of rice is best for Chicken Onigiri?
Absolutely! Short-grain sushi rice is ideal for creating that perfect sticky texture needed to shape onigiri. This rice should be rinsed under cold water until clear, and it requires about 15% more water than regular rice for optimal cooking results.
How should I store leftover Chicken Onigiri?
You can store leftover Chicken Onigiri in an airtight container in the refrigerator for up to 2 days. While these tasty rice balls can be enjoyed cold, I find they taste best when warmed slightly before eating to revive their texture and flavors.
Can I freeze Chicken Onigiri?
Certainly! To freeze Chicken Onigiri, wrap each piece tightly in plastic wrap and place them in a freezer-safe bag. They can be frozen for up to 3 months. To reheat, simply thaw them in the fridge overnight, then microwave on medium power for 30-40 seconds or warm in a skillet over low heat for a crisp finish.
How can I ensure my Chicken Onigiri don’t fall apart?
When forming your onigiri, make sure the rice is sticky enough and wet your hands to prevent sticking. Create a tight seal by pressing the rice around the filling firmly, ensuring the edges are well-formed, which will help keep everything intact.
Are there any dietary considerations for Chicken Onigiri?
If you’re looking for alternatives, you can substitute the chicken with tofu or vegetables for a vegetarian option. Additionally, if allergies are a concern, be mindful of the soy sauce and mirin, as they contain gluten; look for gluten-free versions to accommodate those with dietary restrictions.
How important is marinating the chicken?
Marinating the chicken is crucial! It not only adds flavor but also tenderizes the meat. Leaving it in the marinade for at least 30 minutes, or even a few hours, will result in a more succulent filling for your Chicken Onigiri.
Delicious Chicken Onigiri with Irresistible Teriyaki Flavor
Ingredients
Equipment
Method
- Begin by rinsing sushi rice under cold water until the water runs clear.
- Cook the rice in a rice cooker with 15% more water than usual, seasoning with salt and furikake.
- Cut chicken into small pieces and marinate with soy sauce, sake, baking soda, and cornstarch for 30 minutes.
- Whisk together soy sauce, mirin, and brown sugar to make the teriyaki sauce.
- Cook the marinated chicken in oil until completely cooked, approximately 2-3 minutes.
- Add minced garlic and teriyaki sauce to the pan, letting it thicken for a couple of minutes.
- Shape rice into triangles with the chicken filling in the center, wrapping with nori.
- Serve the Chicken Onigiri warm or at room temperature.
Leave a Reply