
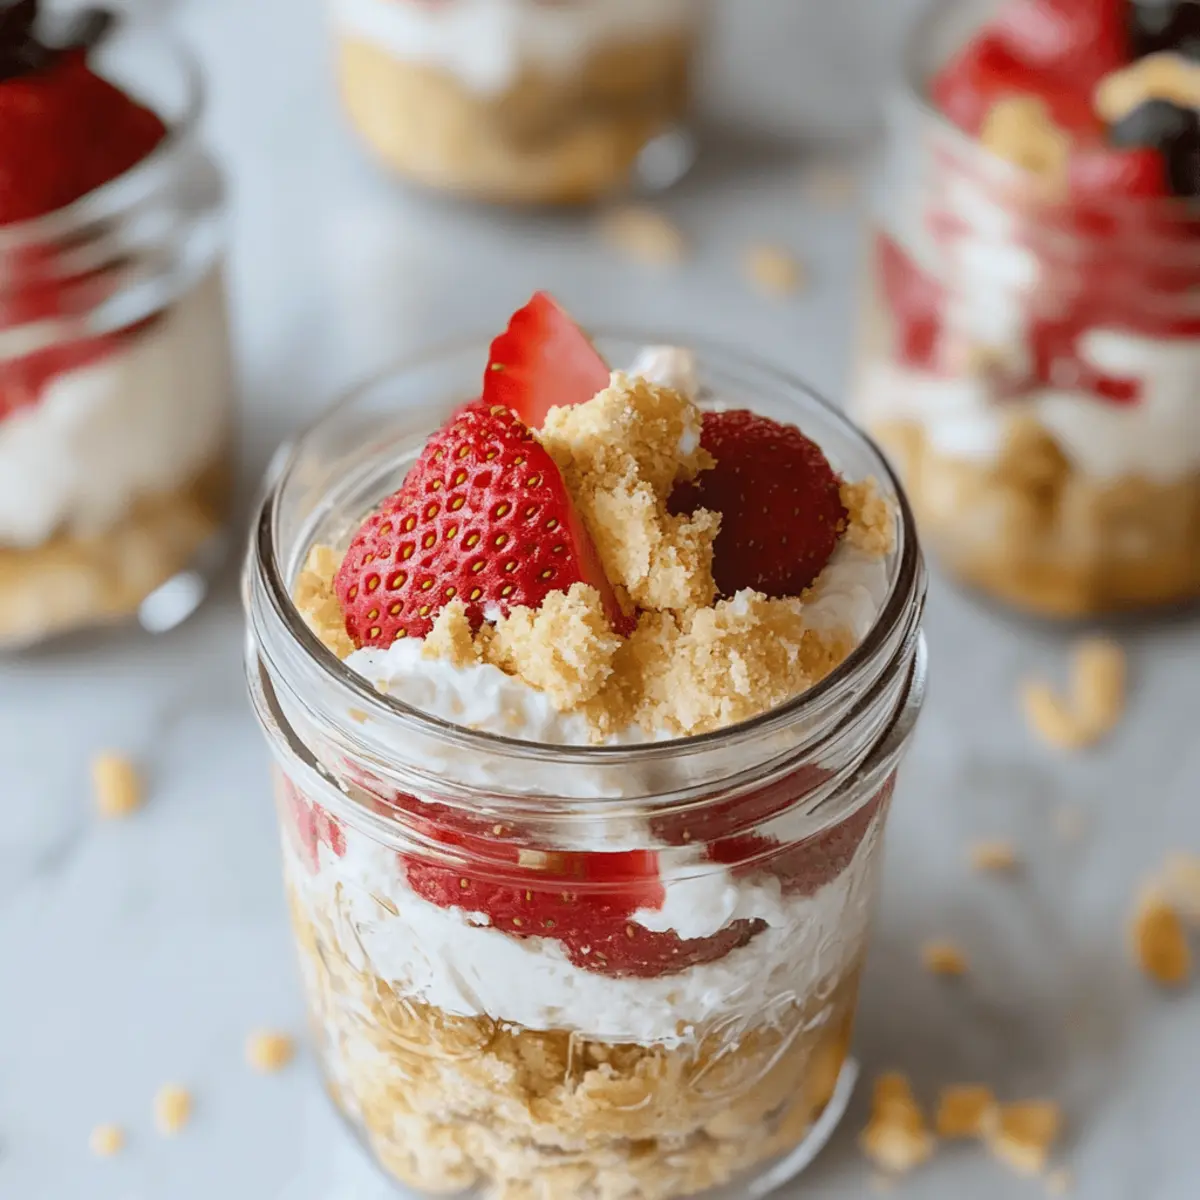
The kitchen felt steamy that summer afternoon, filled with the sweetness of freshly sliced strawberries and the tangy zest of lemon. I wanted a light dessert that would not only satisfy my sweet tooth but also impress my family during our weekend get-together. That’s when I whipped up these delightful No-Bake Strawberry Cheesecake Jars. The best part? They combine the indulgence of classic cheesecake with a lightened-up twist, making them a guilt-free treat perfect for warm days. Plus, they’re portion-controlled and can easily cater to gluten-free diets—talk about a crowd-pleaser! Each creamy layer rests atop a crunchy base, inviting you to dig in. Are you ready to make dessert that pairs perfectly with sunshine and smiles?
Why are No-Bake Strawberry Cheesecake Jars a must-try?
Delightfully easy: These jars come together with minimal effort—perfect for home cooks of all skill levels!
Guilt-free indulgence: Each portion is thoughtfully designed for a light yet fulfilling dessert, satisfying your sweet cravings without the overload.
Bursting with flavor: The combination of tangy cream cheese, fresh strawberries, and zesty lemon creates a symphony of freshness that dances on your palate.
Versatile and customizable: Feel free to explore variations by using other fruits or changing the base to suit your preferences. Imagine these with blueberries in a Strawberry Crunch Cheesecake for added fun!
Perfect for gatherings: Whether you’re hosting a summer party or a cozy family dinner, these jars are a hit, impressing guests with their presentation and taste.
Store and serve: Make them ahead of time! They can be stored in the fridge for several days—ideal for quick snacking or last-minute entertaining.
No-Bake Strawberry Cheesecake Jars Ingredients
For the Crust
• High-Quality Vanilla Wafers – Provide a sweet, crunchy base; substitute with gluten-free wafers for a gluten-free option.
• Unsalted Butter – Binds the crumbs together; ensure it’s melted before combining.
For the Filling
• Reduced-Fat Cream Cheese – Creates a creamy texture for the cheesecake filling; opt for full-fat for richer flavor.
• Plain Greek Yogurt – Adds creaminess and reduces calories; drain excess liquid to avoid a runny filling.
• Granulated Sugar – Sweetens the filling; adjust quantity according to personal taste.
• Vanilla Extract – Enhances flavor depth; use pure vanilla extract for the best taste.
• Lemon Zest & Lemon Juice – Brightens the flavor profile; essential for the balance in the cheesecake mixture.
• Whipped Topping (e.g., Truwhip) – Gives a light texture to the filling; any whipped topping can be used as a substitute.
• Strawberries – The main fruit component that adds sweetness and freshness; choose fresh strawberries or prepare a sauce if using frozen.
These No-Bake Strawberry Cheesecake Jars are not only delicious but also thoughtfully designed for a delightful, guilt-free indulgence!
Step‑by‑Step Instructions for No-Bake Strawberry Cheesecake Jars
Step 1: Prepare the Crust
Begin by processing the high-quality vanilla wafers in a food processor until they resemble fine crumbs, about 30 seconds. Next, melt the unsalted butter in a small microwave-safe bowl, then combine it with the crumbs in a mixing bowl until the mixture is clumpy and holds together when pressed.
Step 2: Firm Up Crust
Scoop about 2 tablespoons of the crumb mixture into each 8-ounce mason jar. Gently press the crumbs into the bottom of the jars with a spoon or your fingers to create an even layer. Place the jars in the refrigerator for 15-20 minutes, allowing the crust to firm up and set perfectly.
Step 3: Make the Filling
In a large mixing bowl, beat the reduced-fat cream cheese using an electric mixer on medium speed until smooth, about 2 minutes. Add in the plain Greek yogurt and granulated sugar, mixing until fully incorporated. Then, pour in the vanilla extract, lemon zest, and lemon juice, blending further until the mixture is creamy and well combined, approximately 1-2 minutes.
Step 4: Fold in Toppings
Carefully fold the whipped topping into the cheesecake filling mixture using a rubber spatula. Gently incorporate 1 cup of chopped fresh strawberries, ensuring they are evenly distributed without deflating the airy texture of the filling. This fluffy filling will be the star of your No-Bake Strawberry Cheesecake Jars.
Step 5: Layer the Cheesecake
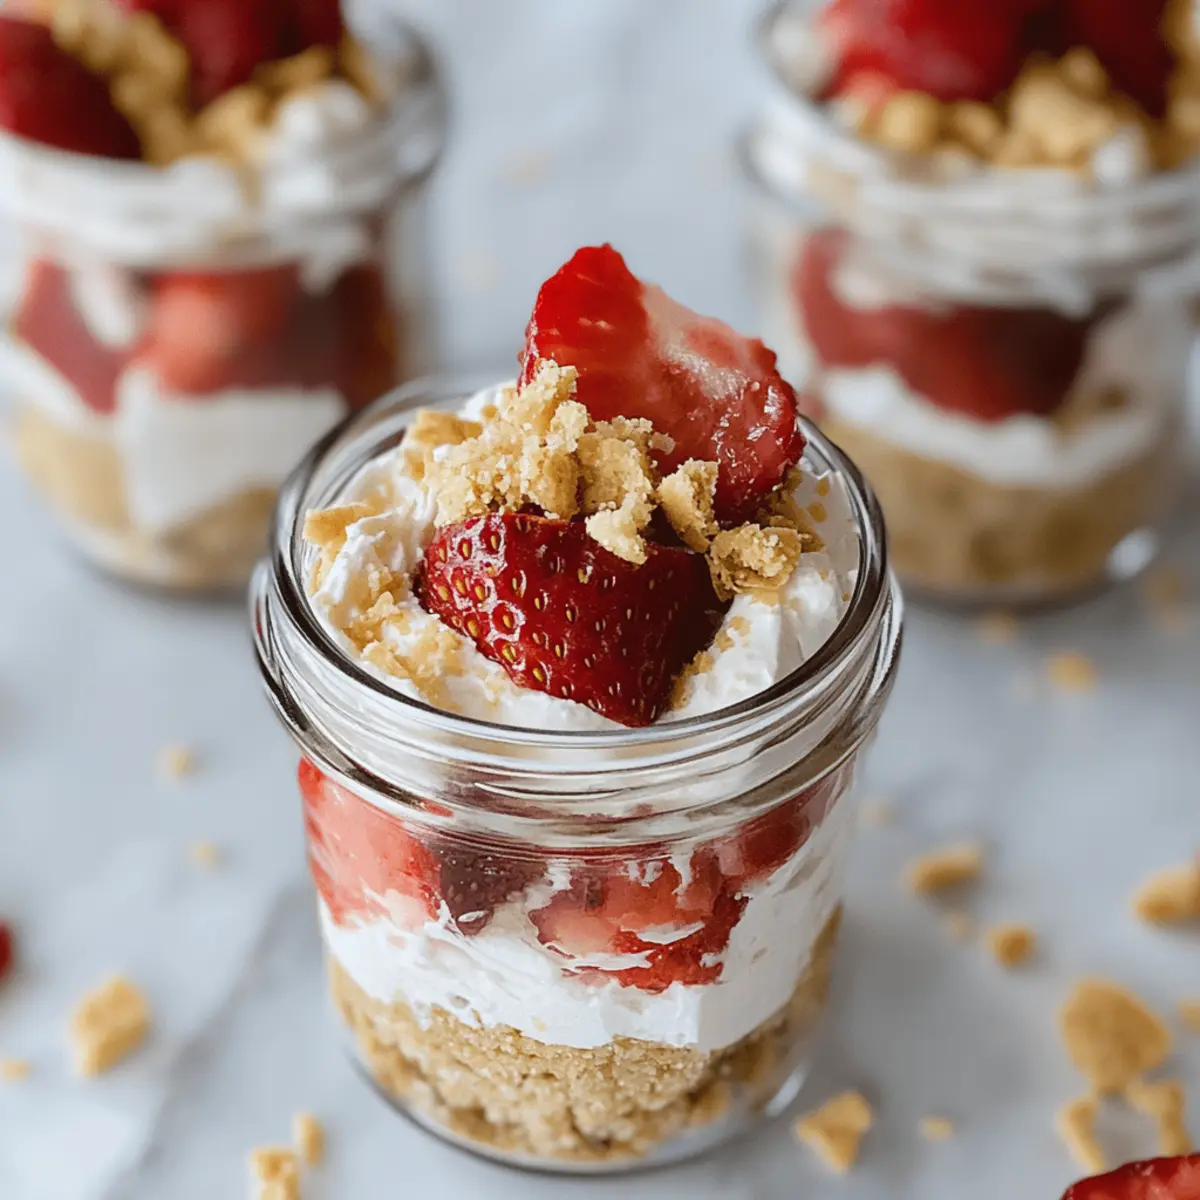
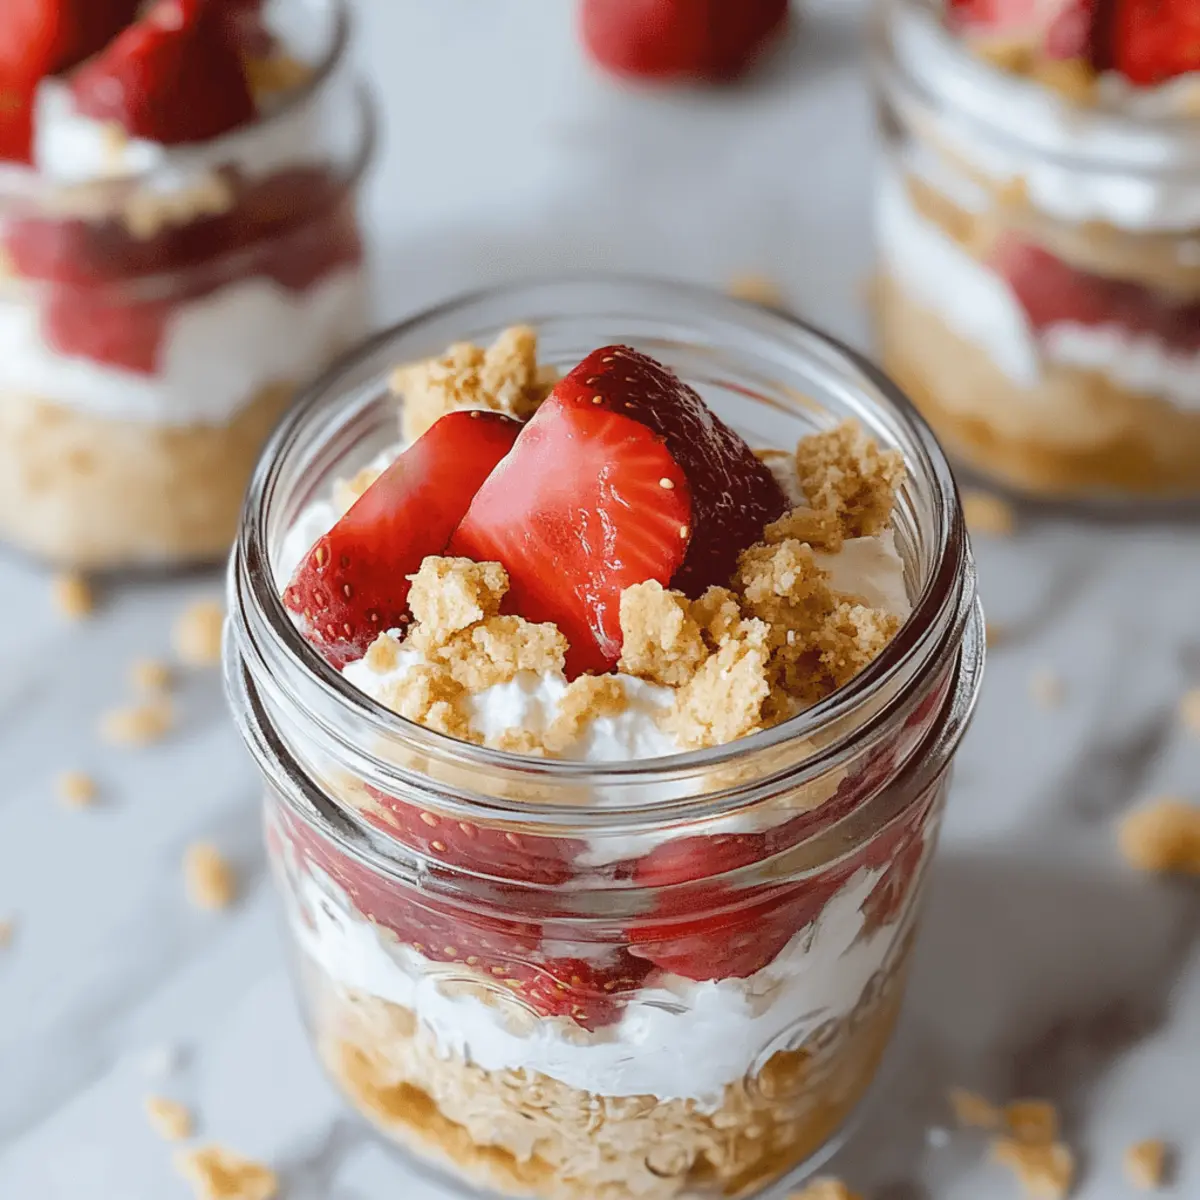
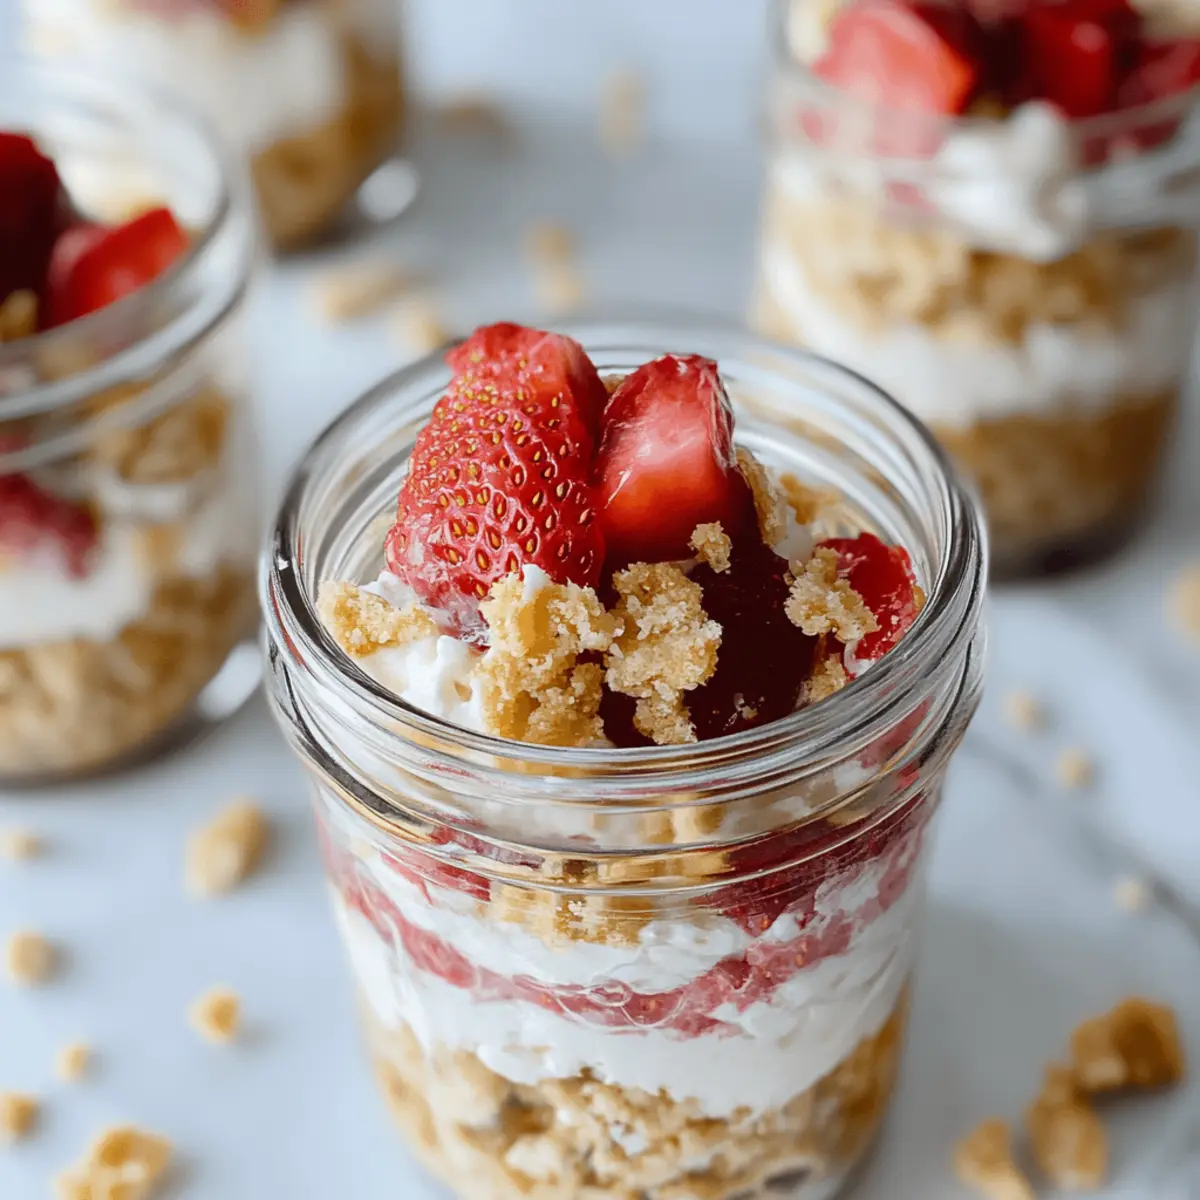
Remove the mason jars from the refrigerator and fill each jar with 2-3 tablespoons of the creamy cheesecake filling. Next, add a layer of sliced strawberries on top, creating a beautiful contrast of colors. Repeat the layers, finishing with a layer of cheesecake to create a stunning dessert.
Step 6: Refrigerate and Serve
Once all jars are layered, cover them tightly with lids or plastic wrap. Place the jars back in the refrigerator for at least 1-2 hours or overnight. This chilling step allows the flavors to meld and the cheesecake filling to set, so when you serve your No-Bake Strawberry Cheesecake Jars, they’ll be perfectly refreshing and ready to delight your family and friends.
What to Serve with No-Bake Strawberry Cheesecake Jars
Elevate your dessert experience with delightful accompaniments that enhance the flavors of these charming cheesecake jars.
- Fresh Mint Leaves: Bright and aromatic, mint adds a refreshing burst that complements the strawberries beautifully.
- Chocolate-Dipped Strawberries: Indulgent yet simple, these add a decadent twist that perfectly balances the creamy cheesecake.
Pair these jars with a light pie chart of summer flavors to stun your guests. How about a refreshing fruit salad? Chilled watermelon and honeydew bring a vibrant contrast and a juicy burst of sweetness that pairs wonderfully with the dessert’s richness.
- Lemon Sorbet: This light and zesty sorbet creates a refreshing palate cleanser, enhancing the creaminess of the cheesecake.
- Iced Tea with Lemon: A glass of chilled iced tea, with tart lemon slices, complements the dessert while enhancing its summery feel.
For a complete meal, balance the sweetness with a light appetizer or starter, such as a summer salad adorned with tangy vinaigrette, to whet your taste buds before indulging in these jars.
- Shortbread Cookies: Serve alongside for an extra crunch. Their buttery flavor will echo the classic dessert vibes perfectly.
- Sparkling Water: It adds a fun fizz, making your dessert presentation feel festive and special, perfect for gatherings!
These pairings craft a delightful experience, making your No-Bake Strawberry Cheesecake Jars the star of any summer gathering!
How to Store and Freeze No-Bake Strawberry Cheesecake Jars
Fridge: Keep the jars in the refrigerator for up to 5 days. This allows the flavors to develop, making each bite taste even better!
Make Ahead: These No-Bake Strawberry Cheesecake Jars can be prepared a day in advance, making them a convenient dessert option for gatherings or busy weeks.
Freezer: If you need to store them for longer, you can freeze the jars (without strawberries) for up to 2 months. Just let them thaw in the fridge overnight before serving.
Reheating: There’s no need to reheat these—they’re best served chilled straight from the fridge!
Make Ahead Options
These No-Bake Strawberry Cheesecake Jars are perfect for meal prep enthusiasts! You can prepare the crust and filling up to 24 hours ahead of time, ensuring that your dessert is ready whenever the craving strikes. Simply process the vanilla wafers and mix them with melted butter to create the crust, then tightly seal the jars and refrigerate. For the cheesecake filling, make it and layer it with fresh strawberries, then store the jars in the fridge for a refreshing treat. To maintain the quality, ensure the jars are well-sealed to keep them fresh. When it’s time to serve, just garnish with extra strawberries for a delightful presentation—saving you precious time on busy weeknights!
Expert Tips for No-Bake Strawberry Cheesecake Jars
-
Cold Ingredients: Ensure all dairy products are cold before mixing; this prevents a runny consistency and keeps the filling fluffy.
-
Drain the Yogurt: If your Greek yogurt is watery, drain it using a mesh strainer before adding it to the filling to achieve a creamier texture.
-
Portion Control: Use 8-ounce mason jars for perfect serving sizes; larger jars may lead to unintended calorie overload, tipping the scale away from guilt-free indulgence.
-
Gluten-Free Swap: For a gluten-free option, replace vanilla wafers with gluten-free cookies or graham crackers, providing the same sweet crunch!
-
Layering Technique: When layering, make sure to add the strawberries in between cheesecake layers to keep them fresh and visible, enhancing the visual appeal of your No-Bake Strawberry Cheesecake Jars.
No-Bake Strawberry Cheesecake Jars Variations
Feel free to get creative and customize these delightful jars to suit your taste—each variation adds a little twist that makes them even more scrumptious!
- Gluten-Free Option: Use gluten-free vanilla wafers or crackers for the crust to keep it friendly for all diets.
- Berry Medley: Swap fresh strawberries for blueberries or raspberries for a mixed berry explosion. The tartness of mixed berries adds a delightful contrast to the creamy filling!
- Chocolate Layer: Incorporate a layer of chocolate ganache or use chocolate-flavored Greek yogurt instead of plain for a rich, indulgent experience.
- Citrus Burst: Infuse more citrus by adding orange zest along with lemon for a bright, zesty twist! Experimenting with flavors keeps every jar exciting.
- Nutty Crunch: Add crushed nuts like almonds or walnuts to the crust for an extra crunchy texture. Combined with the creamy filling, it creates a heavenly contrast!
- Caramel Drizzle: A drizzle of caramel sauce between layers adds a decadent flavor twist that will have everyone coming back for seconds.
- Add Spices: A pinch of cinnamon or nutmeg in the filling offers a warm note of spice that perfectly complements the bright flavors of strawberries.
- Vertical Layering: Instead of typical layering, create gorgeous vertical layers by piping the filling into clear cups, showcasing the beauty of each component.
For an exciting flavor adventure, try these variations with another delicious dessert option like a Chocolate Orange Cheesecake or a Churro Cheesecake Indulge for even more delightful treats!
No-Bake Strawberry Cheesecake Jars Recipe FAQs
What kind of strawberries should I use for the cheesecake jars?
Absolutely! Using fresh strawberries is ideal since they offer the best flavor and texture. Look for berries that are vibrant red, firm, and free from dark spots. If fresh strawberries aren’t available, you can definitely use frozen strawberries—just make sure to prepare a sauce out of them instead of using them whole.
How long will the No-Bake Strawberry Cheesecake Jars last in the fridge?
Very! These jars can be kept in the refrigerator for up to 5 days. This storage duration not only maintains their freshness but allows the flavors to deepen and meld deliciously.
Can I freeze No-Bake Strawberry Cheesecake Jars?
Yes, you can! Ensure you freeze the jars without the fresh strawberries on top. They can be stored in the freezer for up to 2 months. When you’re ready to enjoy, simply transfer them to the fridge and let them thaw overnight. This way, your dessert will be just as delightful as when you first made it!
What should I do if my cheesecake filling is too runny?
If your filling turns out runny, it’s likely due to overly watery Greek yogurt, or the ingredients not being cold when mixed. To fix this, drain the yogurt using a mesh strainer beforehand, and ensure your cream cheese, yogurt, and whipped topping are chilled. Mixing with these cold ingredients is key to a fluffy and rich filling!
Are there any dietary considerations to keep in mind?
Absolutely! These jars can be made gluten-free by substituting the vanilla wafers with gluten-free cookies or graham crackers. Additionally, feel free to adjust the sugar based on dietary needs, or use a sugar substitute if necessary. Always check the labels of your whipped topping, as some brands may contain allergens or unwanted ingredients.
Can I use different fruit instead of strawberries?
Yes, the more the merrier! You can easily substitute strawberries with other fruits. Blueberries, raspberries, or even sliced peaches work wonderfully for a mixed fruit version of these No-Bake Strawberry Cheesecake Jars. Just be sure to adjust the layers accordingly to keep that delightful visual appeal!
No-Bake Strawberry Cheesecake Jars for Guilt-Free Indulgence
Ingredients
Equipment
Method
- Process the vanilla wafers in a food processor until fine crumbs, about 30 seconds.
- Melt unsalted butter in a microwave-safe bowl and combine with crumbs until clumpy.
- Scoop about 2 tablespoons of the crumb mixture into each mason jar and press to create an even layer.
- Refrigerate jars for 15-20 minutes until the crust firms up.
- Beat reduced-fat cream cheese on medium speed until smooth, about 2 minutes.
- Add Greek yogurt and granulated sugar; mix until fully incorporated.
- Pour in vanilla extract, lemon zest, and lemon juice; blend until creamy.
- Fold in whipped topping carefully using a rubber spatula, then gently incorporate chopped strawberries.
- Fill each jar with 2-3 tablespoons of cheesecake filling, then add sliced strawberries on top.
- Repeat layers, ending with cheesecake filling.
- Cover jars and refrigerate for 1-2 hours or overnight.
Leave a Reply