
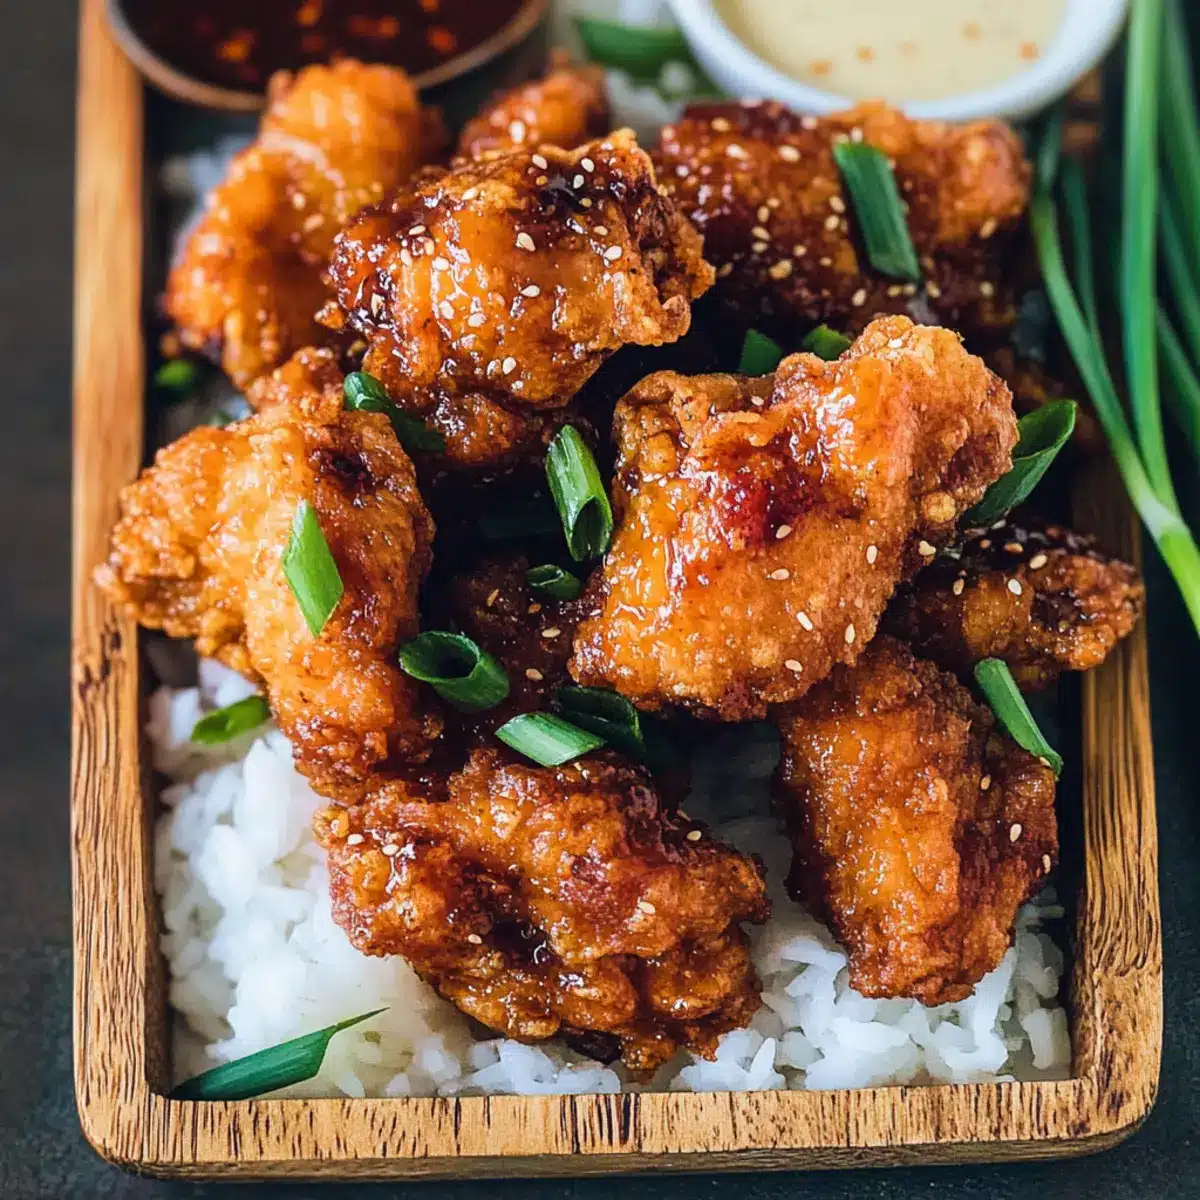
As I stood at the stovetop, the intoxicating aroma of garlic danced through my kitchen, whisking me away to the sun-soaked beaches of Hawaii. This Hawaiian Fried Garlic Chicken isn’t just a meal; it’s a delightful escape that brings the tropical island vibes right to your dinner table. Ready in just 30 minutes, this quick recipe perfectly marries crispy chicken with a sweet and sticky garlic sauce, making it a family-friendly favorite everyone will adore. The blend of savory garlic and rich sweetness creates a dish that will have you reminiscing about your favorite takeout—but with the joy of homemade comfort food. Ready to impress your loved ones with this easy, yet impressive, culinary creation? Let’s dive into the magic of Hawaiian Fried Garlic Chicken!
Why is this chicken a must-try?
Quick and Easy: You’ll love how this recipe comes together in just 30 minutes, making it perfect for busy weeknights or spontaneous family gatherings.
Tropical Flavor Explosion: The combination of garlic, soy sauce, and a hint of sweetness transports you straight to the Hawaiian islands, giving you a taste of paradise at home!
Family Favorite: Kids and adults alike will savor each crispy bite, making this dish a surefire hit around the dinner table. Pair it with fluffy rice or serve it alongside your favorite sides for a complete meal.
Versatile Options: Adapt the recipe to suit your preferences—try using chicken wings or even tofu for a vegetarian twist!
Homemade Goodness: Say goodbye to takeout; this high-quality, homemade chicken packs more flavor and freshness than any restaurant meal.
Experience the deliciousness of this dish and, if you’re looking for more quick family meals, check out my Garlic Butter Chicken or Sweet Chili Chicken recipes for more inspiration.
Hawaiian Fried Garlic Chicken Ingredients
For the Chicken
• Chicken (2 pounds, cubed) – The main protein source, providing a hearty base for the dish.
For the Sauce
• Soy Sauce (3/4 cup) – Adds saltiness and umami flavor, enhancing the overall taste of the Hawaiian fried garlic chicken.
• Sugar (3/4 cup) – Balances the saltiness of soy sauce and contributes to a glossy finish.
• Garlic (1/2 cup, crushed) – A critical flavor ingredient that provides the signature garlic taste; adjust according to preference.
• Green Onion (1/4 cup, chopped) – Adds freshness and a mild onion flavor to the sauce.
• Sesame Oil (1 tablespoon) – Offers depth and richness; can be substituted with vegetable oil for a lighter flavor.
• Red Chili Flakes (1 teaspoon) – Gives a hint of spice; adjust or omit for a milder flavor.
• White Pepper (1/2 teaspoon) – Adds slight heat without overpowering the garlic; can be replaced with black pepper.
For the Coating
• Cornstarch (1 tablespoon + 1/2 cup for coating) – Used for marinating to tenderize the chicken and in the dry mix for a crispy coating.
• Flour (1 1/2 cups) – Forms the crispy outer layer; ensures even frying texture.
• Salt (1/2 teaspoon) – Enhances overall flavor; can adjust based on dietary preference.
For Frying
• Vegetable Oil (1 tablespoon, plus for frying) – Used to help marinate the chicken and for frying; can replace with canola oil.
Get ready to bring a taste of Hawaii to your kitchen with this delicious Hawaiian Fried Garlic Chicken!
Step‑by‑Step Instructions for Hawaiian Fried Garlic Chicken
Step 1: Make the Garlic Sauce
In a medium saucepan, combine 3/4 cup soy sauce and 3/4 cup sugar over medium heat. Stirring gently, bring the mixture to a boil, then simmer for 2-3 minutes until slightly thickened. Add 1/2 cup crushed garlic, 1/4 cup chopped green onion, 1 tablespoon sesame oil, 1 teaspoon red chili flakes, and 1/2 teaspoon white pepper. Boil for an additional minute, then remove from heat and set aside to cool.
Step 2: Marinate the Chicken
In a large mixing bowl, place 2 pounds of cubed chicken and pour in 4-5 tablespoons of the garlic sauce you just made. Sprinkle 1 tablespoon cornstarch and 1 tablespoon vegetable oil over the chicken and mix well until the pieces are evenly coated. Cover the bowl and let the chicken marinate for at least 30 minutes, or if time allows, refrigerate overnight for enhanced flavor.
Step 3: Prepare the Coating
While the chicken marinates, prepare the coating by whisking together 1 1/2 cups flour, 1/2 cup cornstarch, and 1/2 teaspoon salt in a separate bowl. As you mix, add 3 tablespoons of the garlic sauce to create clumps that will adhere to the chicken. This mixture will ensure your Hawaiian Fried Garlic Chicken has a deliciously crispy exterior.
Step 4: Fry the Chicken
In a large frying pan, heat about 2 inches of vegetable oil over medium-high heat until it’s shimmering. While the oil heats, take marinated chicken pieces and coat them in the prepared dry mixture, pressing firmly to adhere. Carefully place the coated chicken in the hot oil in batches, frying until golden brown and crispy, approximately 3-5 minutes. Transfer the fried chicken to a plate lined with paper towels to drain excess oil.
Step 5: Combine with Sauce
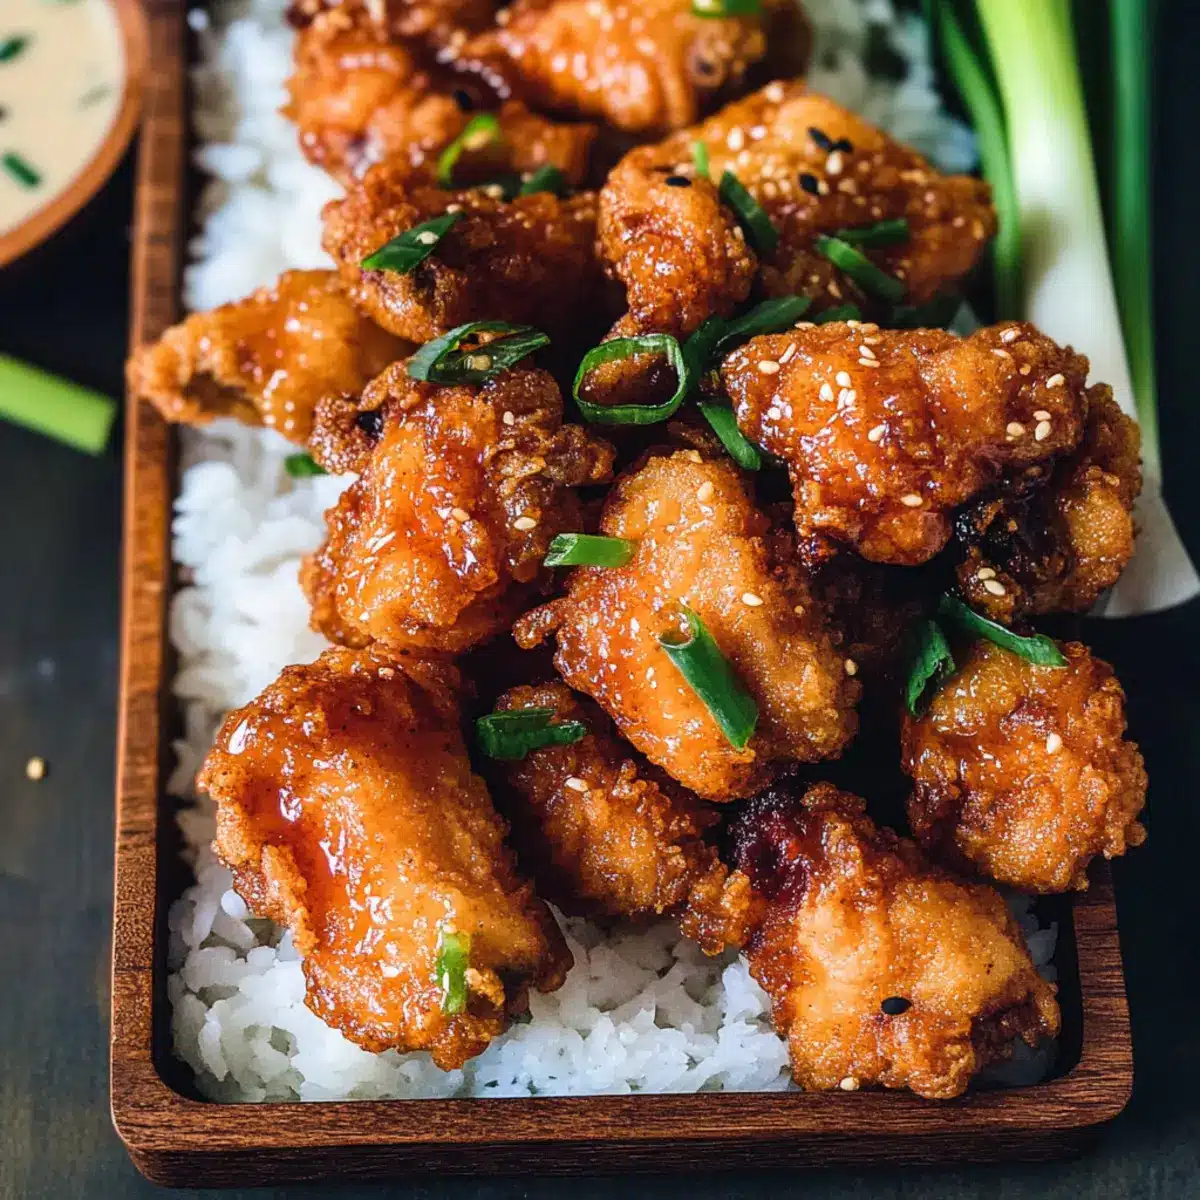
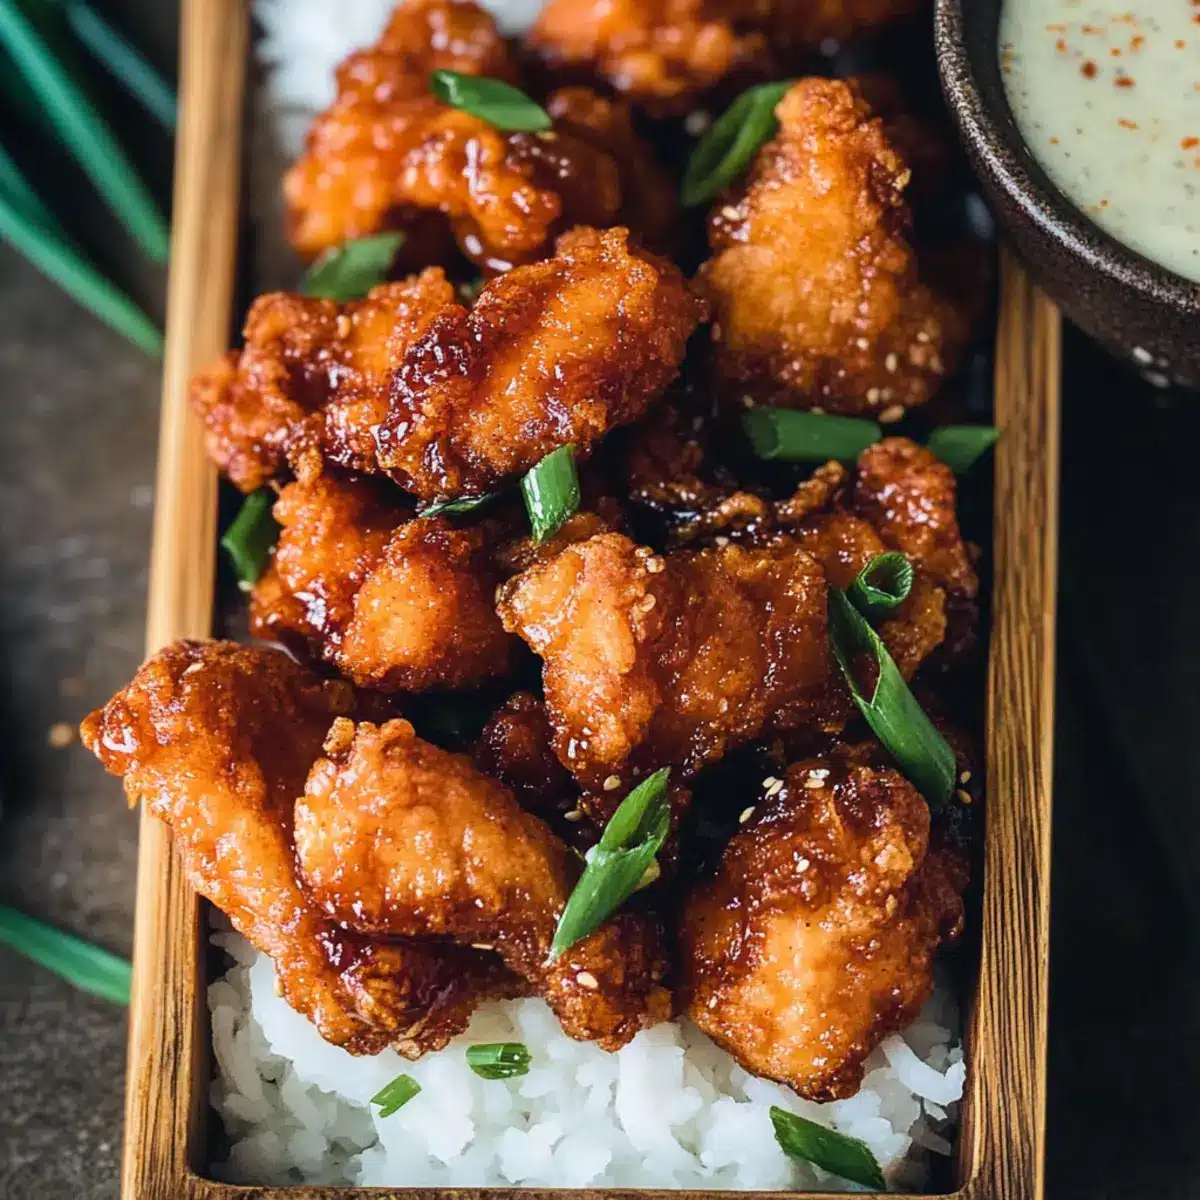
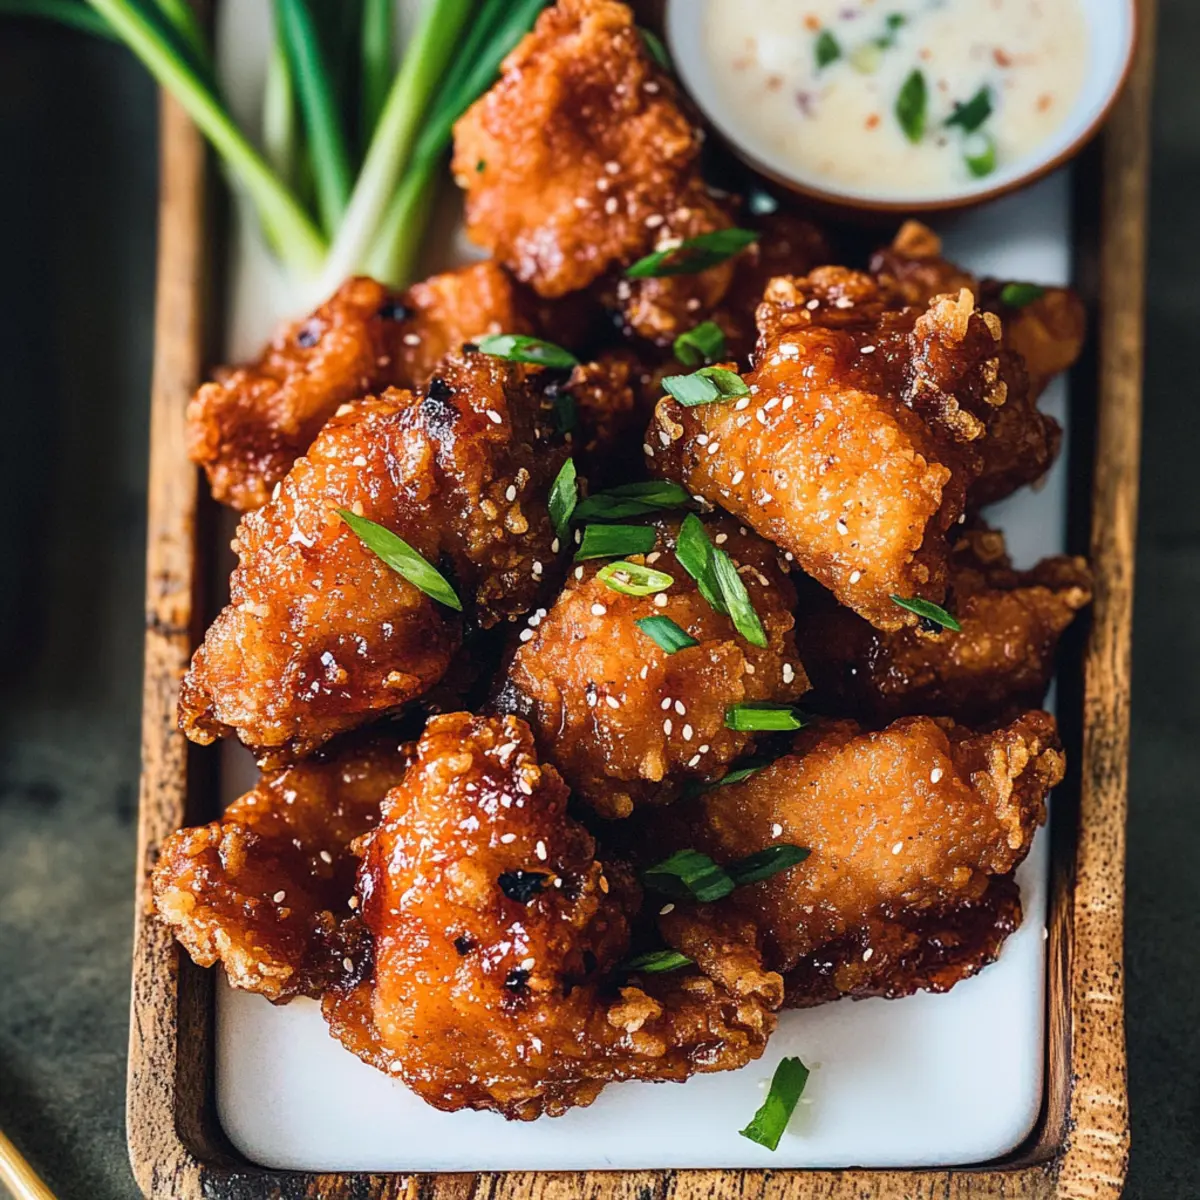
Once all chicken pieces are fried, reheat any remaining garlic sauce on the stovetop until it’s warm. Carefully toss the golden, crispy chicken in the sauce until well-coated, or serve the sauce on the side for drizzling. Your Hawaiian Fried Garlic Chicken is now ready to be enjoyed—serve it with fluffy rice for a delicious meal!
Storage Tips for Hawaiian Fried Garlic Chicken
Fridge: Store leftover Hawaiian Fried Garlic Chicken in an airtight container for up to 3 days to maintain freshness and flavor.
Freezer: If you want to keep it longer, freeze the chicken in a single layer on a baking sheet before transferring to a freezer-safe bag. It can be stored for up to 2 months.
Reheating: When ready to enjoy, reheat in the oven at 375°F for about 10-15 minutes to regain its crispy texture. Avoid the microwave, as it can make the coating soggy.
Airtight Tips: Always ensure the chicken is cooled down before sealing in containers. This prevents condensation and keeps your Hawaiian Fried Garlic Chicken delicious!
Variations & Substitutions for Hawaiian Fried Garlic Chicken
Get ready to customize your Hawaiian Fried Garlic Chicken with these delightful twists that will tickle your taste buds!
-
Lean Option: Substitute chicken breasts for thighs for a lighter, healthier alternative without sacrificing flavor.
Enjoy the same delightful taste with a tender texture that everyone will love! -
Drumsticks or Wings: Use chicken drumsticks or wings instead of cubed chicken for a fun finger-food twist.
Imagine the joy of biting into juicy pieces that are perfect for sharing at gatherings. -
Vegetarian Delight: Replace chicken with firm tofu or your favorite vegetables like bell peppers and zucchini for a satisfying vegetarian dish.
Coat and fry vegetables for a crunchy, guilt-free option that brings the same Hawaiian vibes. -
Sweet and Spicy: Add diced pineapple or mango chunks to the garlic sauce for a fruity twist that enhances the sweetness.
The contrast of flavors creates a tropical explosion that will transport you straight to the islands! -
Extra Crunch: For an extra crispy coating, try adding crushed cornflakes or panko breadcrumbs to the dry mix.
This small adjustment will give your chicken an irresistible crunch that will leave everyone wanting more. -
Heat Level: Increase the heat by adding a dash of sriracha or more red chili flakes to the garlic sauce for those who crave spice.
It’s the perfect way to give your chicken a kick and tantalize the taste buds of spicy food lovers. -
Tropical Herbs: Enhance the flavor with fresh herbs like cilantro or basil sprinkled on top before serving.
Not only do they add freshness, but they also brighten up the colorful dish. -
Serving Suggestions: Serve alongside coconut rice or a refreshing mango salad to complement the flavors of your fried chicken.
Paired well, these sides will take your meal from delightful to downright unforgettable!
Feel free to explore these variations, and if you’re looking for more delicious plates, check out my Chicken Teriyaki Noodles or my tempting Chipotle Chicken Avocado. Happy cooking!
Expert Tips for Hawaiian Fried Garlic Chicken
• Perfectly Crispy Coating: Ensure your oil is hot enough (about 350°F) before frying to avoid a soggy crust.
• Marination Matters: Marinate the chicken for at least 30 minutes, or overnight if possible, for deeper flavor in your Hawaiian Fried Garlic Chicken.
• Press, Don’t Toss: When coating the chicken, press the dry mix onto the meat instead of tossing, for better adherence and crunch.
• Batch Frying: Fry in small batches and avoid overcrowding the pan. This ensures each piece cooks evenly and achieves that crispy texture.
• Serving Suggestion: Pair this dish with steamed rice or a fresh salad to balance the rich, sweet flavors of the chicken.
What to Serve with Hawaiian Fried Garlic Chicken
Create an unforgettable meal experience with these delicious pairings that enhance each bite of your flavorful chicken.
-
Fluffy White Rice: Perfect for soaking up the sticky garlic sauce, this classic pairing balances the meal’s richness.
-
Tropical Fruit Salad: A refreshing blend of pineapple, mango, and coconut provides a sweet contrast, brightening each bite and adding a burst of freshness.
-
Steamed Broccoli: Its vibrant green color and crisp texture add nutritional value and a healthy touch to your plate.
-
Hawaiian Macaroni Salad: Creamy and tangy, this salad offers a rich texture that beautifully complements the savory chicken.
-
Grilled Pineapple: The caramelized sweetness of grilled pineapple enhances the tropical flavor profile and adds a delightful contrast to the crispy chicken.
-
Coconut Rice: With a hint of sweetness and a chewy texture, this dish harmonizes beautifully with the garlic chicken’s flavors, taking you straight to paradise.
-
Cold Beer or Tropical Cocktail: Pair your meal with a light lager or a Mai Tai to add a refreshing twist that showcases those island vibes.
Each of these pairings will elevate your dinner table, making your Hawaiian Fried Garlic Chicken a new favorite family meal!
Make Ahead Options
These Hawaiian Fried Garlic Chicken are perfect for meal prep enthusiasts! You can marinate the chicken for up to 24 hours in advance, allowing the flavors to deepen beautifully. To prep, simply cube the chicken, mix it with the garlic sauce, cornstarch, and vegetable oil, and store it in the refrigerator. The coating mix can also be prepped ahead and kept in an airtight container for up to 3 days. When you’re ready to serve, just coat the marinated chicken in the dry mix and fry until golden and crispy. This method ensures that your meal is just as delicious, saving you time and making dinner on busy nights a breeze!
Hawaiian Fried Garlic Chicken Recipe FAQs
What type of chicken is best for Hawaiian Fried Garlic Chicken?
Absolutely! I recommend using chicken thighs for a juicy, flavorful bite, but you can also use chicken breasts or a mix of both. For a fun twist, drumsticks or wings work well too!
How do I select ripe garlic for the garlic sauce?
Very! Look for firm, plump garlic bulbs with tight, unbroken skins. Avoid any bulbs with dark spots or sprouting green shoots, as these can affect the flavor. Fresh garlic will give your sauce that vibrant, aromatic kick!
Can I store the cooked chicken in the refrigerator?
You can! Store leftover Hawaiian Fried Garlic Chicken in an airtight container for up to 3 days. To keep it fresh, make sure it’s fully cooled before sealing. This helps avoid any condensation that could make your chicken soggy.
What are the best methods for freezing Hawaiian Fried Garlic Chicken?
Of course! To freeze, first flash freeze the cooked chicken pieces on a baking sheet in a single layer until solid. Then, transfer them to a freezer-safe bag, ensuring most of the air is out. This way, they’ll stay fresh for up to 2 months. When you’re ready to enjoy, just reheat them in the oven for that crispy texture!
How should I reheat leftovers to keep them crispy?
Definitely! Preheat your oven to 375°F (190°C) and place the chicken on a baking sheet. Reheat for about 10-15 minutes, flipping halfway through. This method preserves the chicken’s crispy exterior while warming it through. Avoid microwaving as it can make your crispy coating soggy.
Are there any dietary considerations for this recipe?
Absolutely! If you’re cooking for someone with soy allergies, you can substitute soy sauce with tamari or coconut aminos for a gluten-free option. Additionally, you can lower the sugar content by using less sugar or a suitable sugar substitute according to your dietary needs.
Crispy Hawaiian Fried Garlic Chicken for Family Fun Nights
Ingredients
Equipment
Method
- In a medium saucepan, combine 3/4 cup soy sauce and 3/4 cup sugar over medium heat. Stirring gently, bring the mixture to a boil, then simmer for 2-3 minutes until slightly thickened. Add 1/2 cup crushed garlic, 1/4 cup chopped green onion, 1 tablespoon sesame oil, 1 teaspoon red chili flakes, and 1/2 teaspoon white pepper. Boil for an additional minute, then remove from heat and set aside to cool.
- In a large mixing bowl, place 2 pounds of cubed chicken and pour in 4-5 tablespoons of the garlic sauce you just made. Sprinkle 1 tablespoon cornstarch and 1 tablespoon vegetable oil over the chicken and mix well until the pieces are evenly coated. Cover the bowl and let the chicken marinate for at least 30 minutes, or if time allows, refrigerate overnight for enhanced flavor.
- While the chicken marinates, prepare the coating by whisking together 1 1/2 cups flour, 1/2 cup cornstarch, and 1/2 teaspoon salt in a separate bowl. As you mix, add 3 tablespoons of the garlic sauce to create clumps that will adhere to the chicken.
- In a large frying pan, heat about 2 inches of vegetable oil over medium-high heat until it's shimmering. While the oil heats, take marinated chicken pieces and coat them in the prepared dry mixture, pressing firmly to adhere. Carefully place the coated chicken in the hot oil in batches, frying until golden brown and crispy, approximately 3-5 minutes.
- Once all chicken pieces are fried, reheat any remaining garlic sauce on the stovetop until it’s warm. Carefully toss the golden, crispy chicken in the sauce until well-coated, or serve the sauce on the side for drizzling.
Leave a Reply